Determine the best planting days, grow a healthy vegetable garden, and have a bountiful harvest by using the zodiac and the phases of the moon! Learn how in this complete guide!

Tools for Living Your Best Life
Determine the best planting days, grow a healthy vegetable garden, and have a bountiful harvest by using the zodiac and the phases of the moon! Learn how in this complete guide!
In the past, our ancestors were keenly aware of the cycles of the earth and gave each full moon names to celebrate the season or the availability of food. Can honoring the moon help bring wellness and balance to modern life?

…
Shampoo bars are solid bars of soap made for washing hair. This shampoo bar recipe uses three liquid oils and lye for a classic cold process bar, and there’s a melt and pour version too, for when you’d rather not handle lye yourself.
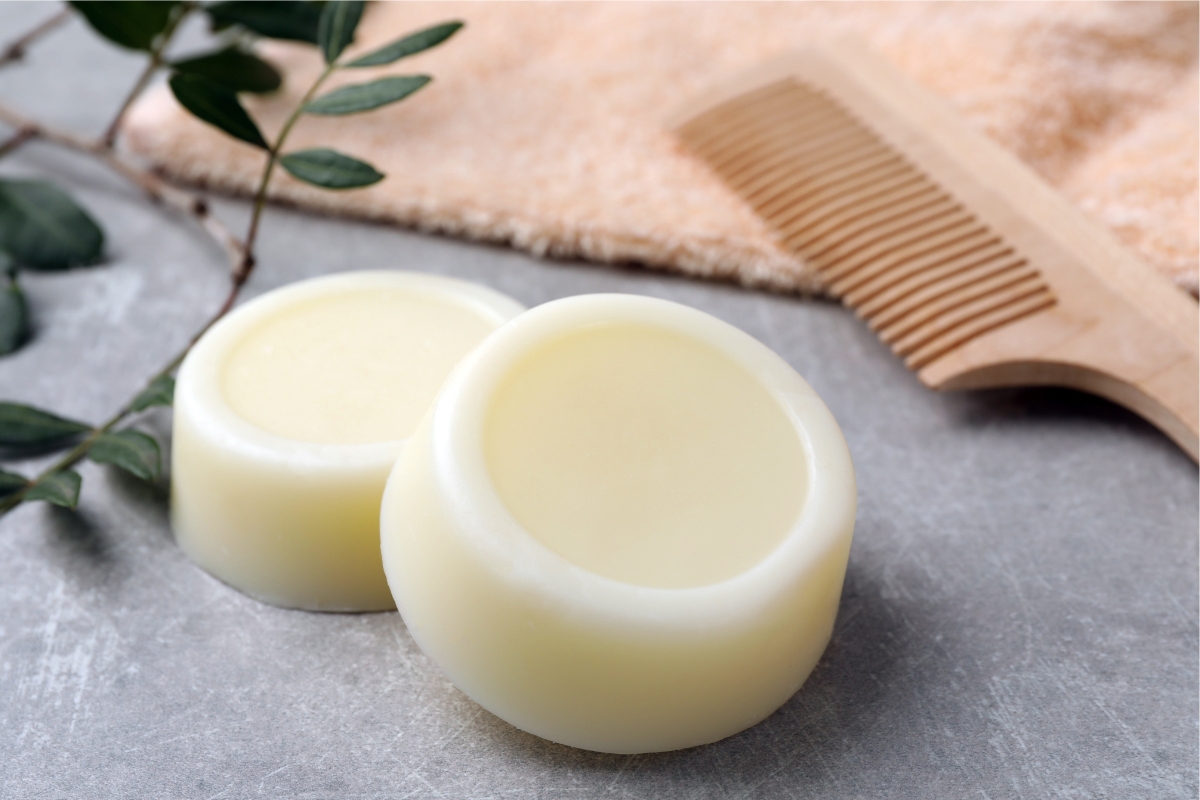
A shampoo bar does the same job as liquid shampoo in a smaller package. There’s no bottle to recycle, it won’t leak in a bag, and one bar lasts a good while if you let it dry between uses.
Making your own means you choose every oil and scent that goes in. The cold process recipe below takes about half an hour of hands-on work, then the bars cure on a shelf for a few weeks.
If you’ve made lotion bars or bath bombs, you already have some of the tools. Shampoo bars are the next step up, because the lye calls for some extra care.
A shampoo bar is a concentrated, solid shampoo. Homemade ones are usually true soap, made the same way as a bar of hand soap, with oils chosen for a good lather on hair.
Here’s what sets them apart from liquid shampoo:
Honestly, there’s a lot of overlap. A homemade shampoo bar and a bar of hand soap are both made from oils and lye, often in similar proportions.
The difference is mostly in the oils. Shampoo bar recipes lean on oils that make plenty of lather and rinse cleanly, and they often include extra oil (called the superfat) so the bar is less drying.
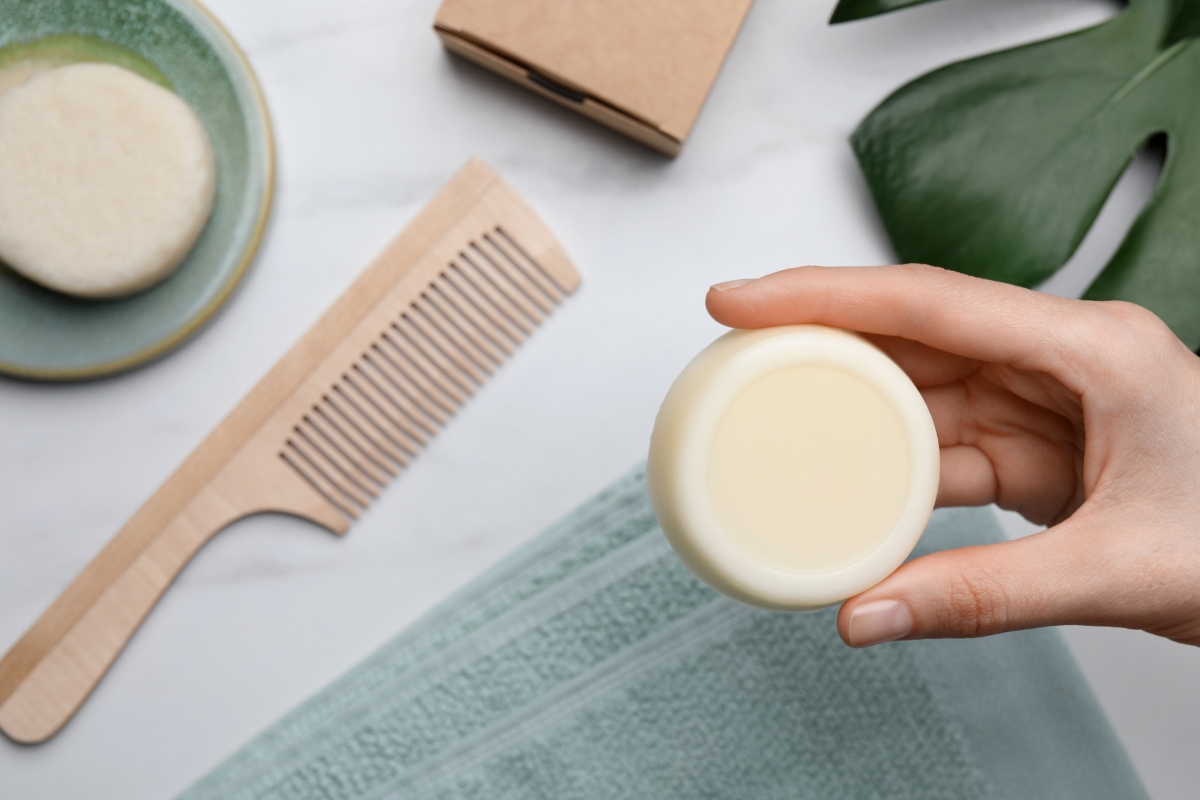
At its simplest, a shampoo bar is made from two things: oil and lye. Water dissolves the lye, and essential oils are optional.
Lye is what turns oil into soap. When it reacts with fats and oils, the mixture slowly thickens and hardens into soap, a process called saponification. Without lye, the oils would stay oils.
I buy lye (sodium hydroxide) online in a plastic container, and craft stores that carry soapmaking supplies often stock it too. Look for 100 percent sodium hydroxide, not a drain cleaner with other ingredients mixed in.
Lye is caustic and needs respect, but it isn’t something to fear. These are the basic rules:
Lye safety sheets call for water, not vinegar. Vinegar is handy for wiping down a work surface afterward, but it isn’t first aid for skin.
Each oil brings something different to the finished bar. This guide to common soapmaking oils from Soap Queen covers usage rates, and here’s a quick look at the ones that come up most in shampoo bars:
If you swap any oil in this recipe, run the new list through a lye calculator first. Every oil needs a different amount of lye, and guessing can leave you with a greasy bar or a harsh one.
Essential oils aren’t required, but they make a plain bar feel special. Rosemary, peppermint, rose, geranium, eucalyptus, and cedar are the ones I like in a shampoo bar.
Add them at trace, after the lye solution and oils are blended. Leave them out for an unscented bar.
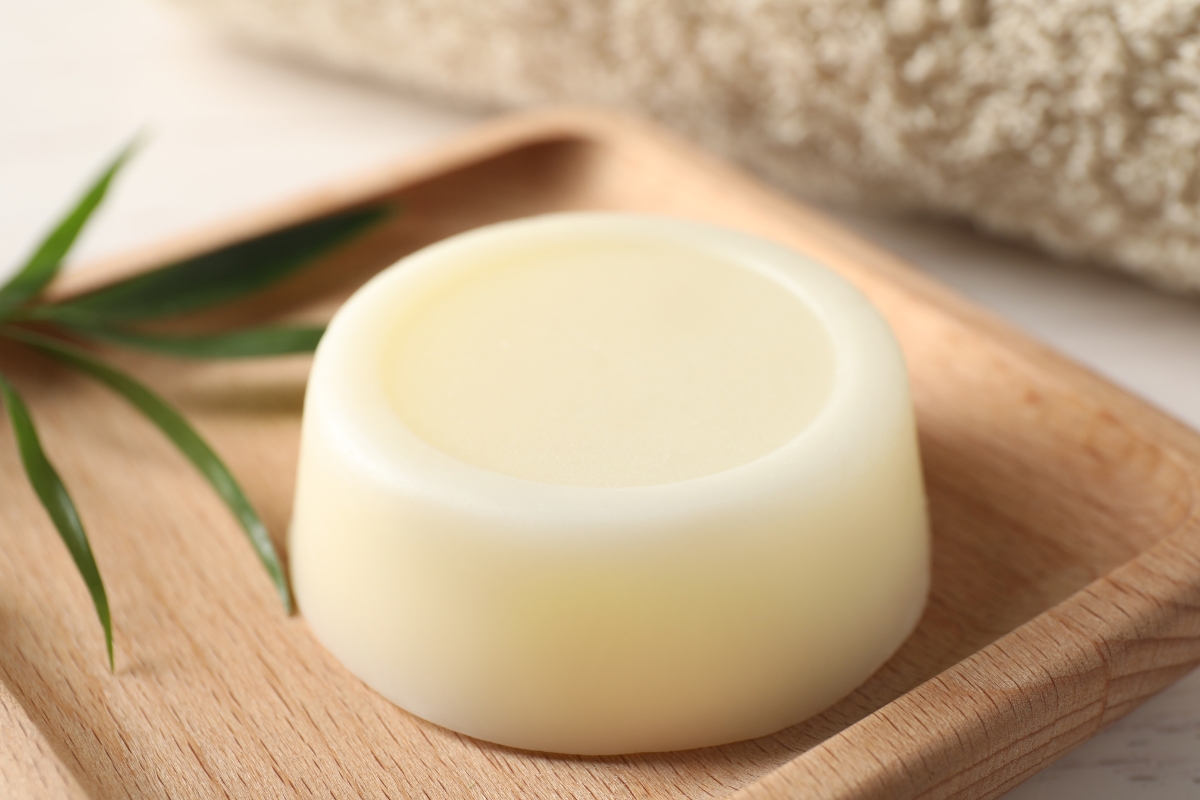
You probably own most of this already, though anything that touches lye should stay with your soapmaking gear afterward.
This all-purpose recipe uses olive, coconut, and sweet almond oil. It makes about 23 ounces of soap, or roughly five 4 ounce bars, depending on your molds.
Use regular coconut oil, melted, rather than fractionated “liquid” coconut oil. Fractionated coconut oil takes much more lye, so swapping it in would leave the bars soft and oily.
Read through all of the steps before you start, and put on your goggles and gloves before you open the lye.
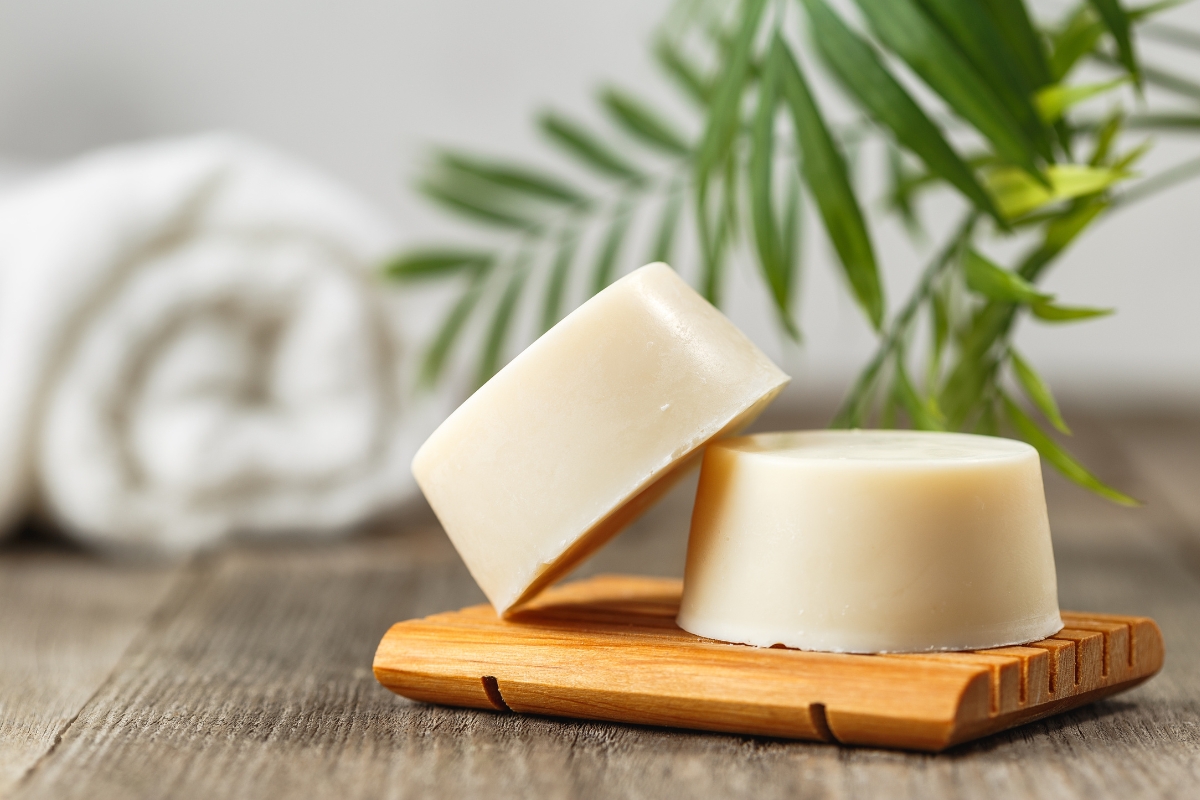
This recipe has a generous superfat of about 12 percent, meaning roughly that much of the oil stays as oil instead of turning into soap. That keeps the bars gentle.
There’s no need to stir extra oil in at trace. With this much superfat already built in, more oil can leave hair feeling heavy.
Bars that feel heavy on your hair are an easy fix next time. Enter the same oils into a lye calculator and choose a lower superfat. The calculator will give you the new amount of lye.
Melt and pour soap base is ready-made soap that melts on the stove. It’s a good way to start if you’re not ready to work with lye, or if you’d like to make shampoo bars with kids.
The base itself is still made with lye. The manufacturer does that step, and the reaction is finished long before it reaches you. You can see sodium hydroxide right in the ingredient list on Bramble Berry’s clear base, for example. So the bars aren’t lye-free, but you never touch lye yourself.
Most craft stores carry several kinds, and any of them will make a shampoo bar. A few common ones:
Formulas vary from brand to brand, so read the ingredient list on any base before you buy it.
For about four standard bars, you’ll need 1 pound of melt and pour soap base, up to 1 teaspoon of oil or butter, and up to 25 drops of essential oil. Both of the extras are optional.
Go easy on the added oil. The base already contains oils, and Soap Queen recommends about 1 teaspoon of extra oil or butter per pound, since more can keep the soap from hardening and leave it greasy, with less lather.
Melt and pour soap draws moisture from the air, so wrap any bars you aren’t using right away in plastic wrap to keep them from beading up.
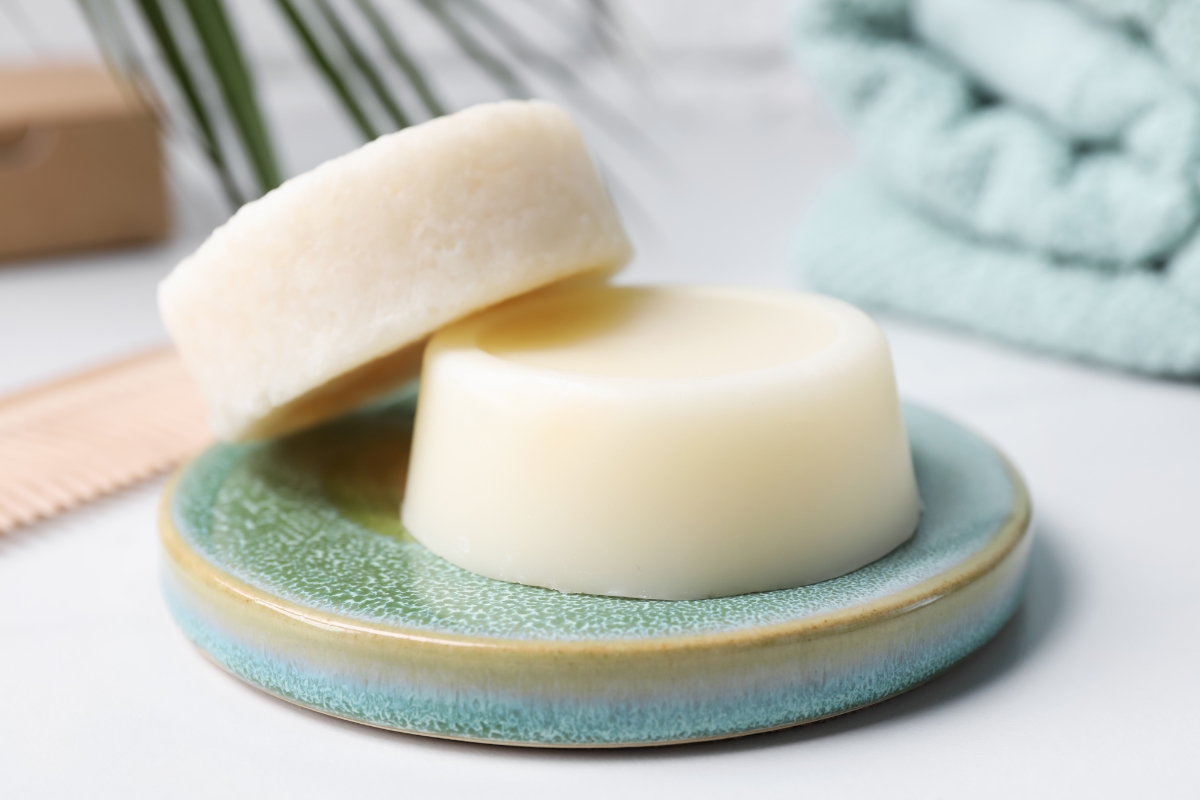
Washing with a shampoo bar is a lot like using liquid shampoo, with a little more hands-on work.
Many people who wash with soap-based bars follow up with a diluted apple cider vinegar rinse. It’s a traditional finishing rinse, and it can help with the residue hard water leaves behind.
Hair that feels coated or waxy after washing usually points to hard water. The USGS explains that the calcium and magnesium in hard water react with soap to form soap scum, the same film you see on a tub.
Rinsing longer, a vinegar rinse, or washing with filtered or rain water can all help. Some people find soap-based shampoo bars simply don’t suit their water, and that’s worth knowing before you make a big batch.
Water is what wears a shampoo bar down fastest. Between uses, keep it on a draining soap dish out of the shower spray so it dries completely.
Cutting a bar in half helps too. Use one half and keep the other dry until you need it.
For travel, let the bar dry first, then pack it in a tin. 4 ounce tins with windows work well if your bars fit, and they double as a gift box. Store cured bars you aren’t using yet somewhere cool and dry, away from sunlight.
If I could only keep one piece of soapmaking equipment, it would be the kitchen scale. Weighing everything is what makes one batch come out like the last.
I like rosemary or peppermint in a shampoo bar, and cedar when I want something a little woodsier. Bars made this way are nice to have on hand as gifts, and a few wrapped in brown paper go a long way.
Readers have asked a lot of good questions about this recipe over the years. Here are the most common ones.
The cold process recipe makes about 23 ounces of soap, or roughly five 4 ounce bars. The bars lose a little weight as water evaporates during the cure. The melt and pour version makes about four bars per pound of base.
Not without recalculating. Fractionated coconut oil needs much more lye than regular coconut oil, so the bars would come out soft and oily. Use regular coconut oil, melted.
No, it’s optional. The base already contains oils, and Soap Queen recommends about 1 teaspoon per pound at most. More than that can leave the bars soft and greasy.
Hard water is the most common cause. Its minerals react with soap to form soap scum, as the USGS explains. A longer rinse or a diluted vinegar rinse often helps.
Rinse it right away with plenty of cool running water for at least 15 minutes. The NIOSH Pocket Guide lists a water flush as first aid. Get medical help for anything in the eyes.
The cold process bars in this recipe are. They’re made only from oils, lye, and water. If you buy a melt and pour base, check its ingredient list, since formulas vary.
Soap-based bars are alkaline, which is different from most shampoos made for colored hair. If your hair is dyed, ask your stylist, or test a bar on a small section first.
If you made this Shampoo Bar Recipe, or anything else from Adamant Living, leave a ⭐ star rating and tell me how it turned out in the 📝 comments below!
Soapmaking is a safe hobby when you handle lye with respect, and most of that comes down to a few good habits. If you’re new to it, this beginner’s guide on how to make soap walks through the whole process, and these common soap making mistakes are worth reading before your first batch.
Here’s what to do every time:
If you’d like to make herbal soaps, with infused oils, dried flowers, or other botanicals in the bar, the Botanical Skin Care Course from the Herbal Academy covers herbal soaps and body care. Their Introduction to Herbal Medicine course is a good place to learn the plants themselves, and this yarrow and witch hazel soap is one example of an herbal bar.
These use many of the same oils, butters, and molds.
Looking for something else?
Search for a plant, a remedy, or a project to find what you need.
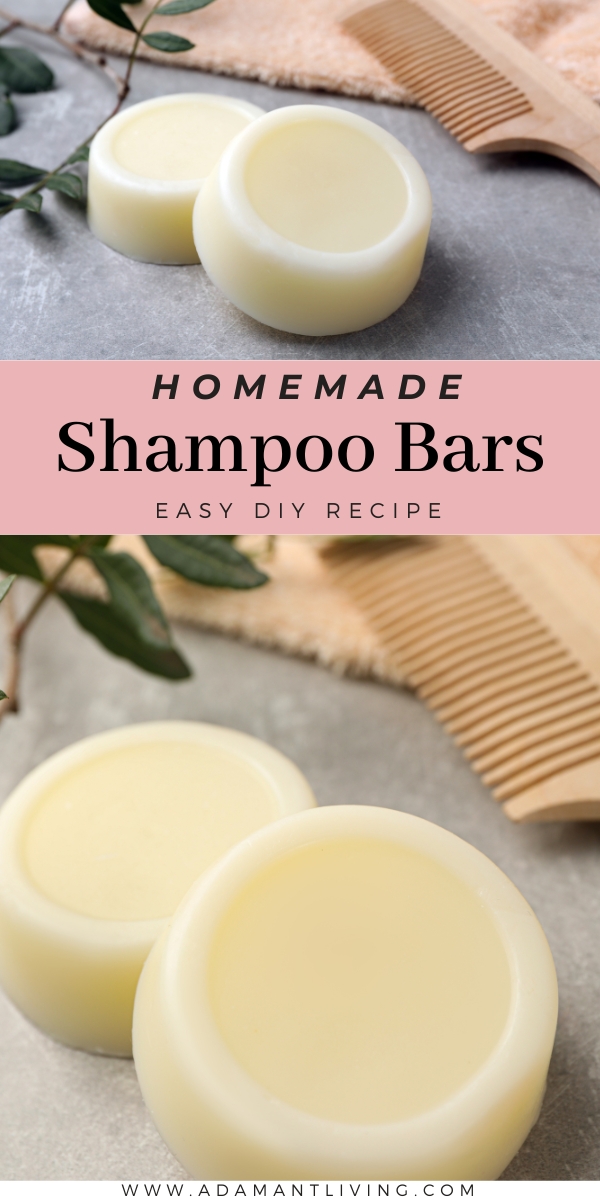
Wild rose under-eye cream is luscious, nourishing, and easy to make. Give your tired eyes a spa day!
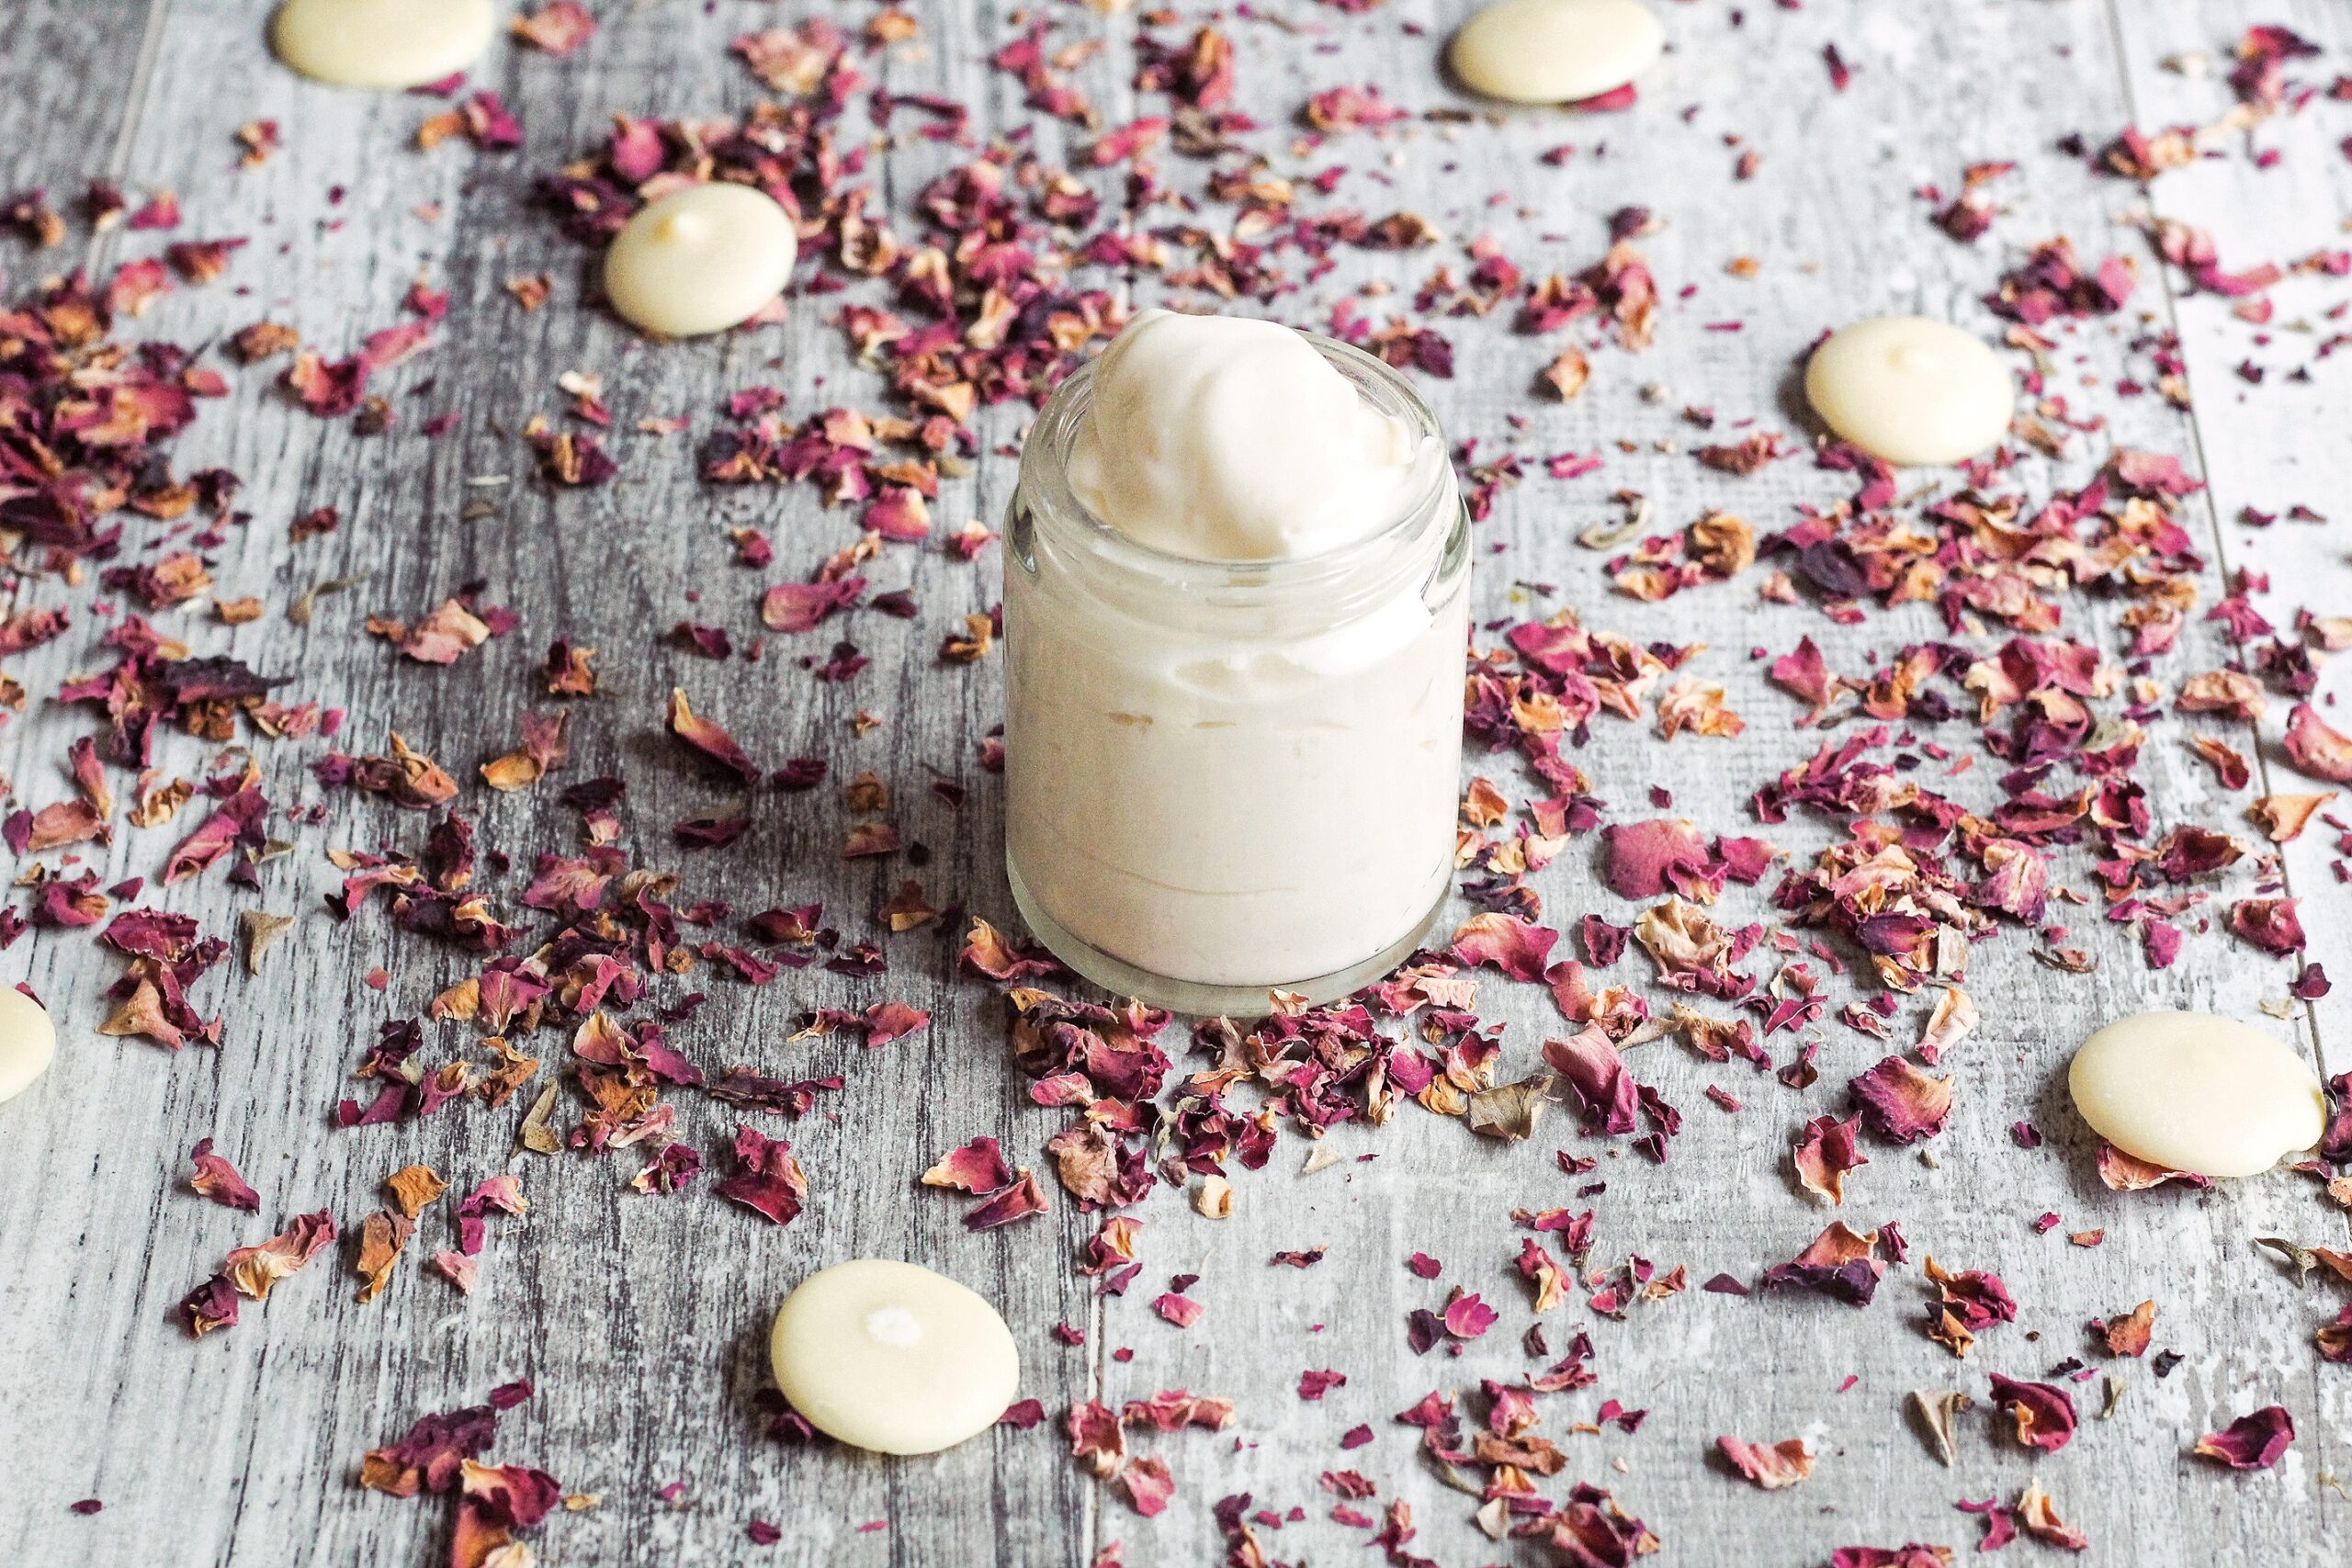
Wild Rose Eye Cream
…
Mugwort Smudge Sticks are used to cleanse the air and encourage pleasant dreams.
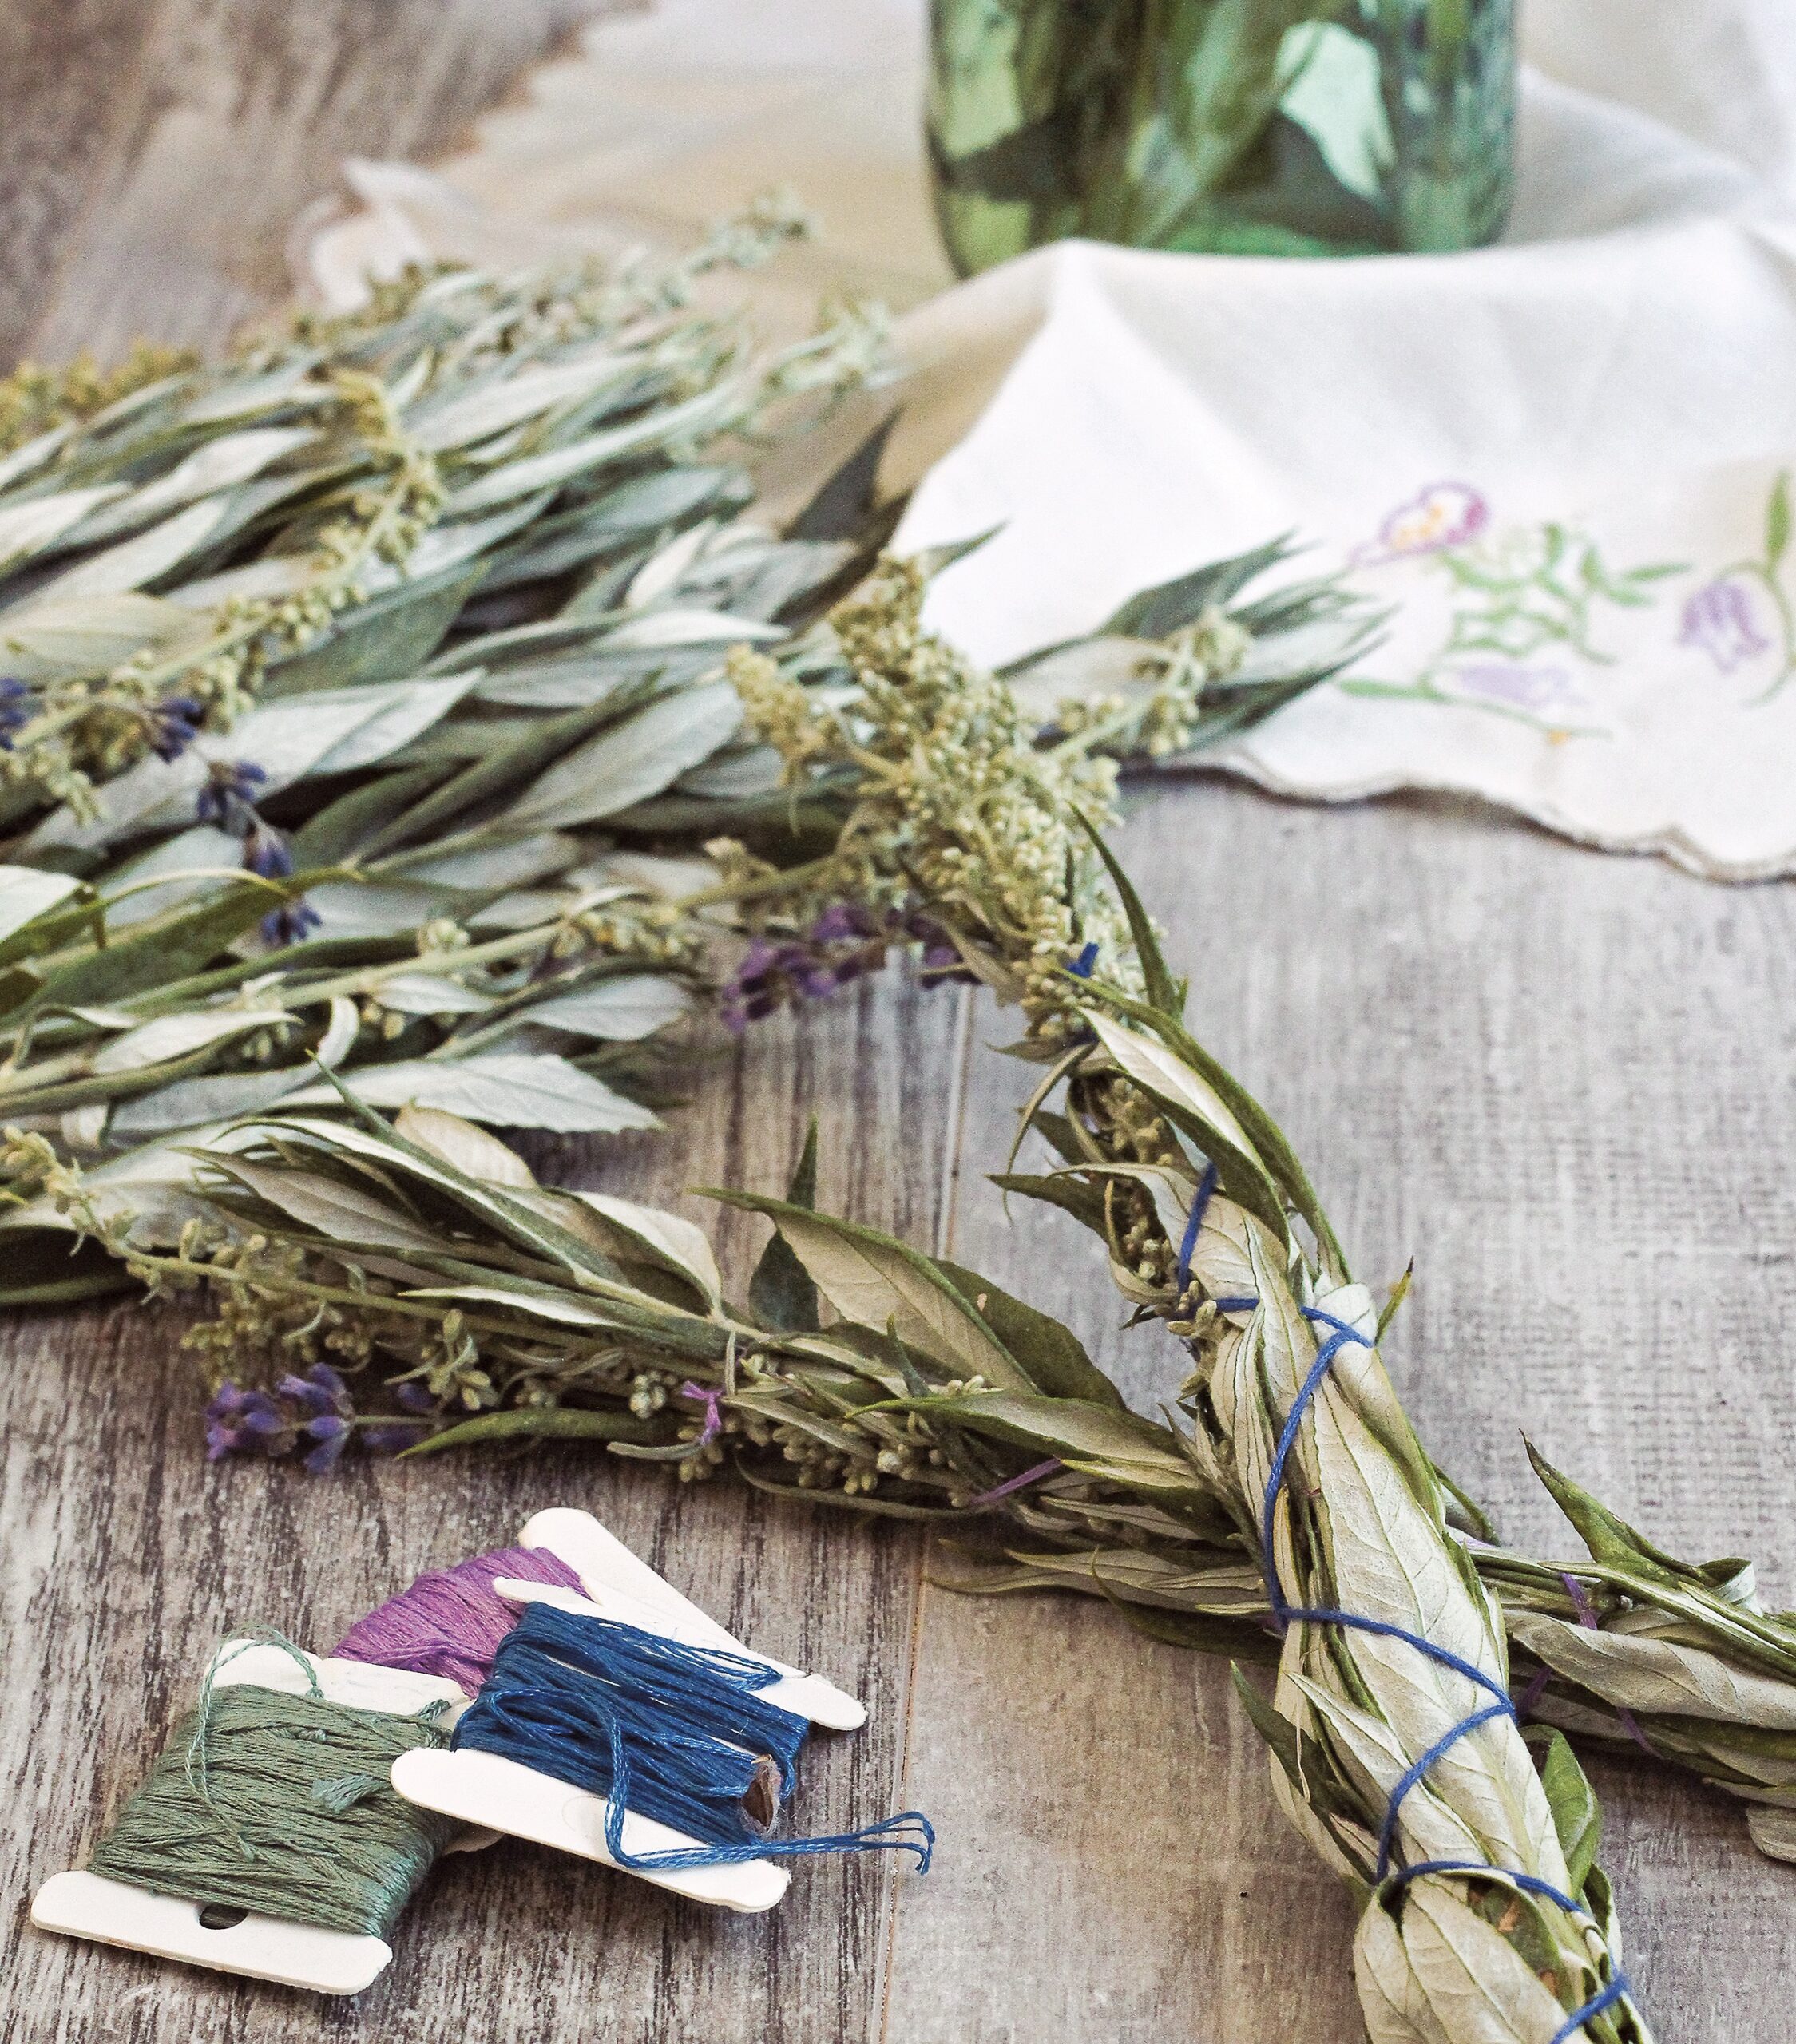
Mugwort is a common edible and medicinal wild herb that you can find growing along just about any roadside. It’s popular with herbalists, who make it into all manner of teas and tinctures.
Herbal smudge sticks, however, are less common than they once were, and it’s a shame.
This tutorial will teach you all about the medicinal properties of mugwort and how to use it to create a simple, easy-to-make herbal smudge stick of your own!
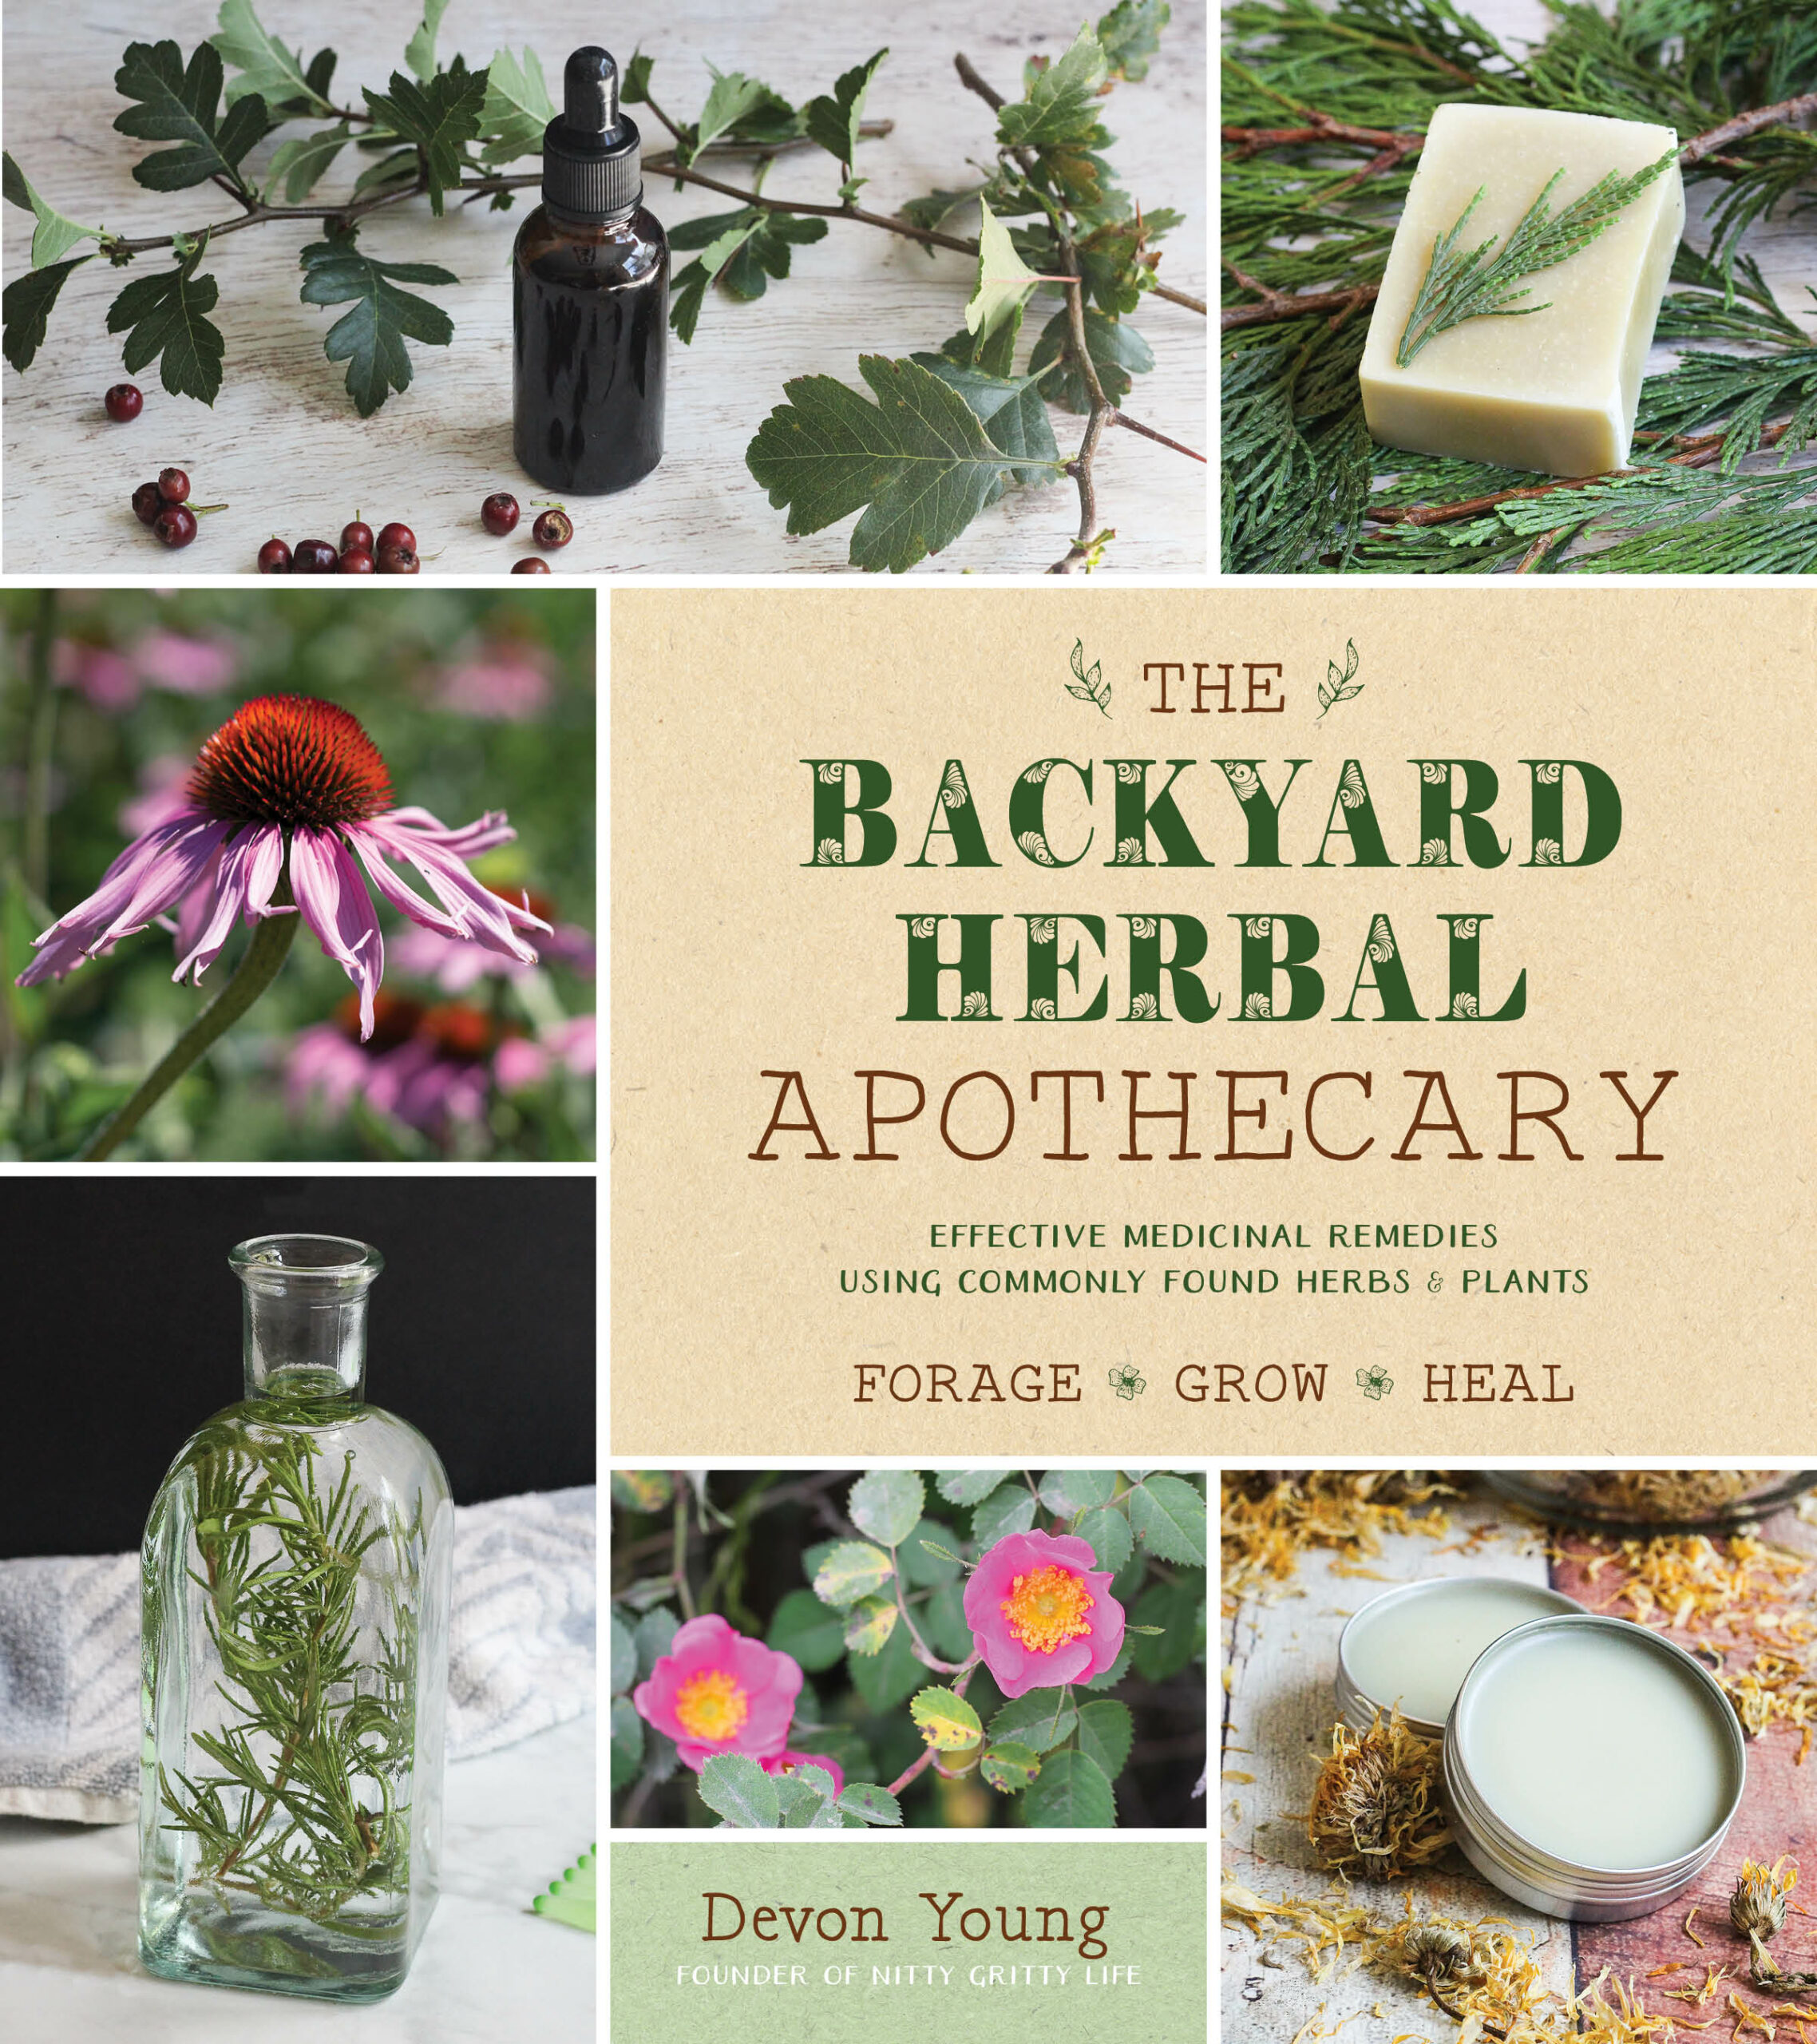
Reprinted with permission from The Backyard Herbal Apothecary by Devon Young. Page Street Publishing Co. 2019. Photo credit: Devon Young.
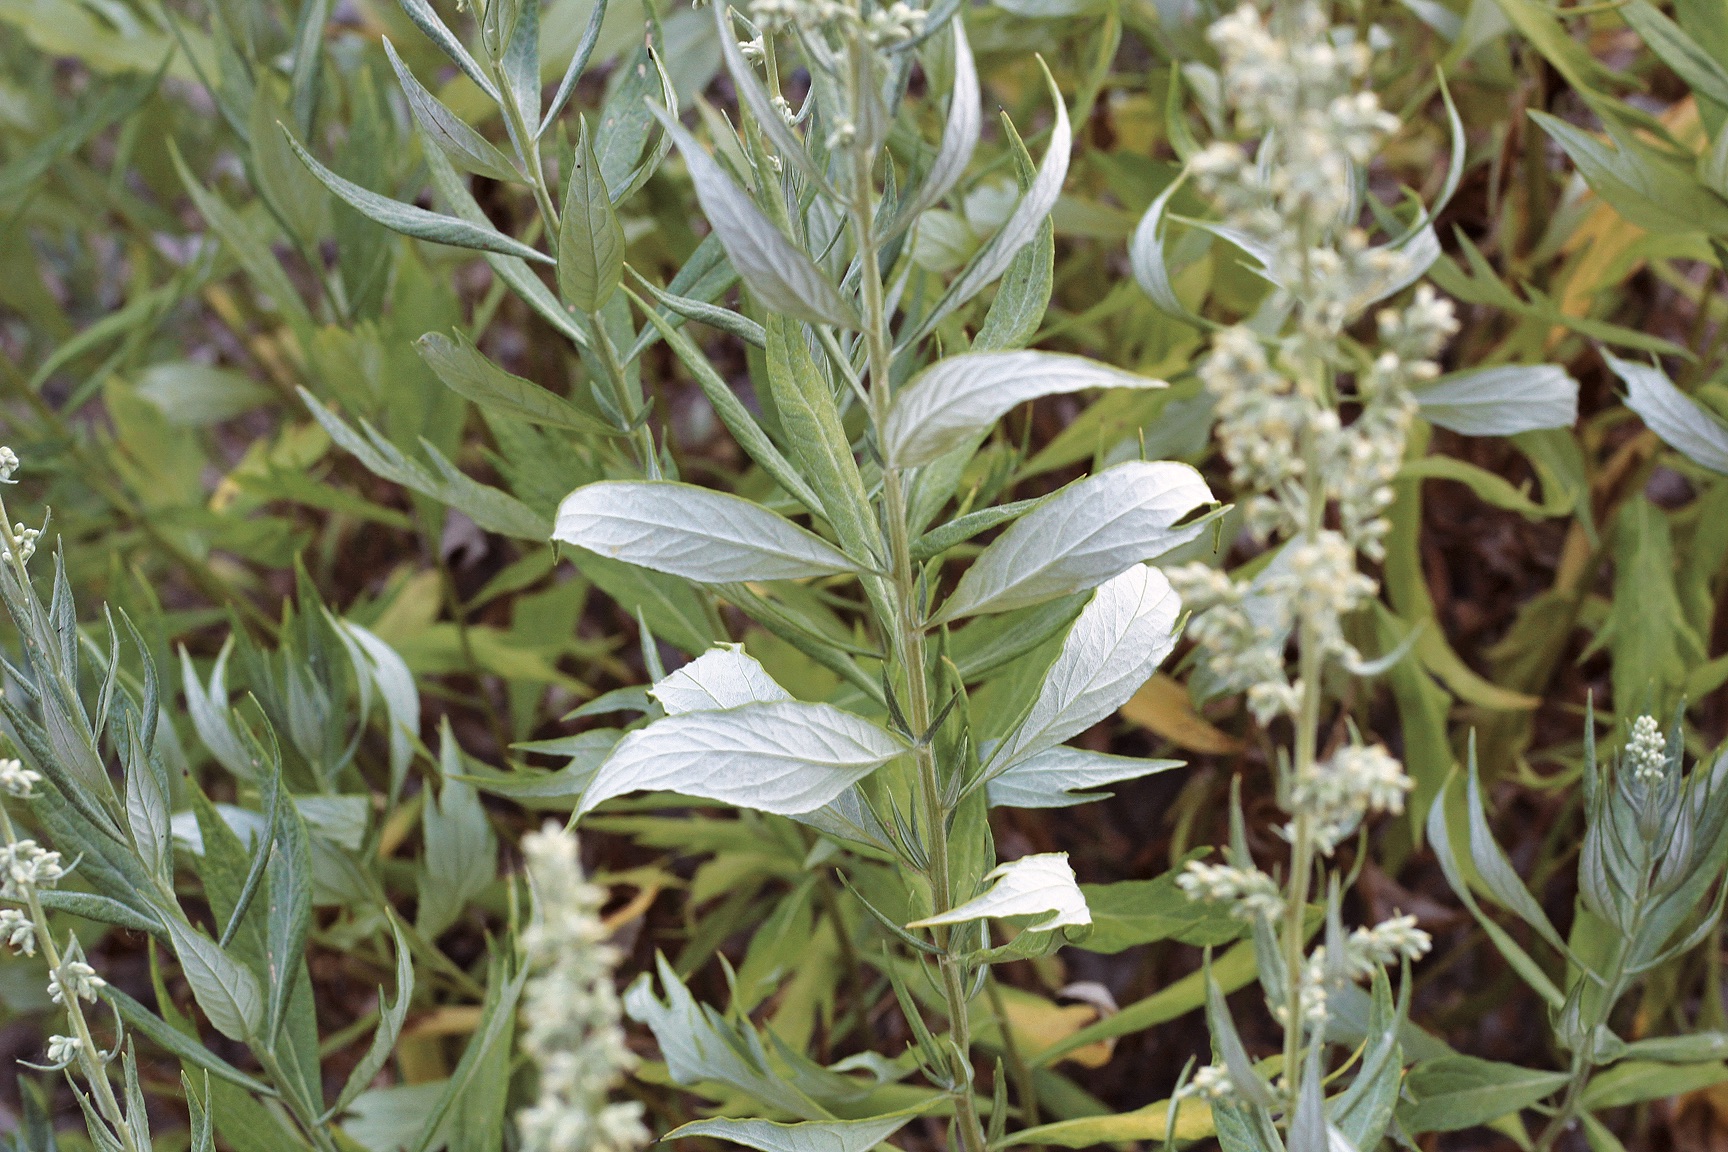
At the risk of sounding like I am banging the hippie-woo-woo drum, mugwort called to me a few years back. My husband, kids and I were hiking through the dense woods to our favorite swimming and fishing area along the river. Still in the dappled shade of the cottonwoods, along the edge of the wood, my eye spied the characteristic tridented leaf of Artemisia vulgaris with the silvery underside in a thicket of blackberries, nettle and other much more abundant plant matter.
This habitat is marginal for mugwort at best, and the fact that there were only a few puny, spindly stocks was proof of that fact. I resolved to leave the stand-alone, as I could not ethically harvest from such a tiny patch. A little disheartened, I carried on toward the river. And to a rolling sea of coastal mugwort, A. douglasiana, along the riverbanks. If you show your restraint and appreciation to the plant world, she often will reward you handsomely.
Among its many virtues, mugwort is perhaps known for one curious feature—its ability to promote vivid, if not lucid, dreams. Perhaps owing to the constituent thujone—which is present in much larger amounts in the notorious, possibly psychedelic, absinthe—mugwort has long been fingered as an herbal tool to encourage visions. Mugwort is sometimes referred to as the “traveler’s herb,” which may be referencing the more metaphorical meaning of the word “traveler” as much as it refers to alleviating traveling complaints such as fatigue and upset stomach.
While there are some reports of mugwort inducing nightmares, that is merely anecdotal, and ethnobotanically speaking, many Native American cultures used mugwort as protection against spirits. While there is no scientific evidence to support the association between mugwort and lucid/vivid dreams, moderate use of the herb tends to increase dream recall in its users.
MUGWORT COMMON NAMES: artemis herb, felon herb, Saint John’s girdle (not to be confused with Hypericum perforatum), witches herb, sailor’s tobacco
LATIN NAME: Artemisia vulgaris, A. douglasiana, A. ludoviciana
HERBAL ENERGETICS: warm/cool/dry
THERAPEUTIC ACTIONS: anthelmintic, antispasmodic, astringent, diaphoretic, digestive, diuretic, emmenagogue, expectorant, nervine, oneirogen (dream enhancer), sedative, tonic, uterine stimulant
PARTS USED: leaves, flowering tops
As a uterine stimulant, mugwort has a long tradition as a women’s herb. Mugwort facilitates blood flow to the pelvic region, eliminating the feeling of fullness and bringing on delayed menses. It is thought to relieve monthly menstrual cramps and soothe labor pains. Although there are some older sources suggesting mugwort in the case of threatened miscarriage, I think that this is a case in which modern wisdom should prevail and mugwort should be avoided during pregnancy. Do not use during labor unless under the guidance and care of an experienced midwife trained in herbs.
Mugwort is also considered an excellent digestive aid. It can stimulate the flow of digestive juices and reduce bloating and after-meal nausea. With a flavor like sage, it can be used culinarily as well as medicinally. In fact, mugwort has been used as a bittering agent for beer making for many centuries. Additionally, this botanical has anthelmintic action, helping to rid the digestive tract of internal parasites.
Mugwort can be tinctured from fresh or dried plant material. Teas and infusions can be prepared from the dry herb; it is suggested to keep your infusing vessel covered to preserve mugwort’s volatile oils. Mugwort can also be used as a tobacco substitute in smoking blends or crafted into incense or smudge sticks.
Mugwort is an intense culinary herb with a flavor similar to sage. It is particularly excellent when used to flavor fattier birds such as goose and duck, and it pairs with sweeter vegetables such as winter squash, sweet potatoes and parsnips.
Mugwort Herbal Substitutes: Sage (Salvia officinalis): digestive, diaphoretic | kava kava (Piper methysticum): dreamwork
SAFETY AND PRECAUTIONS: If you are pregnant, nursing or taking prescription medication, please consult your physician before taking this or any other herb.
LOOK-ALIKES: Wormwood (Artemisia absinthium)
Sow seeds directly into damp peat moss in fall or cold stratify for 2 to 4 weeks for early spring germination. Plant in full sun in well-drained soils with ample water supply. Mugwort will tolerate some drought, but it thrives with decent moisture.
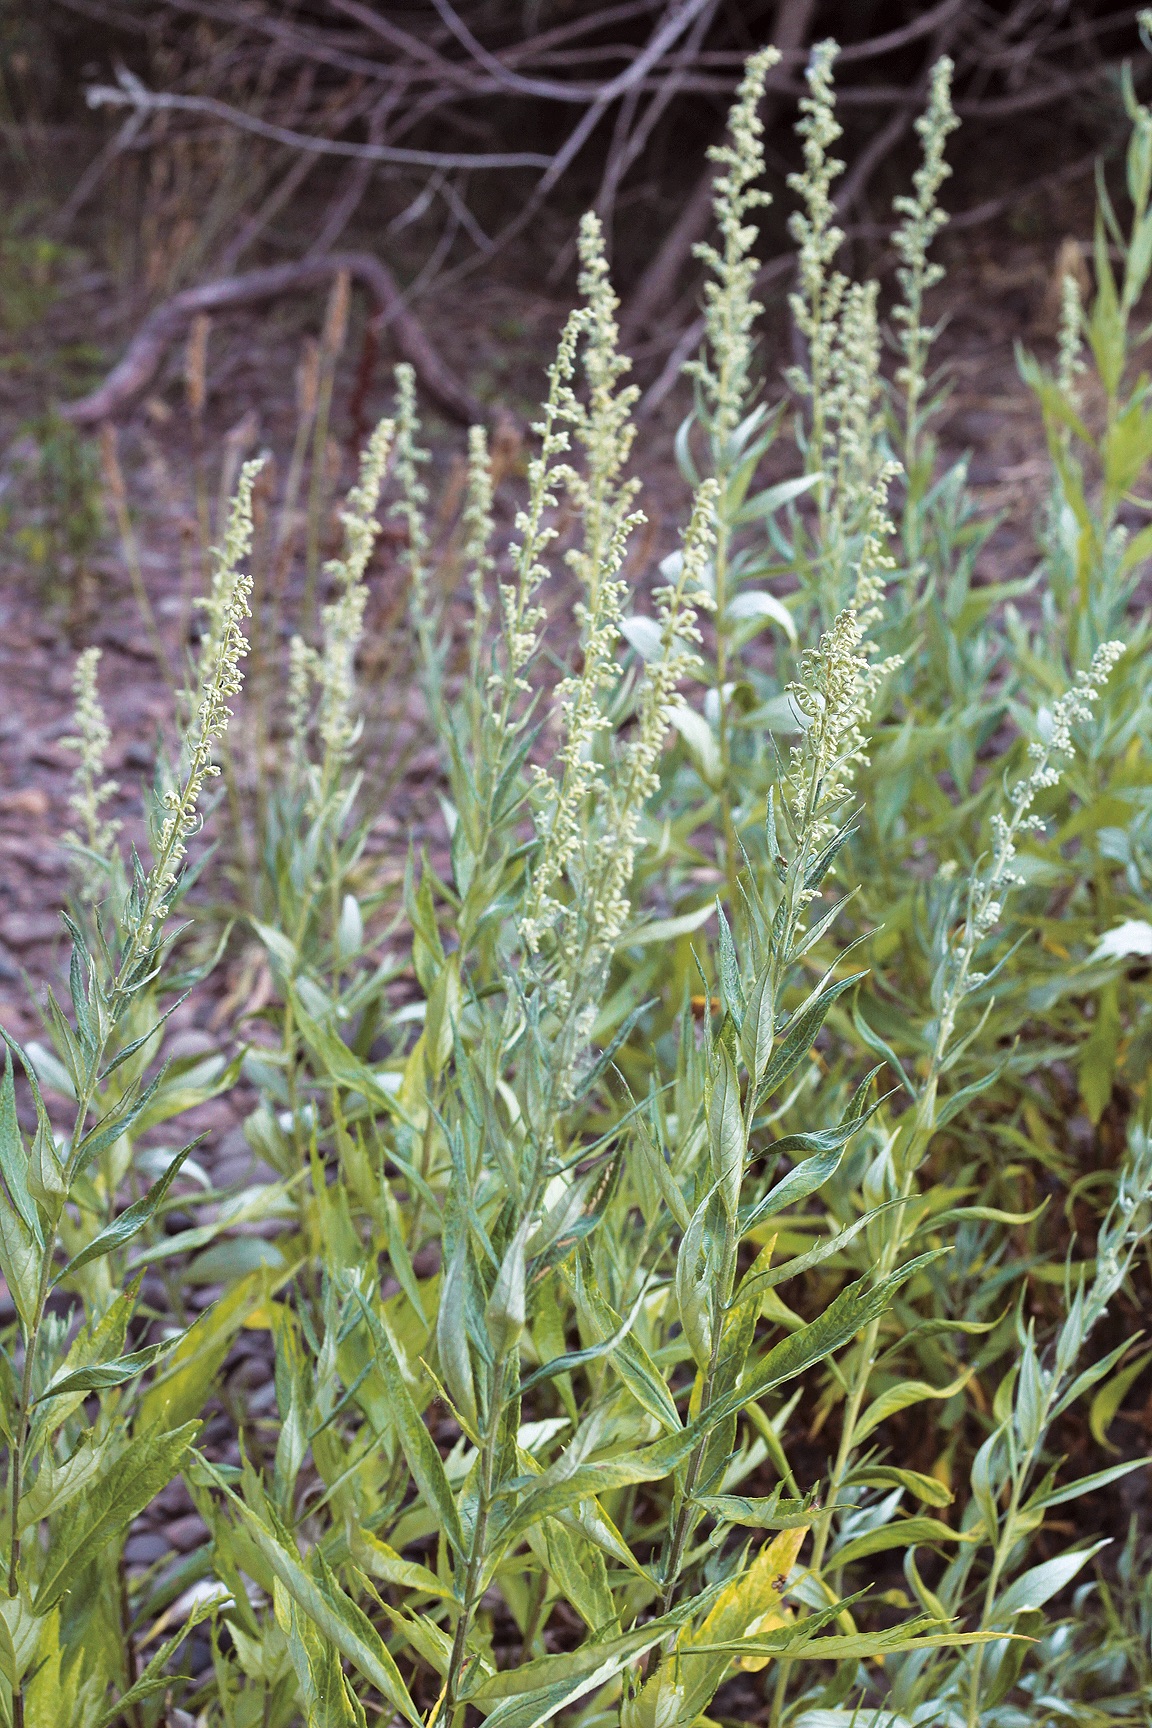
The various species of mugwort are fairly easy to locate in the wild landscape and tend to flourish given the right conditions, making it an easy botanical to forage. It is also a very attractive plant (particularly A. ludoviciana), with its green and silver foliage making a beautiful foil for more colorful plants.
Mugwort is ideally harvested at or near the time of flowering to maximize its volatile oil content.
TYPE OF PLANT: Perennial
HABITAT: Mugwort prefers full sun to light shade in deep, evenly moist soils. This botanical is often found by streams, rivers and gravel bars.
HEIGHT: 3–6′ (1–2 m) depending on species
LEAF: Varies somewhat between species. Leaves are arranged alternately and get smaller and narrower as they rise up the stem. Leaves resemble a trident (some species being more finely cut, and each lobe is irregularly toothed). The upper side of the leaves is green and hairless, while the underside is downy and quite silver-gray by comparison. Very strong sage-like aroma.
STEM: Strong stems that are hairless until the flowering tops
FLOWER: Nondescript panicles of yellowish-green to rust-colored flowers at the top of stems; characteristic sage fragrance
LEAF AND FLOWERING TOP HARVEST WINDOW: Mid-summer
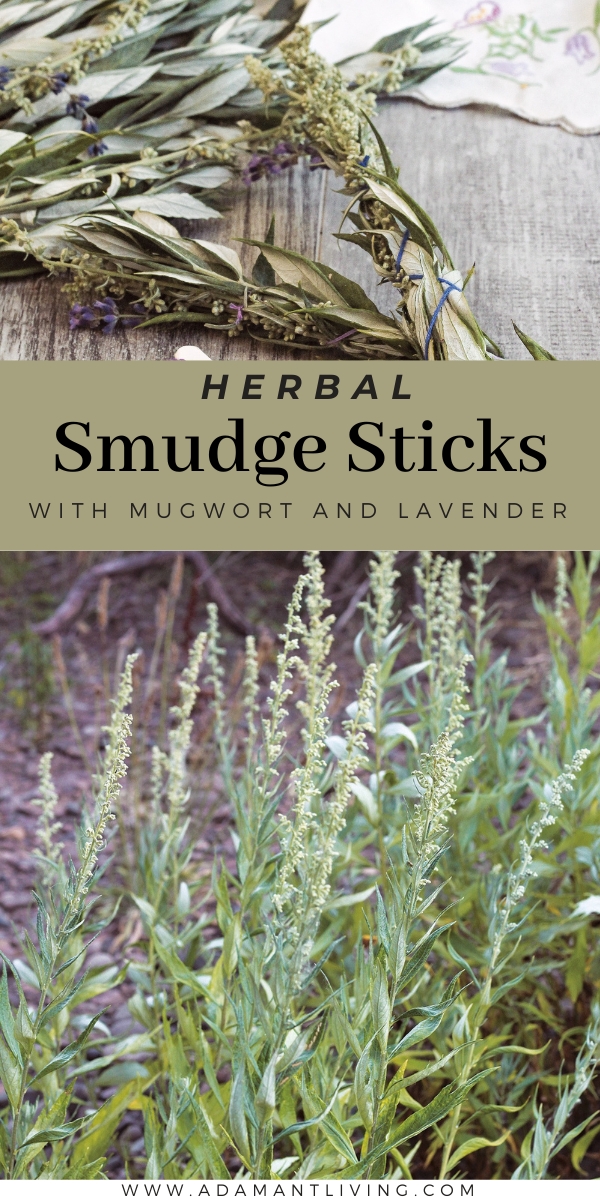
Smudging, the burning of tightly bound bundles of dried herbs, is observed in a number of different cultures and traditions throughout the world. Mugwort and lavender are both highly aromatic and produce a smoke with a relaxing aroma. Burned before bedtime, this smudge will promote a restful, dream-filled sleep.
These instructions make for a small- to medium-sized stick. You can add more herbal sprigs for a fuller stick, if you prefer.
Looking for more herbal remedies?
Herbal coffee is a great caffeine-free alternative, and you’ll enjoy the detoxifying benefits of herbs instead of the jittery side effects of coffee.
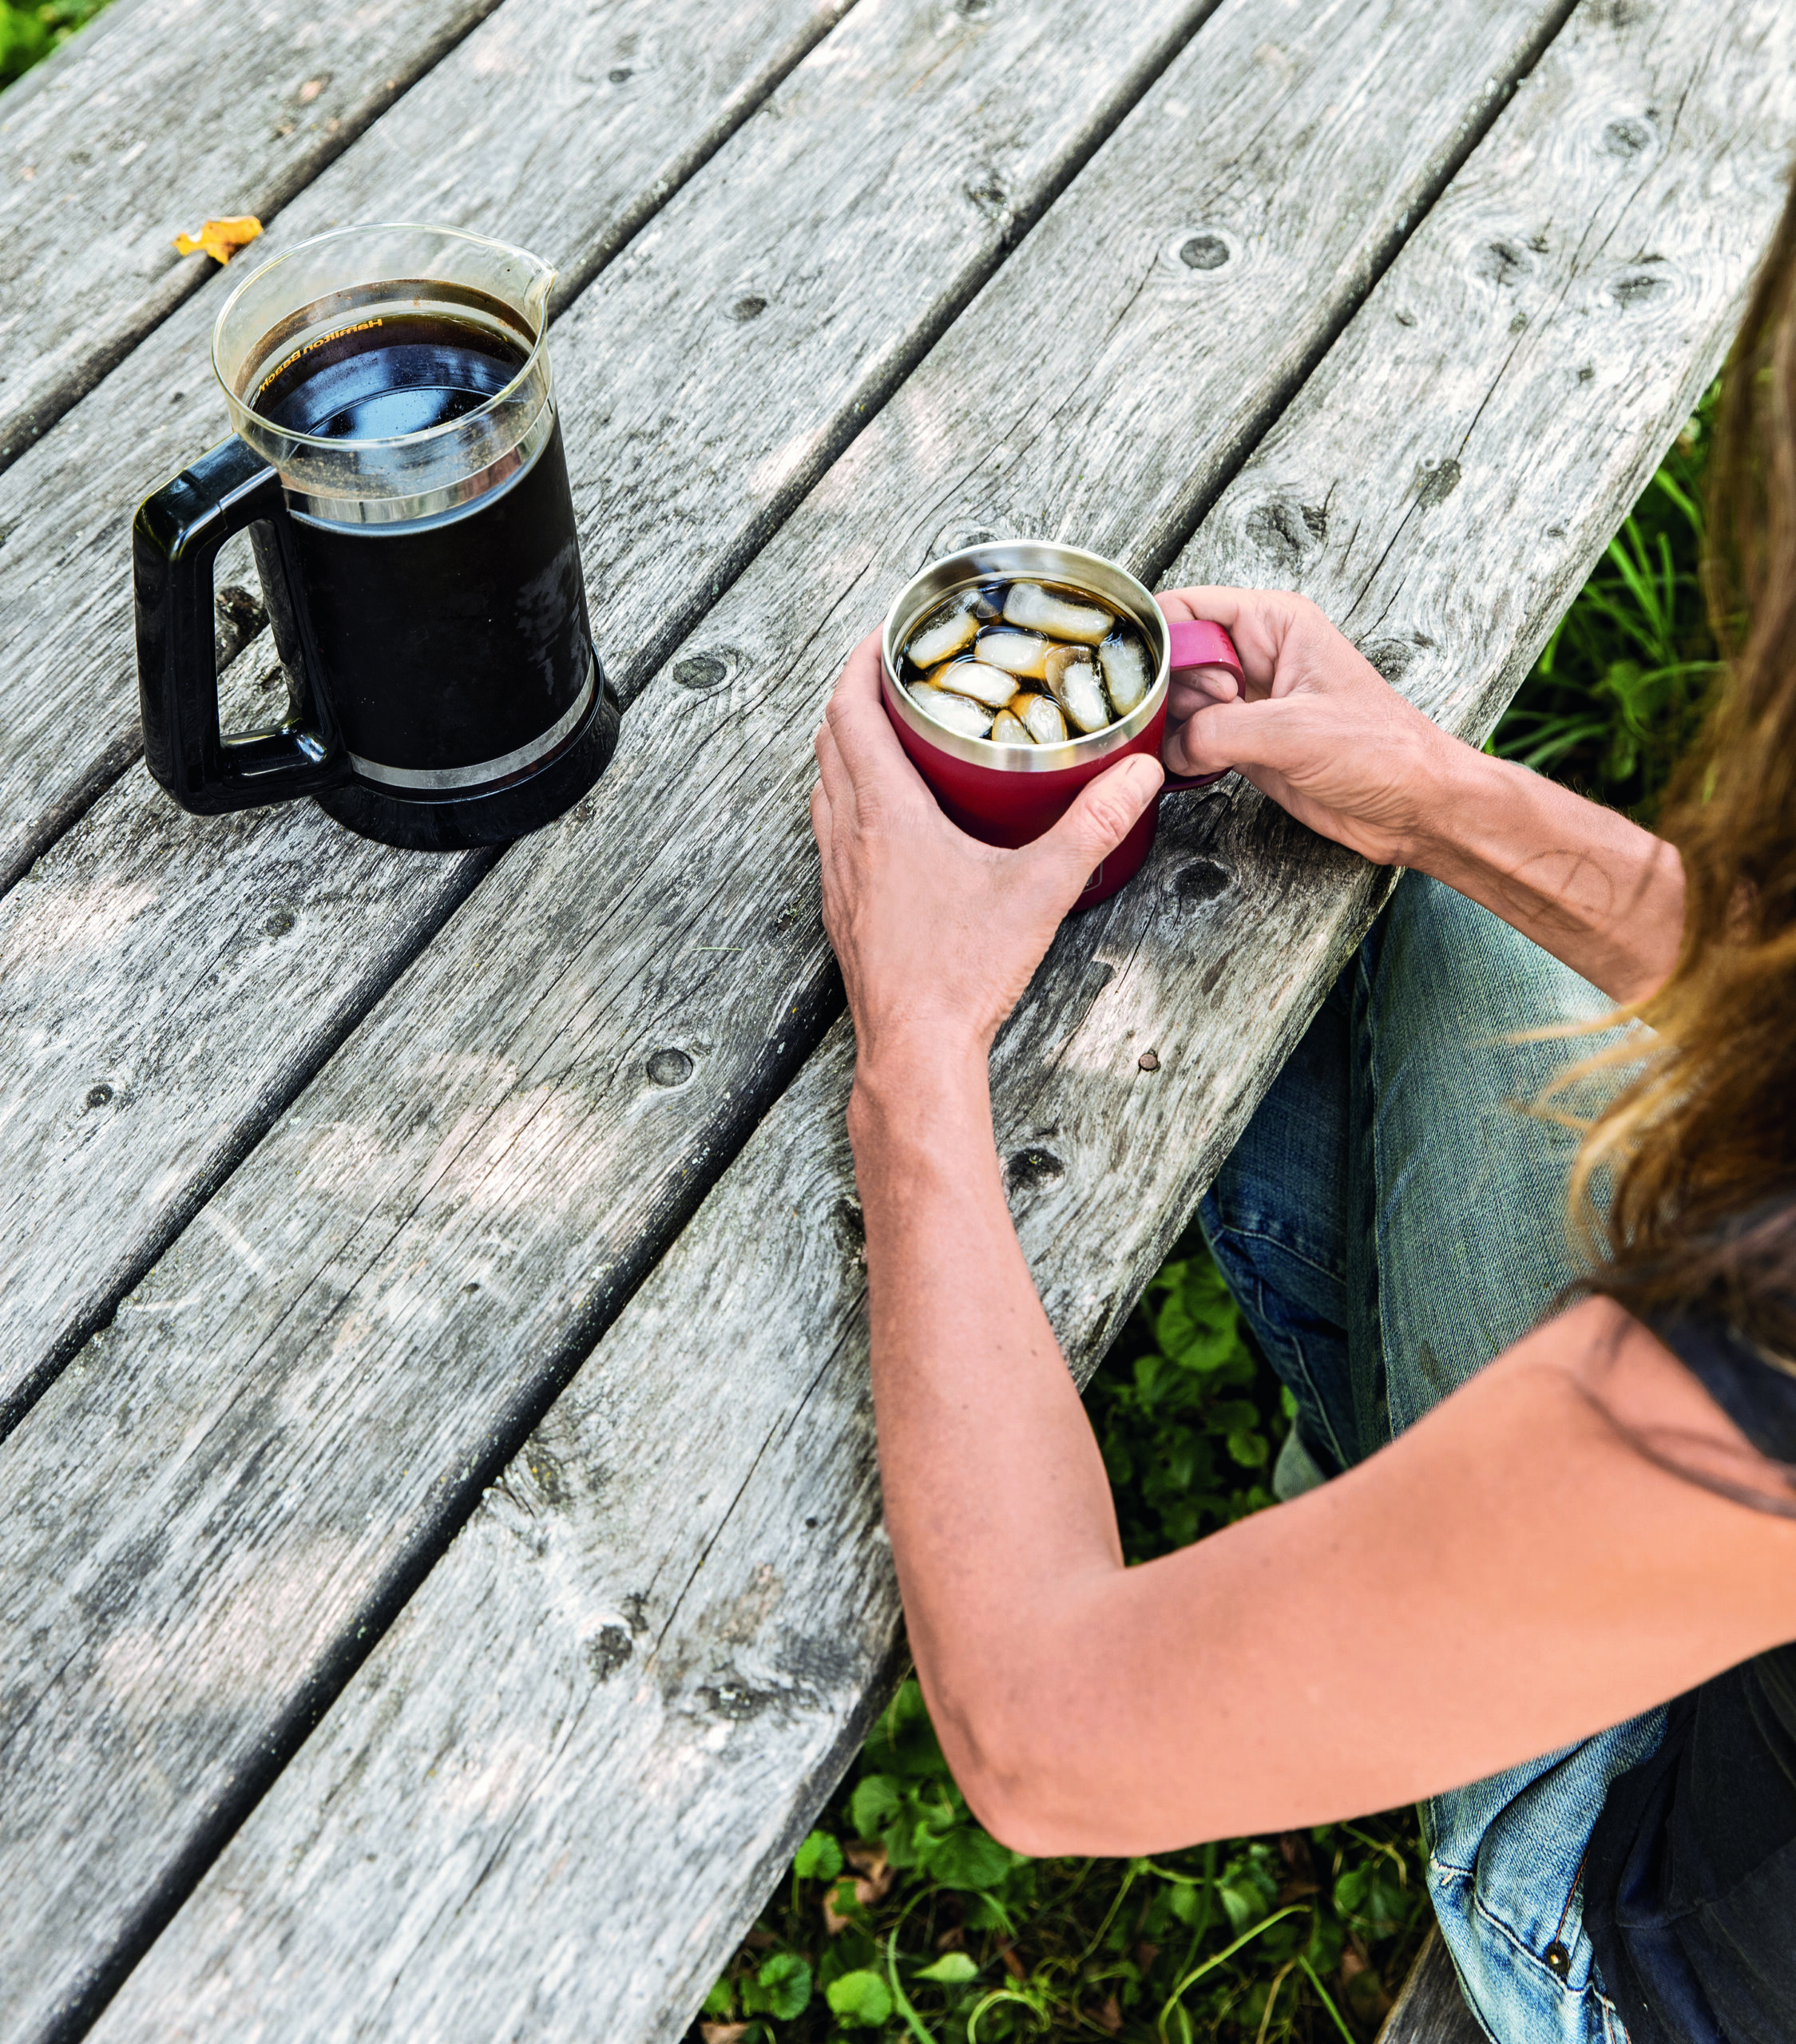
Morning coffee is about more than just caffeine, it’s about a simple ritual to start your day. A warm drink in your hand gives you a few minutes to take stock, get yourself together and get ready to face the day.
When you’re trying to quit caffeine, many people also lose that ritual, and they go back to coffee less for energy and more for the missed time to themselves each morning.
I’ve been looking for a good herbal coffee to replace my daily habit, but all to often, simple recipes lack balance and flavor. I do enjoy dandelion coffee, made with just roasted dandelion roots, but sometimes you want a bit more in your drink. (Like when you’re trying to replace a maple spice latte habbit, rather than just a simple drip coffee routine).
I came across this herbal coffee recipe in the book Herbal Revolution by Kathi Langelier, and it’s perfect! It has a lot more to it, and the balanced flavor (and herbal energy pickup) will help you kick that coffee habit!
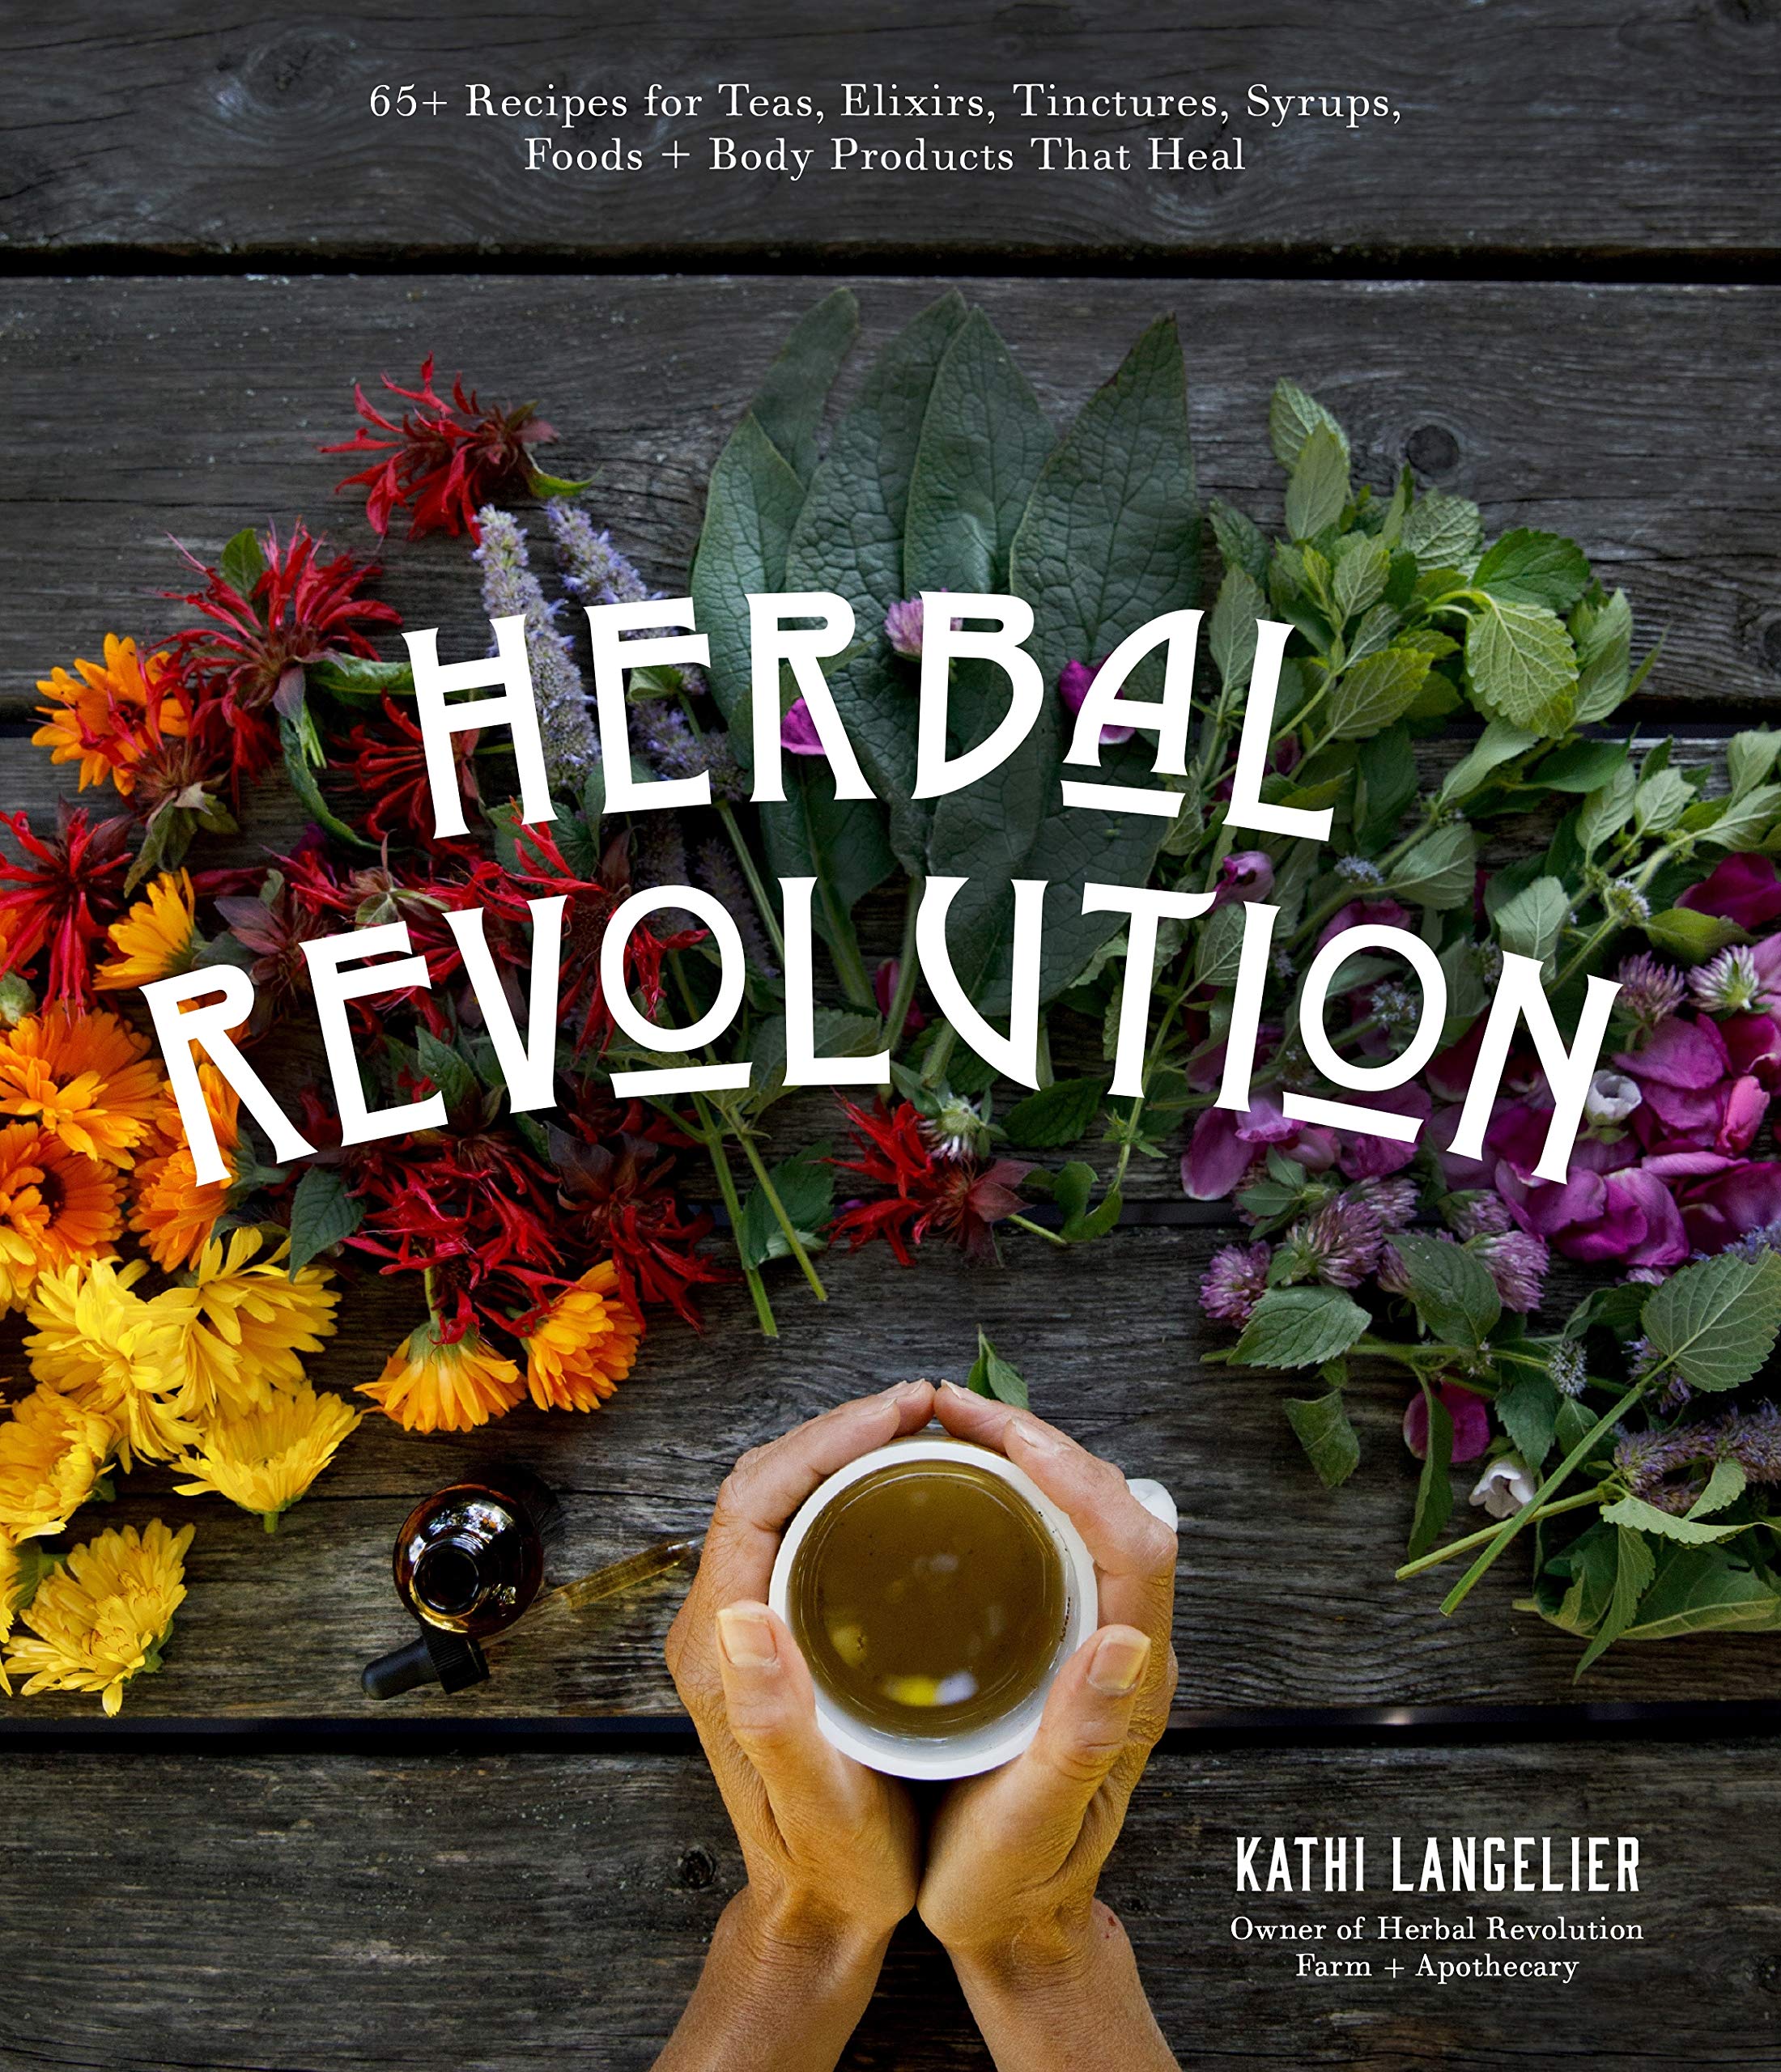
Reprinted with permission from Herbal Revolution by Kathi Langelier. Page Street Publishing Co. 2020. Photo credit: Erin Little.
Whether you can’t drink coffee or you’re looking to cut back, this is the perfect blend. Made with herbs that are earthy, bitter and rich in flavor, this blend can be supportive and building, where coffee for some can be depleting and taxing to the adrenals, liver and digestive system. I like to use herbs such as burdock, dandelion and chicory, which are great for supporting the digestive system, including the liver.
I also include astragalus root in blends to support the immune, respiratory, and cardiovascular systems. Cacao is also wonderful for the cardiovascular system and is gently stimulating. Because this isn’t coffee, it can be enjoyed throughout the day without worry of afternoon jitters, anxiousness or insomnia, all of which can be caused by drinking coffee later in the day.
(Yield varies)
Optional Ingredients
What You’ll Need
First, decide how much of the coffee blend you’d like to make. I use cups for the parts, so I have a large batch that will last me a couple of weeks. When using cups, you will get about 3 cups (400 g) of the blend. If you’re looking to make just a couple of cups of coffee, then I suggest using tablespoon measurements, which will give you around ¼ cup (36 g) of blend. For a single cup, use teaspoons.
Once you’ve figured out how much you want to make, start measuring the herbs into a mixing bowl. Get right in there and use your hands to mix the herbs until it all comes together into a lovely, cohesive blend. Store in a jar until ready to use.
To Make the Coffee
Use 2 to 3 teaspoons (6 to 9 g) of coffee blend per 1 cup (240 ml) of boiling water. Place the herbs in a jar or French press and cover with boiling water. If using a jar, cover with a lid, and if using a French press, make sure not to press down on the herbs until after they’ve had time to infuse. Let it steep for 15 to 30 minutes, then strain into your favorite mug and enjoy warm.
For a chilled drink, let it steep at room temperature for at least 15 and up to 60 minutes before placing it in the fridge to chill. If you’d like a more robust flavor, which I prefer, then no need to strain before chilling in the fridge.
Note: There is a small amount of naturally occurring caffeine in cacao, but the amount in this blend would not be noticeable to most people, and it adds such a lovely flavor. If you need this totally caffeine-free, simply omit the cacao powder/nibs.
Looking for more herbal inspiration?
Making your own lotion at home is a fun, cost-effective option for creating a skincare product that’s specifically formulated to meet your skin’s unique needs. In this comprehensive guide, you’ll find all the information you need to choose a formulation based on your skin type as well as detailed instructions for creating a moisturizing lotion free from irritating or abrasive ingredients.
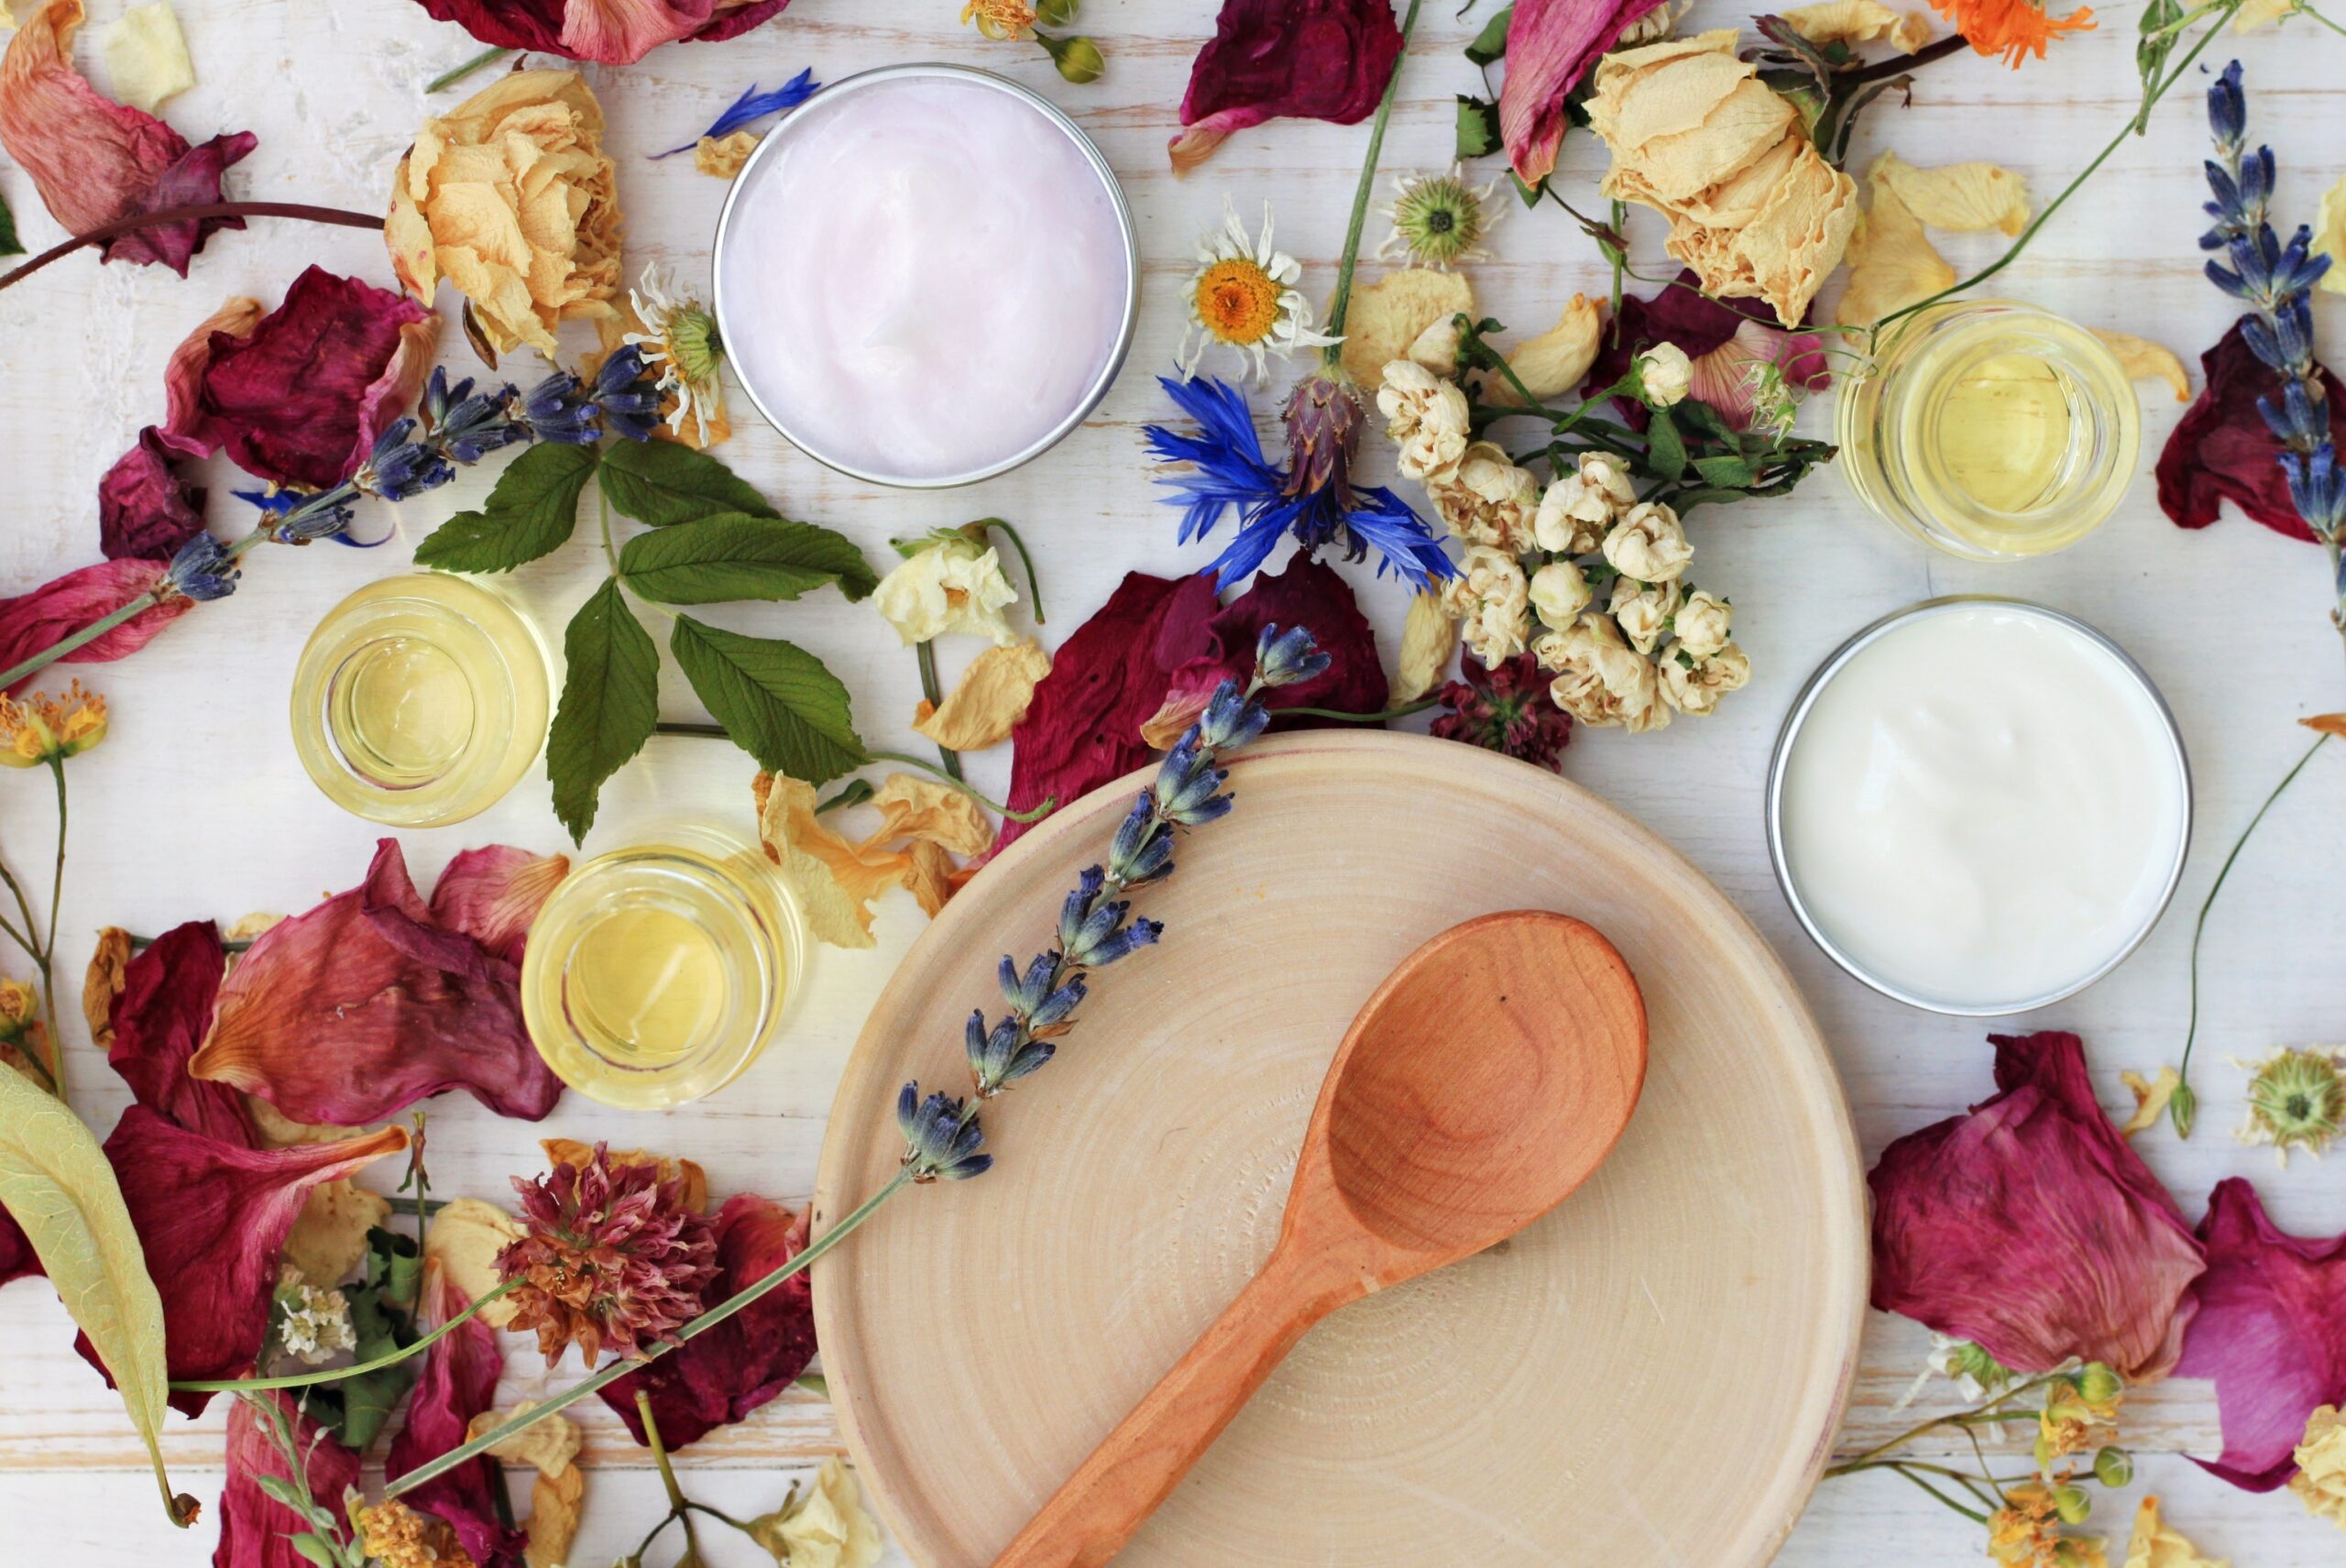
Homemade beauty products give you the peace of mind of knowing exactly what’s going onto your skin, and homemade lotion is no different.
While you can make salves, body butter, and lotion bars…sometimes there’s just no beating old-fashioned skin-nourishing lotion. It’s a bit trickier to make than the others, because it contains both oils and water to hydrate and condition your skin.
Having the right lotion recipe is key to success, but fear not, I’ll walk you through everything you need to know to make your own lotion at home!
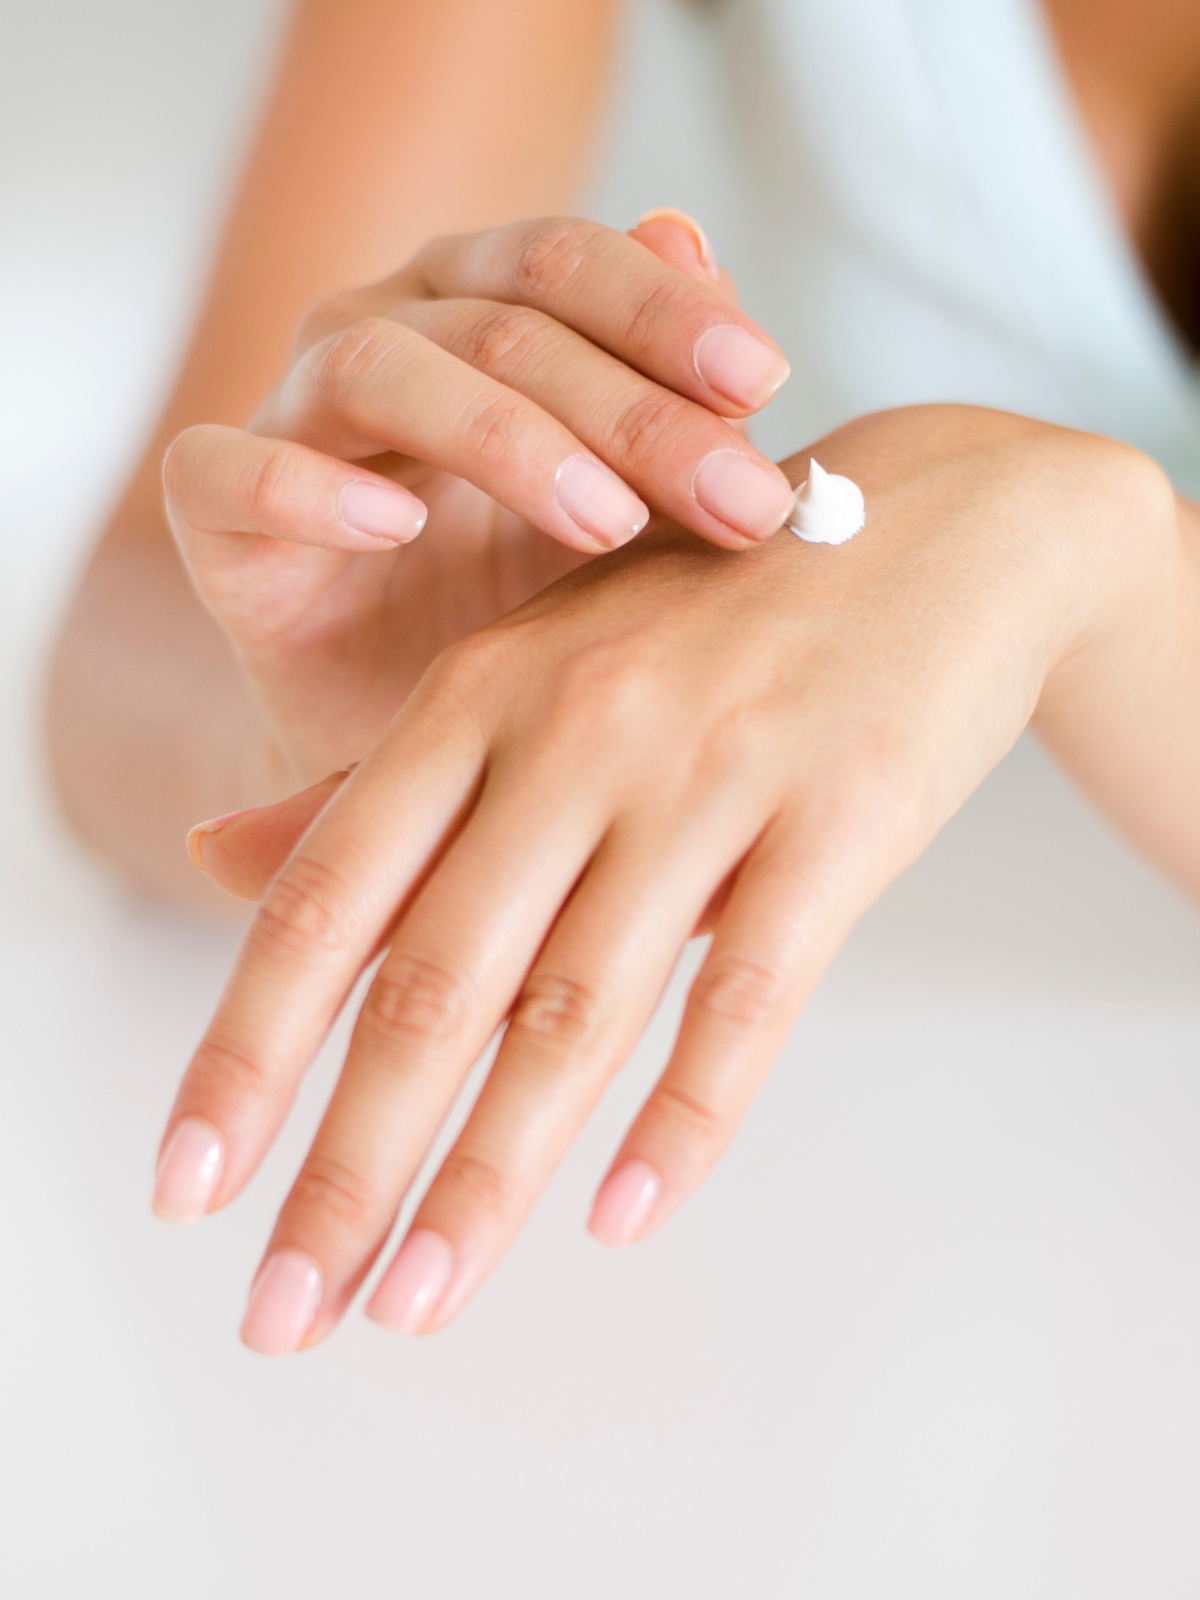
Lotion is a skincare product that is specifically used to moisturize and soften the skin. Lotions and creams are both emulsions of oil and water. Lotion is made using more water than oil (in varying ratios) and cream, with its heavier texture, contains more oil than water. Because of its high water content, lotion is both lightweight and exceptionally moisturizing.
To prevent the ingredients from separating, an emulsifying wax is first melted and then mixed with the oil and water. From there, extras such as shea butter, essential oils, and vitamin E can be added to personalize your lotion and target specific skin concerns.
This lotion recipe can be formulated to support a wide variety of skin types, including dry, acne-prone, oily, mature, and sensitive skin. It can be applied all over the body or used exclusively on the face. Therein lies the fun of making your own lotion and homemade beauty products in general—the sky’s the limit in terms of supporting ingredients (and all at a much lower cost than pricey store-bought skincare products).
One thing to keep in mind is that lotion has a relatively short shelf life—which is a good case for making small batches at a time. Unlike salves and balms, which don’t contain water, lotion is prone to spoilage over time. For this reason, it should be stored in the refrigerator and used within a month’s time (I’ll get into this further down, where I’ll also be sharing tips for prolonging the shelf life of your lotion).
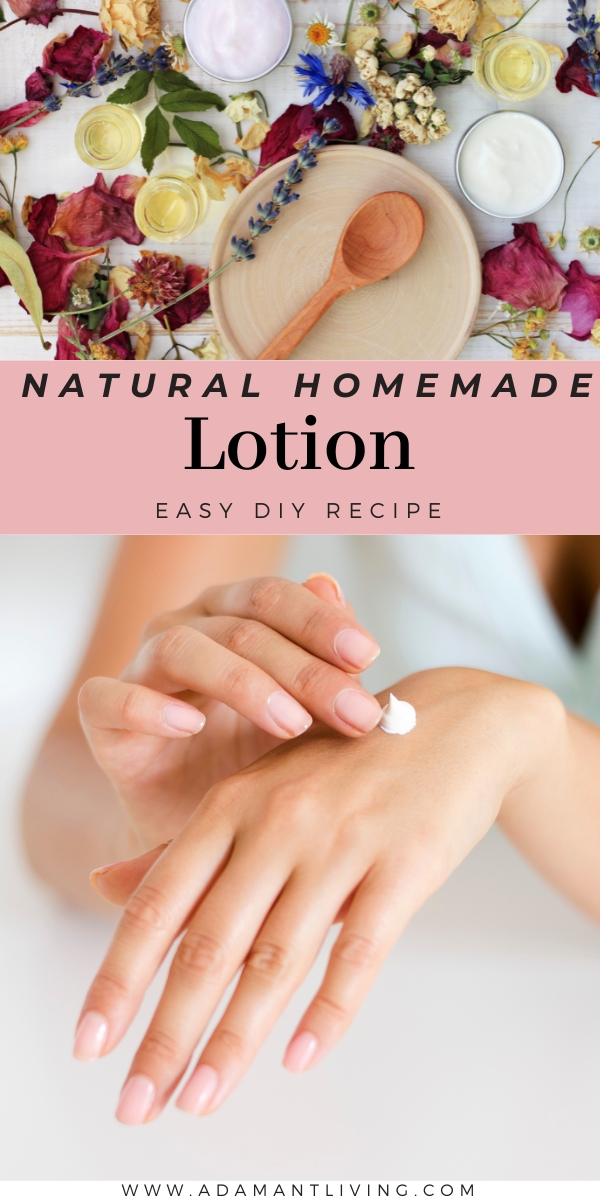
The basic ingredients for DIY lotion are simple: you need oil, water, an emulsifier, and a preservative. As you’ll see below, there are many options to explore when it comes to each of these umbrella categories.
When you’re choosing an oil to include in your homemade lotion there are a couple of factors to consider. First, where will the lotion be applied? Depending on if it’s being used on the face or the body, you might want an oil that’s on the lighter side or one that’s super-rich. Do you have any known skin sensitivities, particularly any that can have an adverse effect on acne, rosacea, eczema, or otherwise blemish-prone skin? These are important questions to consider, as some oils are more likely to cause comedogenic issues which can lead to clogged pores (while others are known for the positive effects they have on skin that is prone is breakouts).
The oils I’ve included in this section contain a wide range of nutrients, all of which benefit the skin in myriad ways. Whichever oil you end up using, make sure it’s one that makes your skin feel hydrated and pampered.
Apricot kernel oil is an effective yet non-greasy moisturizer with antibacterial, anti-inflammatory, and antioxidant properties. Apricot kernel oil is particularly well-suited to mature, dry, and sensitive skin. Thanks to its impressive vitamin A and E content, apricot kernel oil can also be used to make a lotion that both softens and fades scars and stretch marks. Apricot kernel oil is also a popular choice for dark under eye circles or when the skin around tired eyes needs brightening up up.
Argan oil is a rich source of vitamins A and E in addition to having impressive anti-aging and anti-inflammatory benefits. Argan oil is pressed from the nuts of the argan tree, which grow in southern Morocco. A good choice for normal, oily, mature, damaged, and acne-prone skin types, argan oil is a common ingredient in rash and wound-healing preparations. Lotion made with argan oil can also be soothing to those who experience regular breakouts, not only does it help prevent clogged pores, it also regulates skin cell turnover thanks to its gentle exfoliating abilities.
Another oil that’s an excellent source of vitamins A and E, avocado oil is also rich in vitamins B5, B6, and C as well as magnesium—a mineral that has proven muscle-relaxing properties when rubbed into the skin. Avocado oil is ultra-moisturizing base for any lotion, making this anti-aging and anti-inflammatory oil a good option for those with combination, damaged, and otherwise depleted skin types. When avocado oil is applied topically it may help prevent acne as well as reduce signs of hyperpigmentation and skin damage.
Coconut oil is a classic addition to lotion and other skincare products for many reasons: it’s an excellent moisturizer, it’s high in vitamins A and K, and it has antimicrobial and anti-inflammatory properties. If you want to make a lotion that targets normal, inflamed, or damaged skin types, choose coconut oil. Skip the coconut oil if you have acne-prone skin—for some skin types coconut oil can worsen breakouts.
Grapeseed oil is packed with vitamin E and omega-6 fatty acids, which helps it absorb into the skin more efficiently than other oil types. Lotion made with grapeseed oil will not only moisturize your skin, it also helps tighten pores while reducing the appearance of scars and stretch marks. Lotion made with grapeseed oil is particularly well-suited for acne-prone, combination, or oily skin types.
If you’ve ever had a professional massage, there’s a good chance you’ve already benefited from the moisturizing properties of jojoba oil. Packed with vitamins E and B, lotion made with jojoba oil is ideal for those with acne-prone, combination, and oily skin. In the skincare industry, jojoba oil is prized for its ability to unclog hair follicles, which means it may be helpful if you suffer from folliculitis or any other ailment that is caused by clogged follicles.
Olive oil is a good source of vitamins E and K, both nutrients that have anti-inflammatory and antioxidant properties (attributes that are known to help lessen signs of aging skin). Because olive oil is such an effective moisturizer, it’s best-suited to lotion that has been made for dry, mature, or combination skin types. For topical application, choose an olive oil that’s been labelled 100% pure olive oil. If in doubt, check the ingredients—olive oil should be the only ingredient, avoid those with added filler oils.
Peach kernel oil is known for its ability to quickly absorb into the skin, making it a favorite choice for skincare companies and DIY beauty product enthusiasts alike. A good option for those with sensitive and dry skin, peach kernel oil is packed with vitamin E and omega fatty acids, which leaves skin feeling pampered and supple. Lotion made with peach kernel oil is particularly effective when applied under the eyes to reduce the appearance of dark circles and puffiness.
A potent option for acne-prone skin types, rosehip seed oil is a natural source a retinoid called trans retinoic acid. When applied topically, retinoids help regulate the production of skin cells (they work by increasing cell turnover, acting as a gentle exfoliant) and regular use can result in brighter, less inflamed skin with few blackheads and breakouts. And speaking of inflammation, lotion made with rosehip seed oil works exceptionally well to reduce symptoms of eczema, psoriasis, rosacea, and dermatitis. Finally, with consistent application, rosehip seed oil is thought to reduce hyperpigmentation from sun damage.
Not to be confused with bitter almond oil, which has an intense, marzipan-like aroma and is toxic to injest by mouth, sweet almond oil is mostly scentless and a common ingredient in both skin and haircare products. Sweet almond oil is an abundant source of vitamins A and E. As with rosehip seed oil, sweet almond oil contains vitamin A in the form of retinoids, which leaves the skin feeling soft and luminous with daily use. Sweet almond oil is perhaps most famously included in skincare products that are intended to help lighten and fade scars and stretch marks.
Essential oils have a much different intended use than the neutral carrier oils listed above. When included in a recipe for lotion, they’re used in relatively minuscule amounts—a single batch of lotion needs barely a gram to make an impact. Popular essential oils for homemade skincare products include rose, lavender, rosemary, patchouli, and ylang ylang.
Lotion is made with oil and water, two substances that infamously don’t mix well together. In order to blend the two, something called an emulsifier is needed. An emulsifier is a substance used to to stabilize emulsions (in other words, keeps tiny oil droplets uniformly spread throughout the water or water-adjacent base liquid). It also contributes to the lotion’s final consistency, giving the finished lotion in a rich and creamy—but not too heavy—feel.
Some factors to consider when choosing an emulsifier include whether or not you prefer a vegan option, the specific lotion formulation you’re following, and the choice between adding the emulsifier during the water stage or with the oil and water together in the same container.
Emulsifying wax, which is sometimes referred to as e-wax, is a popular emulsifier choice for homemade lotions. When sourcing emulsifier wax, look for proprietary product names like BTMS-50, Emulsimulse, Olivem 1000, or Polax—you’ll find the exact chemical makeup is different depending on the formula you choose. Generally speaking, emulsifying wax is made from fatty acids and esters. In addition to stabilizing the ingredients in homemade lotion, it also contributes to the texture and feel of the finished result.
Lecithin powder is an easy-to-use emulsifier made from a variety of sources, including egg yolk, rapeseed, and cottonseed (Mountain Rose Herbs has two lecithin options, one derived from soybeans and one made from sunflower oil).
Stearic acid can be derived from both animal and vegetable fats (an important distinction if you want to make a purely plant-based lotion) and is typically sold as small, wax-like pellets. Stearic acid is a co-emulsifier, which means it improves the viscosity as well as the stability of the formulation it is added to.
Another co-emulsifier, cetearyl alcohol is a mixture of fatty alcohols that produce a creamy, smooth emulsion. Because cetearyl alcohol is oil soluble, it should always be added during the oil phase/directly to the oils being used in your lotion.
A familiar skincare ingredient, beeswax is a good choice if you want a lotion that’s as close to unprocessed as possible. When buying beeswax, look for beeswax pellets rather than the bars or solid blocks—it’s much easier to accurately measure out tiny pellets versus big chunks of wax using a kitchen scale.
The water phase, also known as the aqueous phase, is an integral part of the lotion-making process. Because lotion is overwhelmingly made of water, the quality of the liquid used during this phase is a fairly crucial component when making your selection.
Any water that is included in your homemade lotion recipe should be distilled. This isn’t so much a matter of purity or personal preference, the main benefit of using distilled water is that it’s free from additives like chlorine, fluoride, and minerals which could theoretically have an effect on your finished lotion. Distilled water is inexpensive and can be purchased from drugstores or the grocery store. If distilled water isn’t an option for you don’t worry, you can still make lotion with regular tap water (and chances are, the results will be similar if not the same).
Persian grocery stores are a fantastic and often inexpensive source for hydrosols such as rosewater. In addition to rosewater, I’ve found additional scented waters including orange, lavender, rosemary, lemon verbena, chamomile, and mint—each essence gives the finished lotion a subtle, pleasant aroma.
Cooling aloe vera water or juice is a natural fit for lotions, especially those applied to sunburnt, itchy, or dry skin. Aloe vera has impressive and cooling hydrating properties for inflamed skin and can also be beneficial for those who are prone to acne or rosacea.
Why not add the proven soothing and anti-itch ingredient to lotion? Distilled water that has been used to soak oats is a no-brainer of a liquid base for lotion, especially one that’s formulated for use on dry and itchy skin. Consider thinning out oat water with another water-like substance, as pure oat water may cause the lotion to thicken to an undesired consistency.
Similar to the oatmeal soak listed above, you can also use unsweetened herbal tea (or a tisane, if you want to get technical) as a liquid base for lotions. Some of my favorite herbal tea bases to use include fresh or dried stinging nettle, calendula, or chamomile.
Broad-spectrum preservatives play an important role in any given lotion’s formulation. They protect the lotion from bacteria and mold growth and extend its self life from a number of days to a number of months. Certain non-broad spectrum preservatives, of which I’ve gone into in more detail below, have specific limitations and should be used as complementary (rather than primary) options.
These preservatives are naturally derived, broad-spectrum plant-based preservative—perfect for vegans and non-vegans alike. Fair warning, there’s a good chance that you’ll have to order them from a commercial manufacturer or a specialist website, but by choosing a preservative that’s been tested on a large scale you can be sure of its efficacy as ingredient.
Each preservative has its own set of uses and limitations, so it’s important to carefully read the label before purchasing and using the product. You’ll find that certain preservatives work best when added to lotions (and any other skincare product) that have a particular pH range and/or temperature range. Many broad-spectrum preservatives also offer additional benefits to the skin, such as improved moisturizing or skin soothing properties.
Some of the more commonly available and extensively tested commercial plant-based preservatives include the following:
*This preservative has been ECOCERT-approved as an organic preservative, making it appropriate for homemade or commercial organic skincare products.
Vitamin E is not considered a broad-spectrum preservative and is, therefore, not suitable as a primary preservative. However, vitamin E has antioxidant properties so it does have its uses as a preservative for oil and oil-based ingredients. I like to add a small amount of vitamin E as a nourishing add-on when making lotion, which gives it a boost of benefits for the skin while helping to extend the shelf life of the lotion.
Similar to limitations with vitamin E, rosemary oil will help prevent the growth of bacteria in oil-based ingredients but will do nothing to counteract these growths in water-based ingredients. Although it might not be an appropriate choice for a broad-spectrum preservative, rosemary oil has strong antimicrobial, antifungal, and antimicrobial properties—not to mention a beautiful pine-like, woodsy aroma.
Alcohol and tinctures (also known as herb-infused alcohol) are suitable preservatives for many types of skincare products, particularly those with astringent properties, but in order for alcohol to act as a broad-spectrum preservative in lotion it needs to make up 15% of the finished lotion’s volume. To say that would be drying would be an understatement! If there’s a tincture I think would be a great addition to homemade lotion I add it as a supplemental ingredient—any added preservation is a bonus at that point.
If you’re like me and can’t resist a deep dive into anything related to DIY skincare, I’d highly recommend this scientific exploration of natural preservatives.
All the preservatives in the world won’t fully protect your lotion from the growth of unwanted bacteria if you begin with less-than-sterile equipment. Always sanitize glassware, whether’s it’s being used to measure ingredients or for storage. You can do this with a dishwasher or by washing the glass with soap and hot water—white vinegar can also be added to get your containers squeaky clean. Be sure to disinfect your work station before beginning, too.
A basic kitchen scale is a must for anyone interested in making their own skincare products. While it’s possible to find lotion recipes that are measured in cups, you’ll be able to measure out your ingredients to a much, much higher degree of accuracy if you use a scale. It’s also much simpler to tinker with recipes if you stay within the confines of any given weight measurement. Plus, a kitchen scale eliminates the need for other measuring tools—simply tare the scale each time you need to add the next ingredient.
You’ll also need some heat-proof glass jars, which are used to hold the oil and water (separately) while they are gently heated up in a water bath. Sterilizing the jars before use is recommended—simply wash them with hot soapy water or run them through the dishwasher.
Any large, wide-bottomed pot or a Dutch oven—this will be used for a water bath to slowly heat the oil and water in their separate containers.
To make sure the ingredients are fully emulsified, I like to blend them together with a stick immersion blender. Some people just use a whisk, but I like the uniformity in texture that an immersion blender gives the finished lotion.
Finally, a pack of pH test paper strips to check the final pH of your lotion and to make sure the pH matches the recommendations of your chosen preservative.
Begin by disinfecting your workspace and sanitizing all jars and any utensils you plan on using in hot soapy water or in the dishwasher. If you want to blend the oil and water together at a later point, include a whisk or the detachable blade piece of an immersion blender in your sanitization plans.
Weigh out your choice of aqueous liquid. For the purpose of these instructions I’ll refer to it as distilled water, but you’re free to choose the type of liquid you’d like to use. For this recipe, we’re going to use 65 grams of distilled water. Measure the distilled water out in one of the sanitized jars.
In another sanitized jar, we’re going to weigh out 30 grams of oil. Many types of emulsifying wax need to be melted directly into the oil. Carefully check the label of your emulsifier and if this is the case, add 4 grams of emulsifying wax to the oil.
Transfer the jars to a large, wide-bottomed pot or Dutch oven and fill it a couple of inches high with water, this will function as a water watch as we gently heat the ingredients. Bring the water to barely a simmer and heat the oil and water until they both reach a temperature that’s somewhere between 160°-170°F/70°-75°C—try to get each liquid as close in temperature to the other as possible.
Add the water to the oil (in this order) and whisk or blend the ingredients until the mixture has reached the desired texture.
Allow the water, oil, and emulsifier mixture to cool down. You can use the cooldown period to check the pH of your lotion, with a pH of 5-6 being ideal for use on skin. To increase the pH, add a couple of drops of lactic acid. If the pH is lower than you’d like, add a very small amount of baking soda (remember, it’s always best to add ingredient gradually—you can always add more but it’s basically impossible to take out if you go overboard).
Once the lotion has reached a temperature of 85°F or 30°C it’s time to stir in 1 gram of preservative and any other ingredients that are sensitive to heat. If you’d like to include essential oils in the mix, you can also add 1 gram of essential oil to the lotion at this point.
Carefully decant the finished lotion to a container. For the sake of keeping your lotion as sanitized as possible, these flexible silicone tubes can’t be beaten. Not only are they perfect for travel, your fingers won’t come into contact with the remaining lotion which means bacteria has less of a chance to thrive. If you prefer to store your lotion in glass, these lidded containers fit the bill (and are pretty enough for gift-giving if you find yourself in the habit of making your own skincare products).
Once you’ve mastered the basic formula for lotion you can begin to explore other recipes, oil blends, emulsifier options, and add-ins meant to target specific skin types and concerns.
Thanks to its high water content, lotion that is made at home is considered a perishable product. If all safety precautions were taken with sanitizing equipment and with choosing appropriate ingredients, homemade lotion should last about 3 months when it’s stored away from heat and a direct source of light. While it isn’t strictly necessary to refrigerate lotion that contains natural broad-spectrum preservatives, I find that the colder temperatures can extend the shelf life of small-batch skincare products even longer.
On the other hand, if you’ve decided to make lotion without the use of preservatives or with preservatives that aren’t broad-spectrum, refrigeration is mandatory, and your lotion should be used within 1 to 2 weeks (depending on the volatility of the oils used in the recipe).
Looking for more DIY skincare products that you can easily make a home?
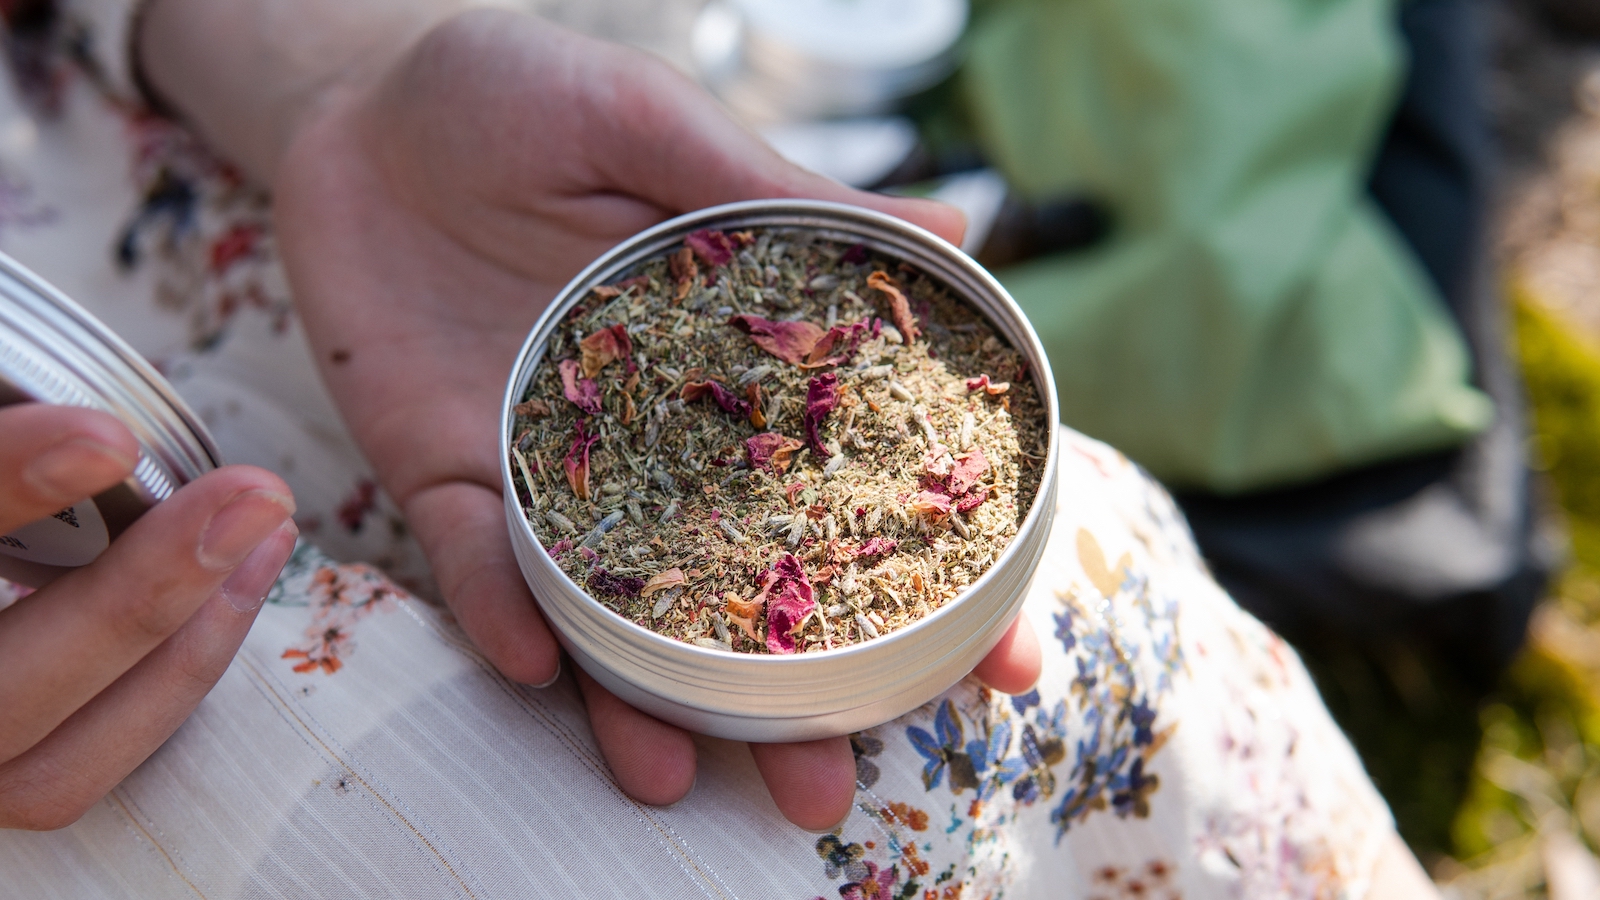
Herbal cigarettes are rolled entirely from dried herbs like mullein, raspberry leaf, mint, and rose petals. They come from a long tradition of herbal smoking blends, and a simple homemade blend comes together in about ten minutes.
People have been burning plants for as long as there’s been fire. Native peoples across North America blended leaves and inner barks into smoking mixtures, and several of those plants still grow wild across the continent.
The herbs in a modern blend are mostly familiar ones. Mullein, red raspberry leaf, peppermint, and lavender are the same plants that go into a cup of tea or an herbal bath tea, just dried and rolled instead of steeped.
Smoking is one of dozens of herbal preparations, and it’s one of the oldest. It has plenty of history attached to it too, and some of it turns up in the journals of the Lewis and Clark expedition.
If you’d rather scent a room than roll anything, herbal smudge sticks use many of the same plants. And for simple projects that start with a cup of tea or a jar of oil, there’s a whole list of herbal remedies anyone can make at home.
An herbal cigarette is a hand-rolled cigarette filled with nothing but dried herbs. Most homemade versions use a soft, mild leaf like mullein or raspberry as the base, with a smaller amount of something aromatic for flavor.
The idea is old. Kinnikinnick is an Algonquian word meaning mixture, and it named the smoking blends many Native peoples made from local plants. Members of the Lewis and Clark expedition picked up the practice, and their journals from December 1805 describe the smoke as having an agreeable flavor.
Bearberry leaves were a common base. A USDA Forest Service species review notes that smoking the leaves is the most widely mentioned human use of the plant, which is why bearberry (Arctostaphylos uva-ursi) is still called kinnikinnick today.
Inner bark from red osier dogwood went into the mix too. The USDA Forest Service describes how the bark of young stems was split, scraped into threads, and toasted over a fire before it was blended.
Herbal cigarettes aren’t a health product, and the research is clear on that. Burning any dried plant makes smoke, and that smoke carries tar and carbon monoxide whether it comes from mullein or anything else.
In 2000, the Federal Trade Commission settled charges over ads for alternative cigarettes and required this warning on herbal ones: “Herbal cigarettes are dangerous to your health. They produce tar and carbon monoxide.”
Lab testing backs that up. A 2015 study in Toxicological Research analyzed the smoke from an herbal cigarette and found more carbon monoxide and benzo(a)pyrene than in a conventional cigarette, along with a higher mutagenic potential.
A 2026 study in the Journal of Hazardous Materials compared herbal and conventional cigarettes. The herbal ones released about 20 percent more of the smallest airborne particles, and those particles had a higher oxidative potential.
Herbal cigarettes are a traditional practice, not a wellness habit. If you want the scent and flavor of these herbs without any smoke, most of them work just as well steeped into a cup of calendula tea or tied into a bundle for the bath.
The herbs in a homemade blend are ordinary garden and kitchen plants. Mullein, raspberry leaf, mint, chamomile, and rose petals aren’t controlled plants, so drying and rolling them for yourself is legal in the US.
Selling them is another matter. Some states regulate herbal cigarettes the same way they regulate other smoking products, and New York law, for example, names herbal cigarettes in its rules on sales to minors. Local smoke-free rules can apply too, so check them before lighting up anywhere public.
Almost every herb in a homemade blend does one of two jobs. Base herbs are soft, mild leaves that burn evenly and make up most of the mix. Flavor herbs are aromatic, and a pinch goes a long way.
Buy herbs sold for tea or herbal use, or dry your own from plants you know haven’t been sprayed. Craft potpourri and florist roses are treated for decoration, and they don’t belong in anything you breathe in.
Base herbs carry the blend. They need to be light and fluffy once dried, so the cigarette packs evenly and stays lit.
The Herbal Academy suggests mullein and red raspberry leaf as base herbs, and either one works on its own or mixed with the other. Bearberry and marshmallow leaf fill the same role.
Flavor herbs give a blend its character. Most are strongly aromatic when they burn, so they make up only a small share of the mix.
Start small with any of these. It’s easy to add another pinch to the next batch, and hard to take it back out of this one.
A few kitchen herbs work as flavor herbs too. They’re stronger than the floral ones, so use even less.
Most blends follow a simple three-part pattern from the Herbal Academy: a base, a supporting herb, and a flavor herb. By volume, that’s 2 tablespoons of base herbs, 1 tablespoon of a supporting herb, and 1 1/2 teaspoons of flavor herbs.
The supporting herb can be a second base herb for a milder mix, or a second flavor herb for a stronger one. Once you’ve tried one blend, it’s easy to adjust the proportions to suit you.
Mild mullein blend: Mullein as the base, red raspberry leaf as the supporting herb, and a pinch of peppermint. This is the blend in the recipe card below.
Rose and lavender blend: Red raspberry leaf as the base, rose petals as the supporting herb, and a small pinch of lavender.
Kinnikinnick-style blend: Bearberry leaf as the base, mullein as the supporting herb, and a pinch of spearmint.
Chamomile blend: Marshmallow leaf as the base, chamomile as the supporting herb, and a pinch of calendula.
Start with herbs that are fully dry. Damp plant material can grow mold, and mold isn’t something you want to breathe in. If you dry your own, an herb drying rack or any of these ways to preserve herbs will do the job, and there’s more detail on drying herbs at home.
Dry doesn’t mean crispy, though. Herbs that crumble to dust are usually an old batch, and powder burns hot and fast and leaves a harsh taste. The leaves should still bend a little before they break.
If your herbs are too dry, spread the amount you plan to roll on a clean tea towel, mist them lightly with water, and let them air dry for a couple of hours. Only do this with what you’ll use right away, since dampened herbs can mold in storage.
Next, grind the herbs to an even, coarse texture. I use a mortar and pestle, and kitchen shears or even your fingers work too. Pick out any stems or seeds as you go.
Mix the base, supporting, and flavor herbs in a small bowl until the color looks even.
For papers, I’d go with unbleached, certified organic ones. The difference in cost is small, and they skip the bleach and other additives.
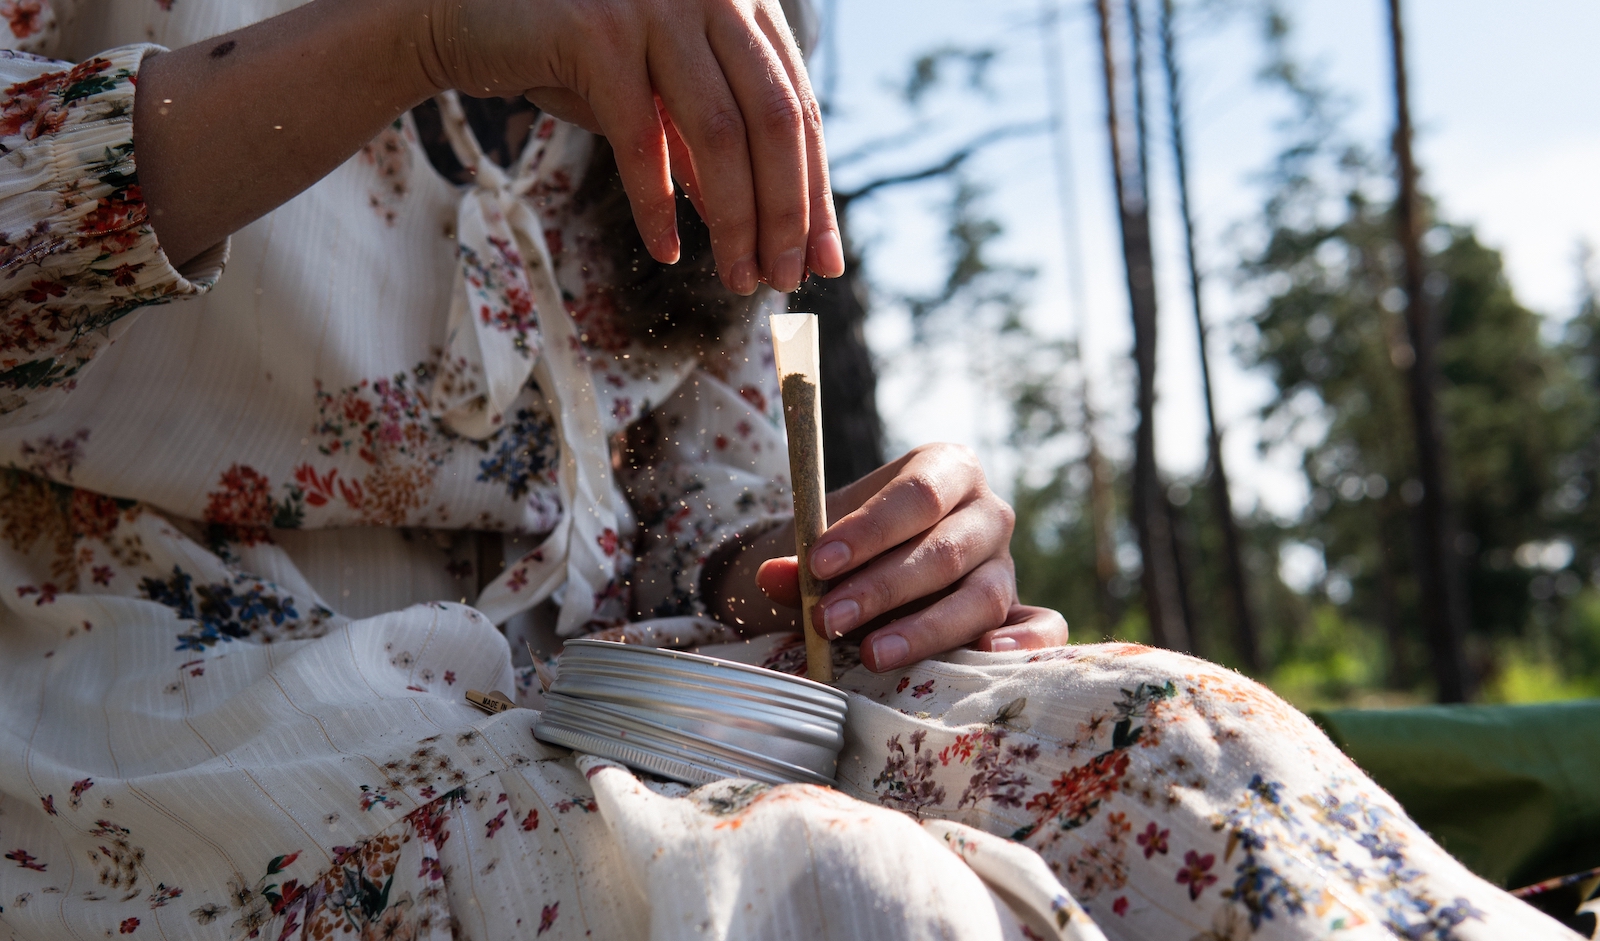
To roll, lay a thin line of the blend along one paper. Fold the paper into a loose U, roll it back and forth between your fingers to shape the herbs into a cylinder, then tuck the near edge under and roll upward. Moisten the gum strip, seal it, and twist the end closed.
Pack it fairly firmly. A loose roll burns unevenly and goes out, and a firm one burns slowly and evenly.
Practice with one herb: Rolling takes a few tries to get right, so practice with plain raspberry leaf before using a blend you’ve measured out.
Grind coarse, not fine: A coarse grind holds together in the paper. Powder slips out the ends and burns too fast.
Use less than you think: An overfilled paper is hard to close. A thinner cigarette is easier to roll and seal.
Store the mixed blend in a small glass jar with a tight lid, somewhere cool and dark. Light and air fade the color and scent of dried herbs over time.
Dried herbs hold their peak quality for about 6 months to a year, so it’s worth mixing small batches. Label the jar with the blend and the date, and if a blend ever smells musty, toss it and mix a fresh one.
Smoking isn’t the only way to burn herbs. Dried herbs bundled together and burned slowly will scent a room, and herbal smudge sticks made from mugwort and lavender are a traditional way to do it.
Some people burn bundles of mint, sage, and lavender outside on summer evenings, or toss a few onto a campfire for the scent. The same herbs that go into a blend work well here, and they don’t need grinding.
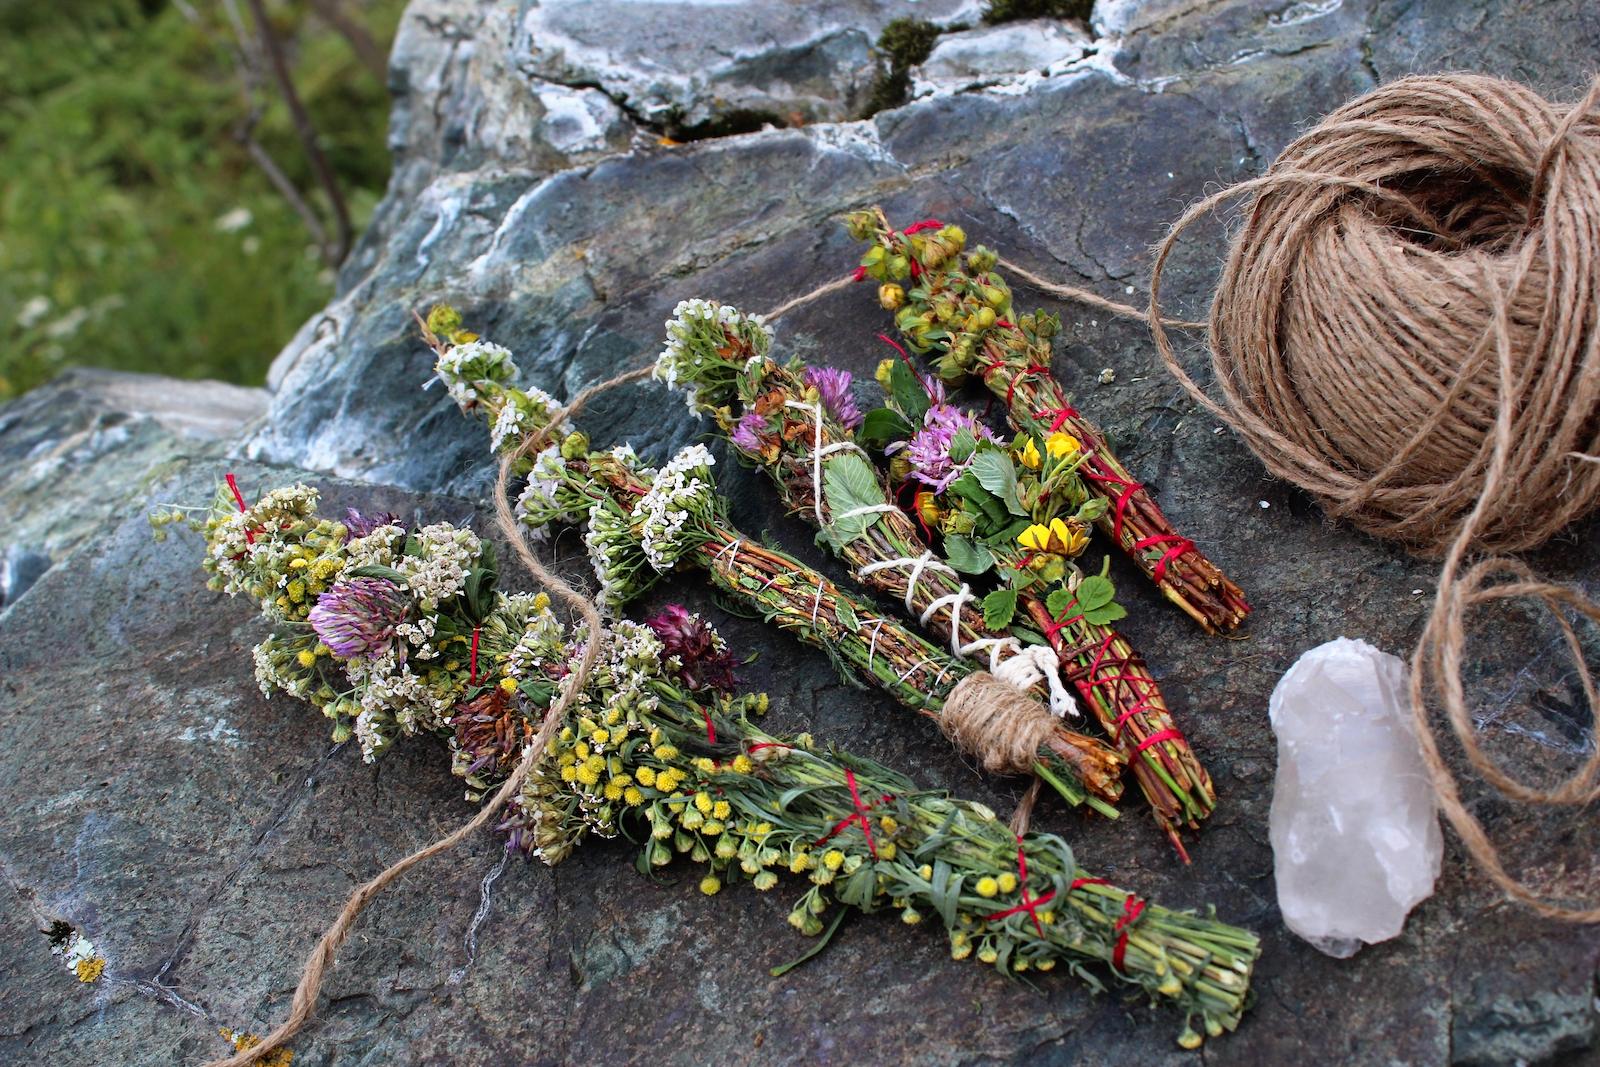
These are the questions that come up most about herbal cigarettes and how to make them.
Dried herbs and rolling paper. Homemade blends use a mild base herb like mullein or red raspberry leaf, a supporting herb, and a pinch of something aromatic like peppermint, rose, or lavender.
Yes. Burning any plant makes smoke, and in 2000 the Federal Trade Commission required a warning that herbal cigarettes produce tar and carbon monoxide. Later lab studies found the same thing.
No. Fresh herbs won’t stay lit, and damp plant material can mold. Dry them completely first, until the leaves bend slightly before they break.
Some herb shops and online herbal suppliers sell premade herbal cigarettes and loose smoking blends. Making your own takes about ten minutes, and you know exactly which herbs are in it.
Stored in a sealed glass jar away from light, a blend keeps its full scent for about 6 months to a year. After that the flavor fades.
If you made this Herbal Smoking Blend, or anything else from Adamant Living, leave a ⭐ star rating and tell me how it turned out in the 📝 comments below!
Herbal traditions carry a lot of hard-won knowledge, and the Herbal Academy is a good place to learn it in an organized way. What a website can’t tell you is whether a particular herb is a good fit for you.
Herbs are potent plants, and that cuts both ways. Some interact with prescription drugs, some aren’t safe during pregnancy or while breastfeeding, and some people react badly to plants most folks handle just fine. A recipe on a website can’t account for your health history.
Before you start using something new, here’s what I’d do:
Think of what you read here as a starting point, and make the final call with someone who knows your health history.
These use many of the same herbs in other ways.
Looking for something else?
Search for a plant, a remedy, or a project to find what you need.
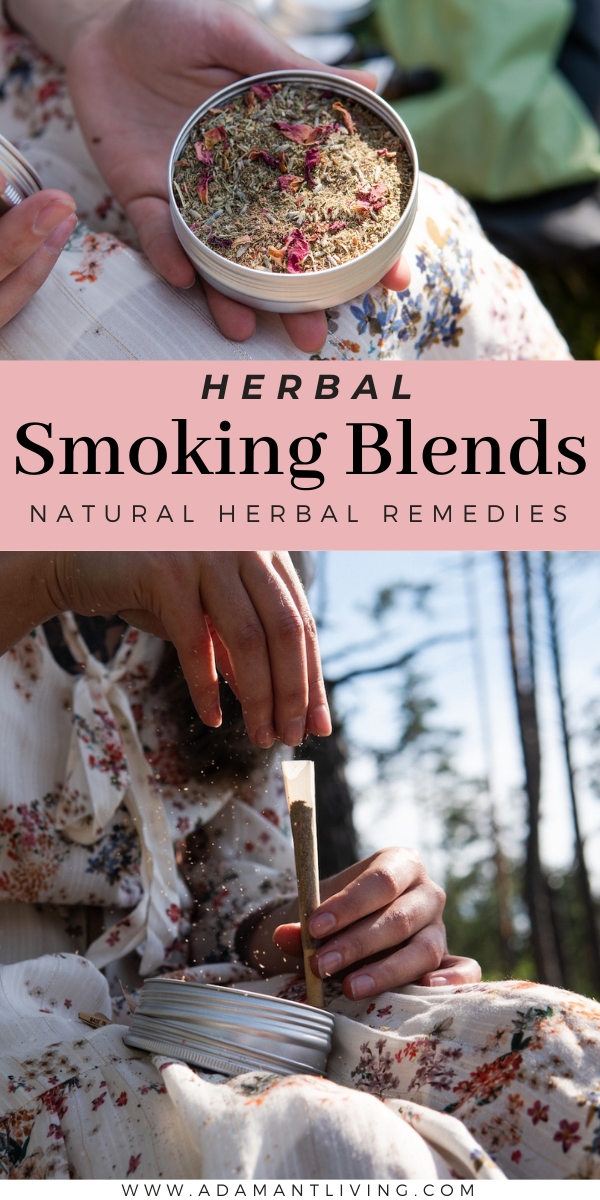
Witch hazel toner is the perfect remedy for oily skin, and it’s easy to make at home. Add in skin-nourishing herbs and botanicals for a one-of-a-kind experience.
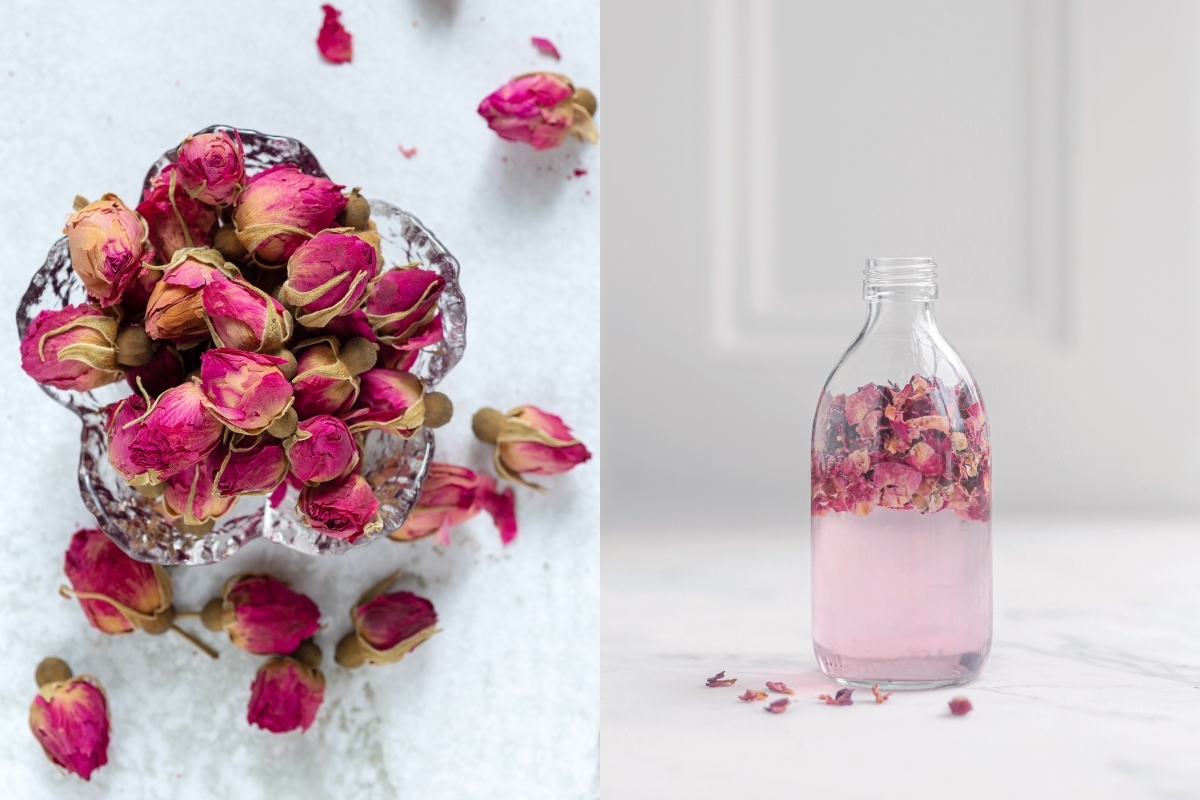
Witch hazel is a common natural choice for treating acne to help clear oily skin. Since witch hazel naturally contains alcohol, it’s a good base for a homemade herbal toner as well.
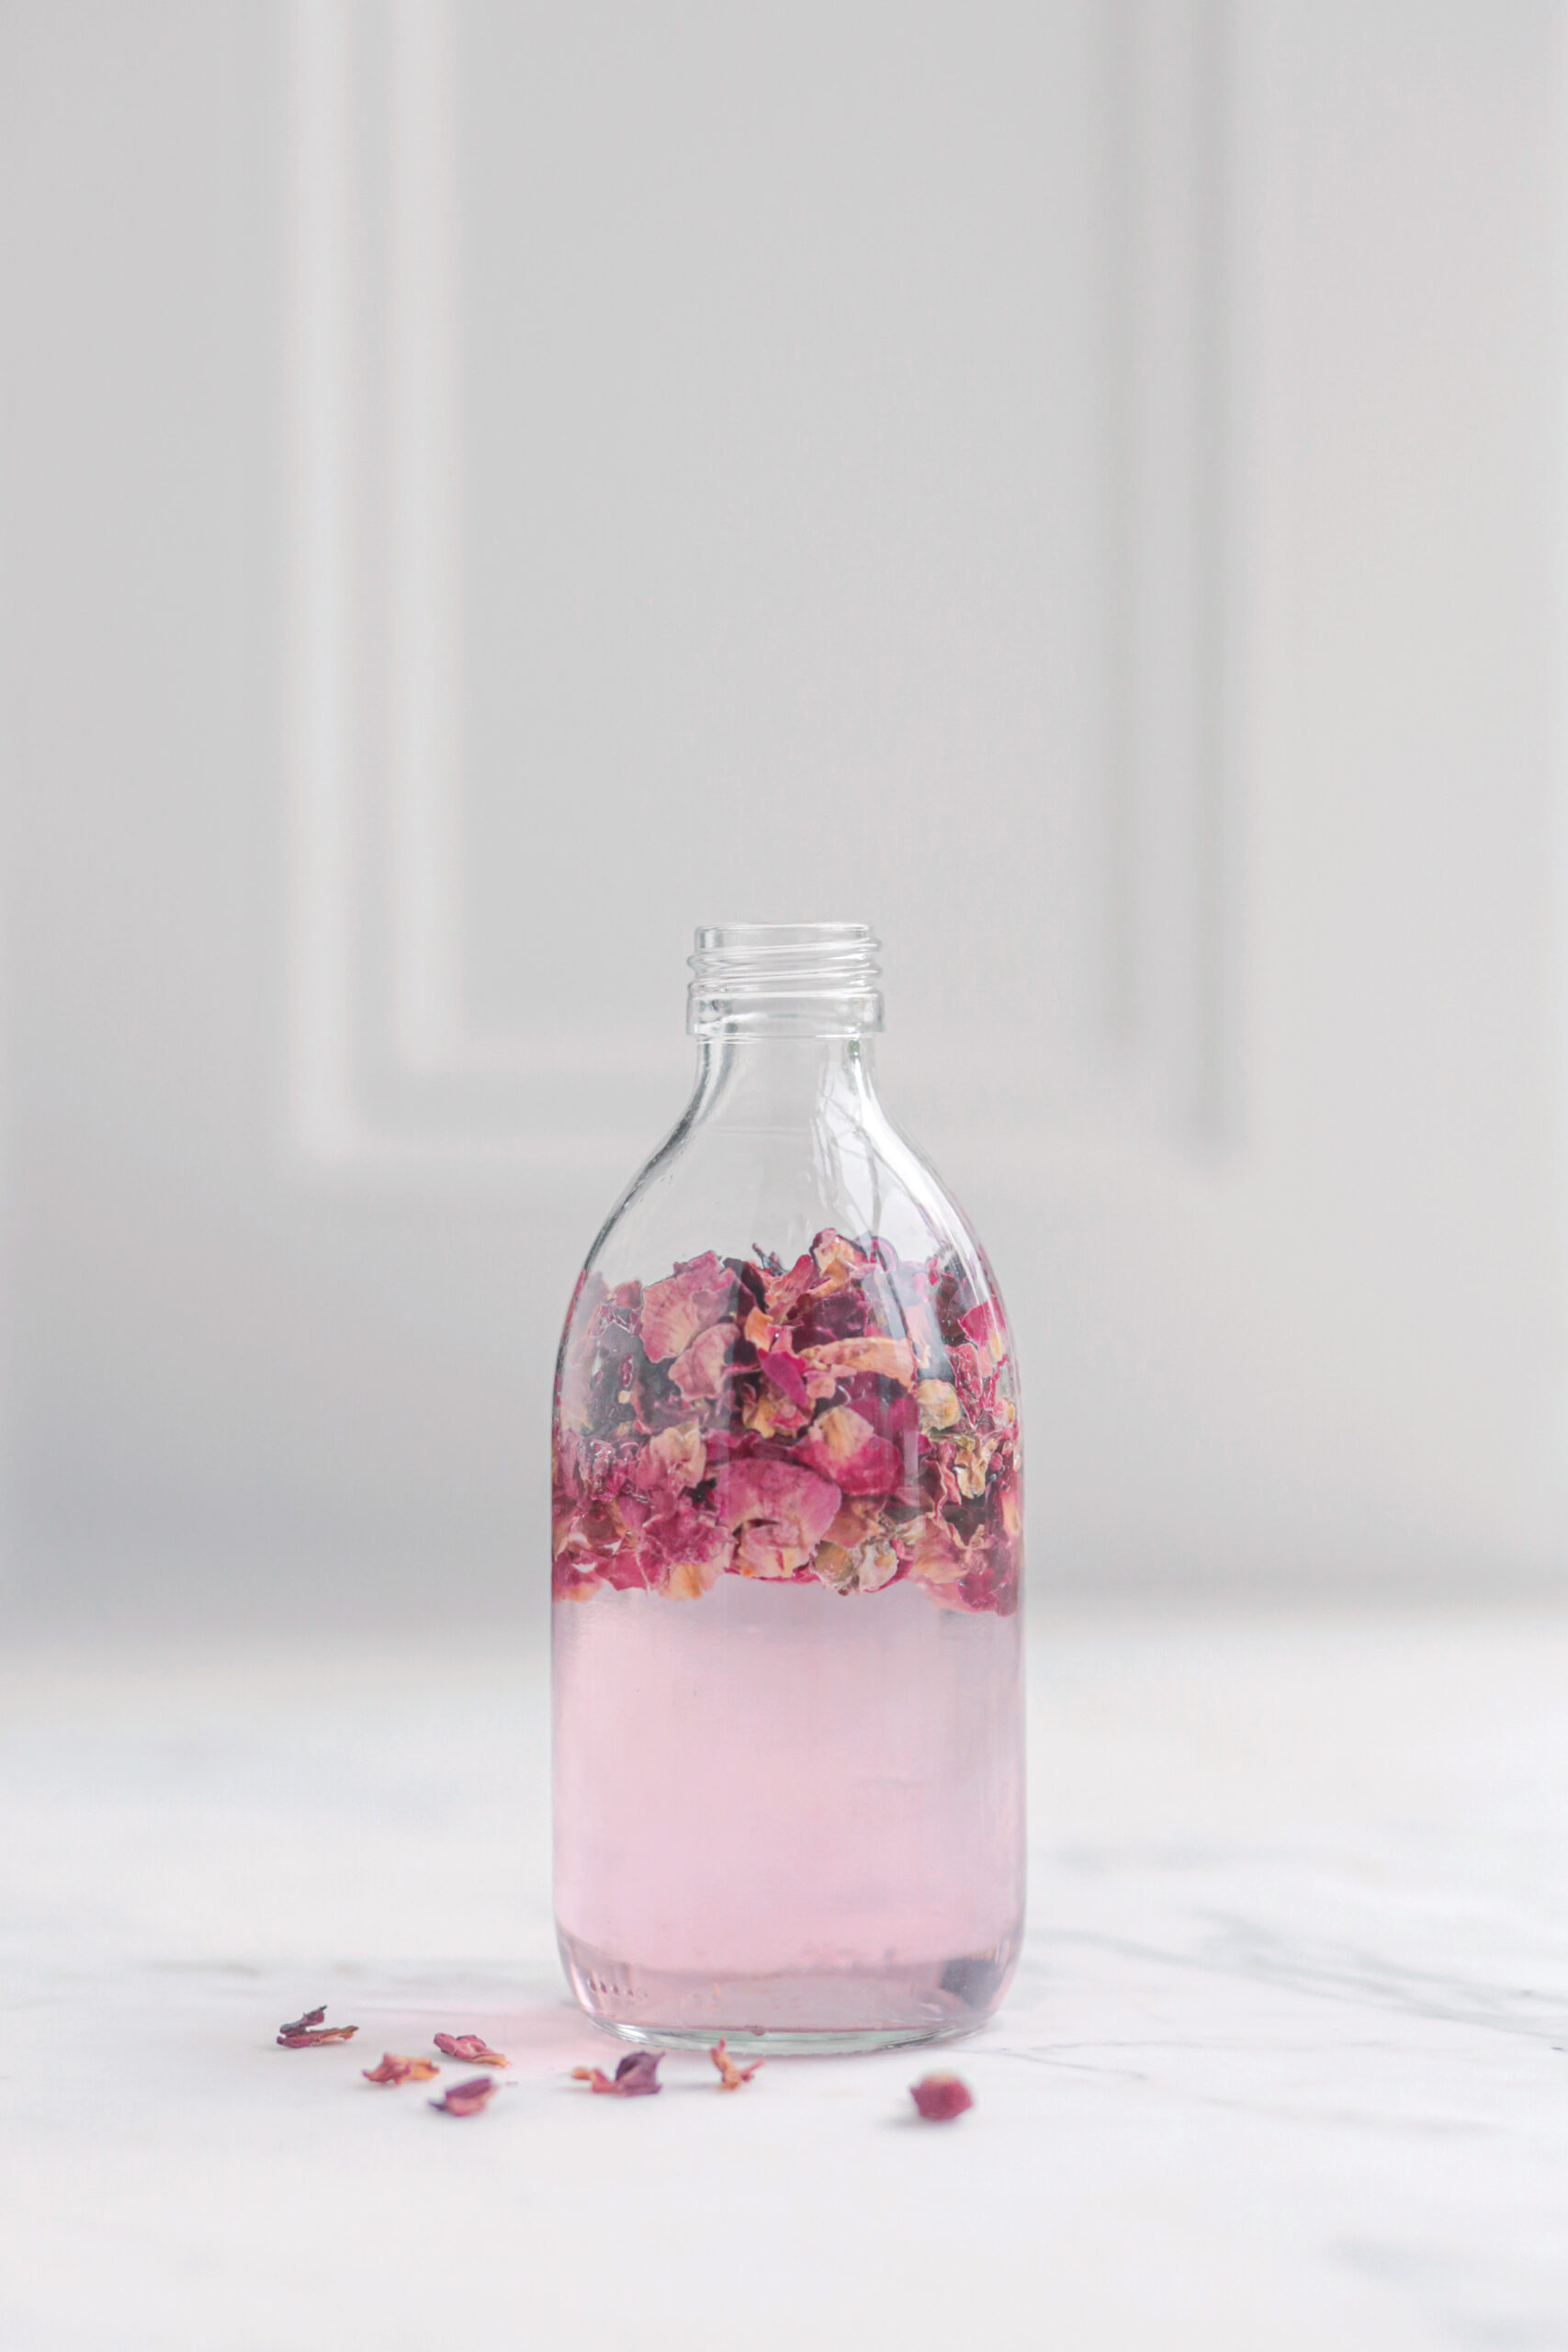
Simply infuse you favorite skin nourishing herbs, such as calendula or rose petals, and enjoy the herbal goodness.
This recipe comes from the book Natural Homemade Skin Care by Militza Maury, and it’s simple to make at home.
Reprinted with permission from Natural Homemade Skin Care by Militza Maury. Page Street Publishing Co. 2020. Photo credit: Militza Maury.
I recommend this toner for oily skin—it’s amazing at helping to clear up breakouts and rebalance oil production. Dry and normal skin types may find it to be drying over time, because witch hazel has 14 percent alcohol. But it’s the alcohol content that makes witch hazel a good menstruum to extract the beneficial properties of herbs. Use this toner to clear acne as needed.
For some people, it can be used daily; for others, it may only be a protocol until the skin clears. The astringent action of witch hazel is also good at toning the skin and reducing inflammation.
Skin type: acne-prone or oily skin
Shelf life: 6 months
Choose a glass jar with a lid, sized to match the amount of product you want to make; you will want to fill the jar fully with the herbs and witch hazel, not leaving an air gap. I always prefer to start with a small batch.
Add the herbs to the jar, filling the jar halfway. Pour in the witch hazel to fully cover the herbs, filling the jar all the way to the top. And that’s it! Let the jar sit for 2 to 4 weeks, and give it a shake every couple of days to encourage the extraction.
Always label your infusion with a date so you know when it’s time to strain out the herbs. Leave yourself a calendar reminder, so that you won’t forget!
When it’s ready, strain out the herbs and reserve the infused witch hazel in a glass bottle. Keep it by your sink so you can use it as needed.
To use, apply it directly onto the skin with a cotton pad; you don’t need to dilute it. You can apply it all over your face or just over areas where you see pimples or that need extra cleansing. Do not wipe off the witch hazel—allow it to soak into your skin and do its work!
Tip: Use this toner as a hand sanitizer by adding antimicrobial herbs and essential oils like lavender or tea tree.
Looking for more herbal skincare recipes?
Plans for this DIY Farmhouse Style Coffee Table make building a snap, and you’ll have a homemade coffee table in no time!

…