• Skip to primary navigation
  • Skip to main content
  • Skip to primary sidebar
  • Skip to footer

Adamant Living

Tools for Living Your Best Life

  • Homepage
  • About Us

Ashley Adamant

Super Greens Powder Mask

April 17, 2023 by Ashley Adamant Leave a Comment

This post may contain affiliate links. Read full disclosure here.

Homemade face mask creams can be stored as simple powdered masks, and rehydrated as needed.  This one uses the power of greens to nourish your skin.

Green Mask Recipe

Natural herbal face masks are known for their ability to brighten skin and deliver nutrients and moisture right where it’s needed most.  This simple facemask uses powdered greens to nourish your skin.

This recipe comes from the book Natural Homemade Skin Care by Militza Maury, and it’s simple to make and store. 

In powdered form, the mask will store quite a long time, meaning you can rehydrate it and apply it whenever you need a bit of self-care.
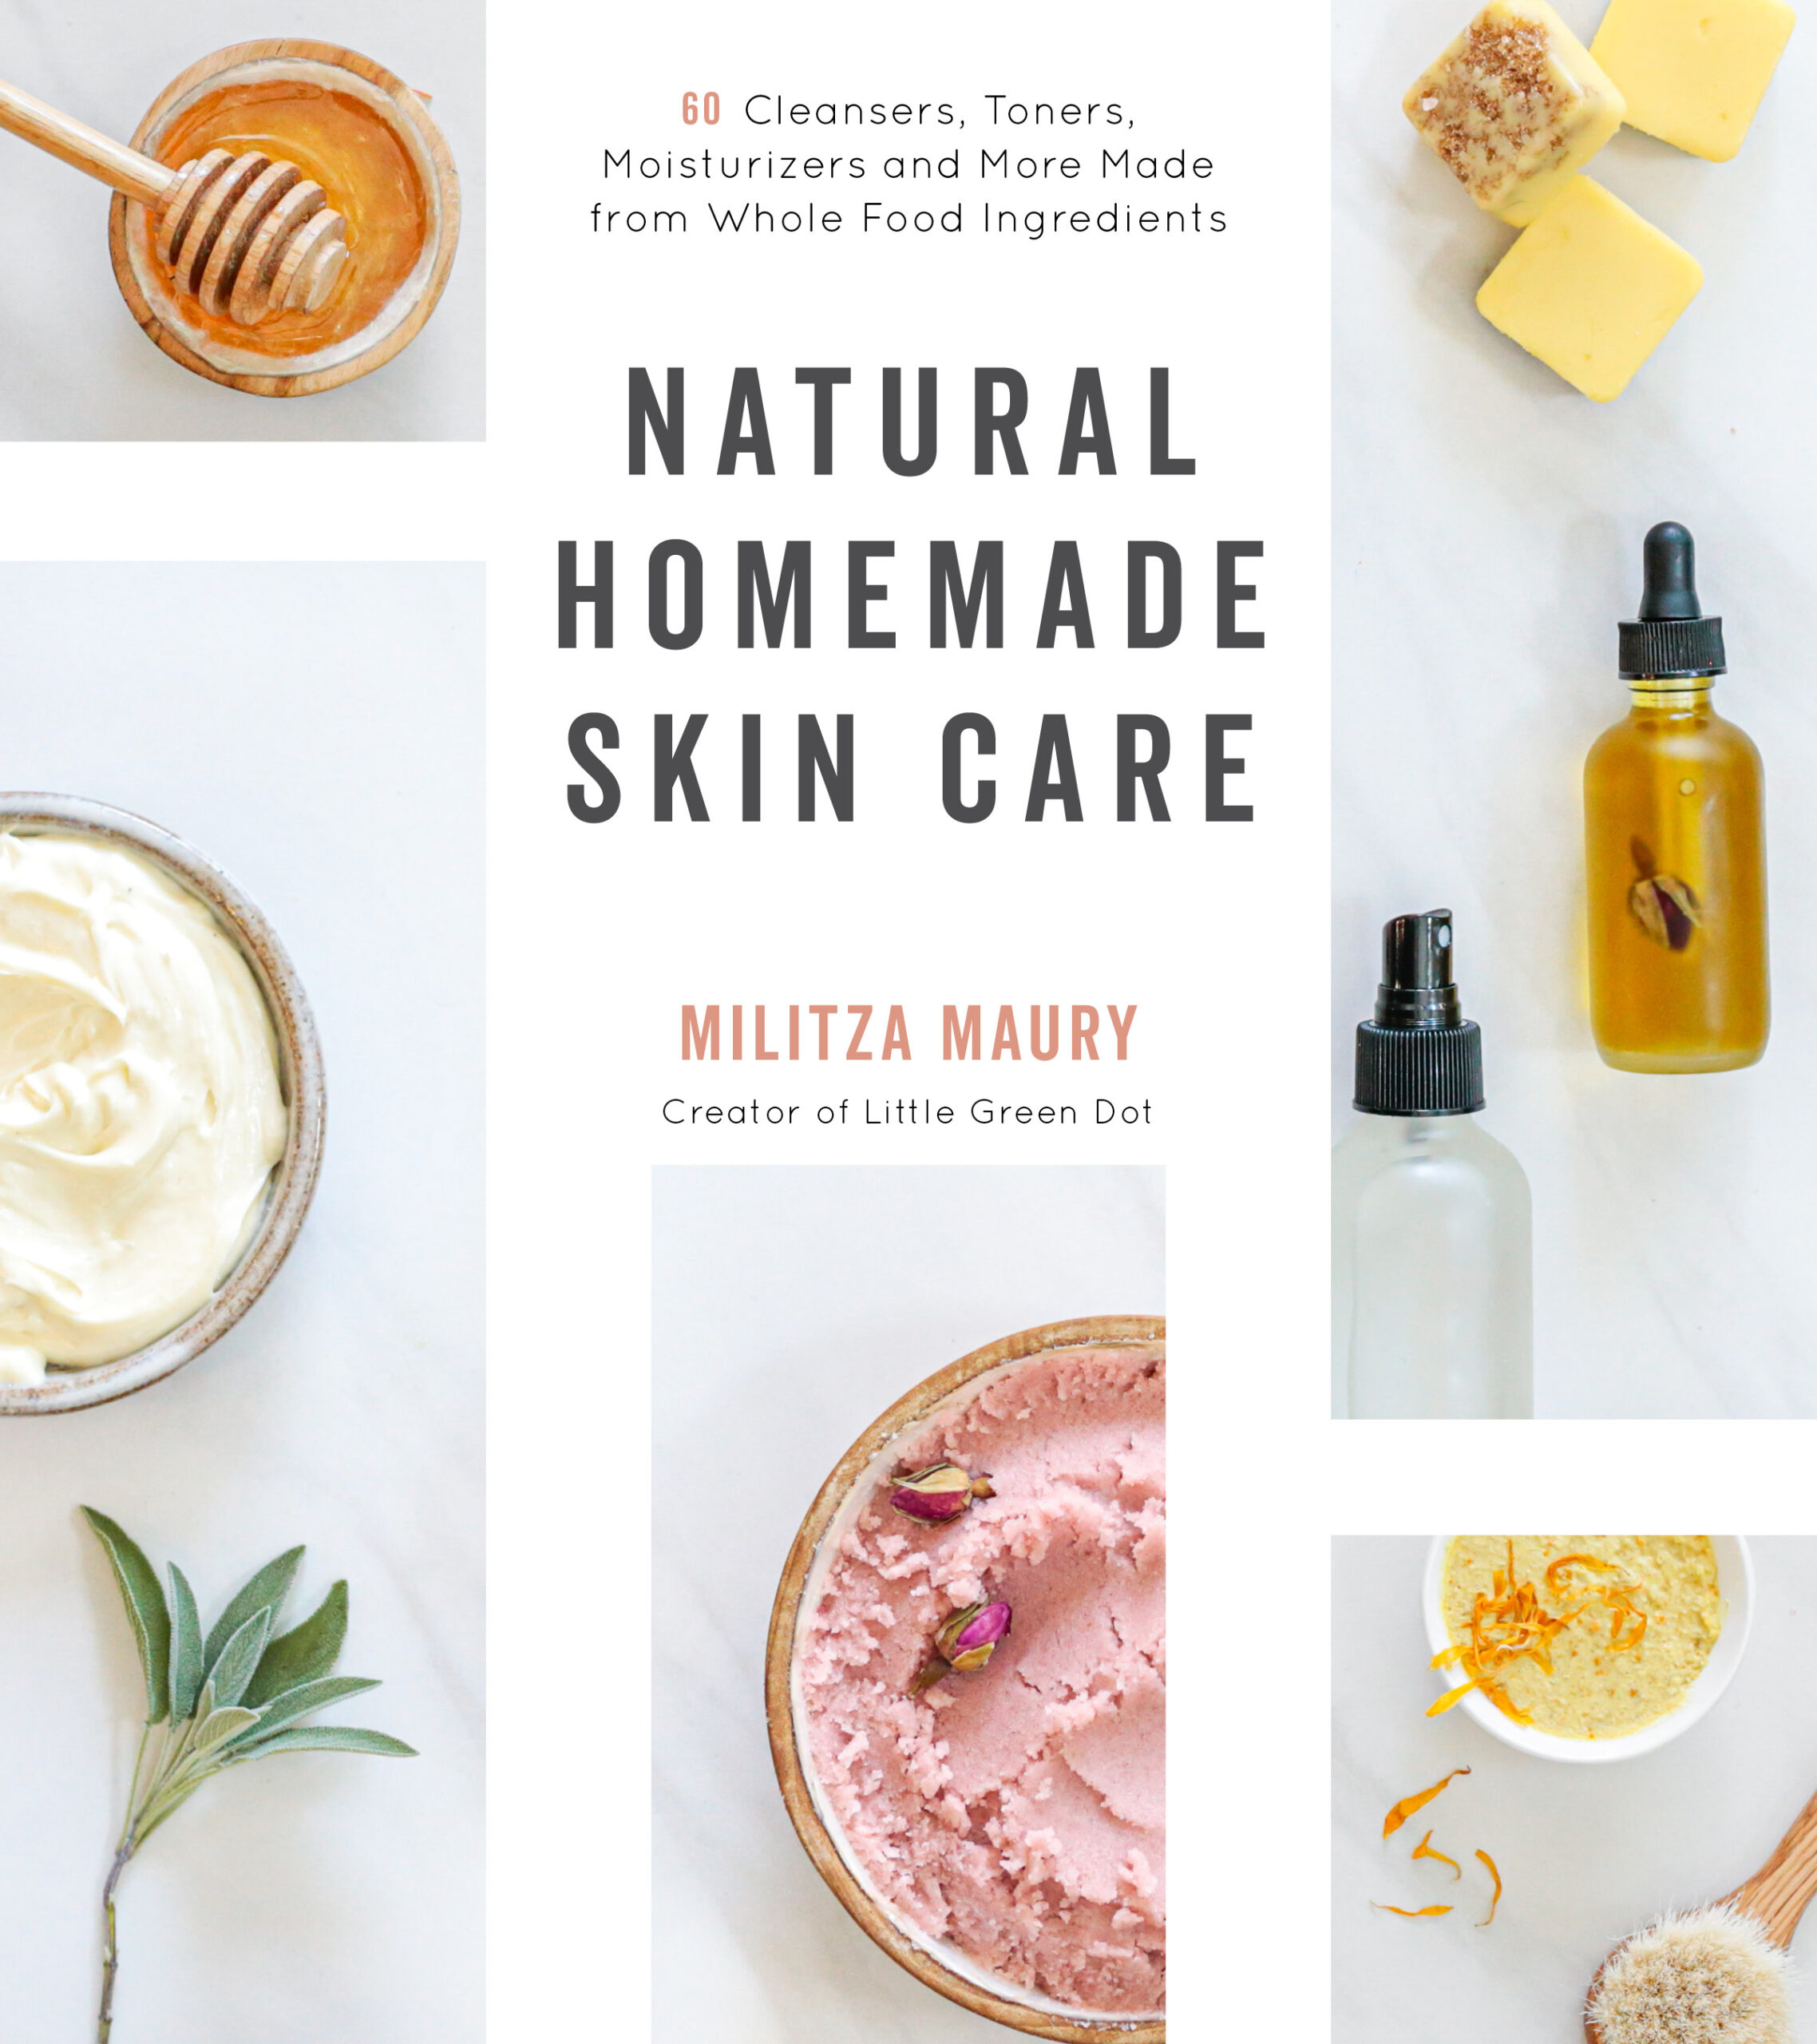
Natural Homemade Skincare

Reprinted with permission from Natural Homemade Skin Care by Militza Maury. Page Street Publishing Co. 2020. Photo credit: Militza Maury.

If you have powdered greens in your kitchen, you have the makings of amazing skincare!

Superfood green powders are made of dehydrated and powdered vegetables and fruits. This mask recipe is all about nourishing the skin. The color alone of a green powder tells you about the density of nutrients that go into this mask.

That vibrant green indicates it’s incredibly high in chlorophyll, the substance that feeds plants energy from the sunlight.

On skin, chlorophyll has a protective and anti-inflammatory effect, but it is also very purifying and cleansing, releasing toxins in the skin. This mask is good for all skin types to build health and resiliency in the skin, but acne-prone skin especially will benefit from “wearing” greens.

Green Mask Recipe

Super Greens Powder Mask

Skin type: all skin types, especially acne-prone or dull skin

Shelf life: 3 months in powdered form, 1 day when activated with water

  • 4 tbsp (32 g) greens powder blend
  • 4 tbsp (20 g) kaolin clay
  • 4 tbsp (32 g) coconut milk powder

Clean and dry a jar for storing the mask powder. Fill the jar with greens powder, kaolin clay, and coconut milk powder.

Depending on the size of the jar and the amount you want to make, you can easily adjust the measurements, filling the jar with one part of each ingredient. Instead of coconut milk powder, you can also use the milk powder of your choice—buttermilk, cow’s milk, or goat milk. They all deliver fatty moisture to the skin.

Green Mask Recipe

To use, scoop out 1 tablespoon (10 g) of the powdered mask mixture into a small bowl. Drizzle droplets of water over the powder and stir to activate the mask, adding enough water to achieve a creamy consistency.

Apply the mask to your skin and allow it to sit for 15 minutes. Remove with a soft cotton cloth and water.

Tip: If you don’t have powdered milk, use just the greens powder and kaolin clay for your dry mixture, and add fresh cow’s milk or coconut milk to activate the mask instead of using water.

Green Mask Recipe

Super Greens Powder Mask

Superfood green powders are made of dehydrated and powdered vegetables and fruits. This mask recipe is all about nourishing the skin. The color alone of a green powder tells you about the density of nutrients that go into this mask.
That vibrant green indicates it’s incredibly high in chlorophyll, the substance that feeds plants energy from the sunlight.
On skin, chlorophyll has a protective and anti-inflammatory effect, but it is also very purifying and cleansing, releasing toxins in the skin. This mask is good for all skin types to build health and resiliency in the skin, but acne-prone skin especially will benefit from “wearing” greens.
Print Recipe Pin Recipe
Ingredients Method

Ingredients
  

  • 4 tbsp 32 g greens powder blend
  • 4 tbsp 20 g kaolin clay


  • 4 tbsp 32 g coconut milk powder

Method
 

  1. Clean and dry a jar for storing the mask powder. Fill the jar with the greens powder, kaolin clay, and coconut milk powder. Depending on the size of the jar and the amount you want to make, you can easily adjust the measurements, filling the jar with one part of each ingredient. Instead of coconut milk powder, you can also use the milk powder of your choice—buttermilk, cow’s milk, or goat milk. They all deliver fatty moisture to the skin.
  2. To use, scoop out 1 tablespoon (10 g) of the powdered mask mixture into a small bowl. Drizzle droplets of water over the powder and stir to activate the mask, adding enough water to achieve a creamy consistency.
  3. Apply the mask to your skin and allow it to sit for 15 minutes. Remove with a soft cotton cloth and water.
  4. Tip: If you don’t have powdered milk, use just the greens powder and kaolin clay for your dry mixture, and add fresh cow’s milk or coconut milk to activate the mask instead of using water.

DIY Skincare

Looking for more herbal skincare recipes?

  • Calendula Body Butter
  • Homemade Lotion Bars
Green Mask Recipe

Filed Under: Natural Body Care

DIY Nightstand (Step by Step Plans)

April 10, 2023 by Ashley Adamant Leave a Comment

This post may contain affiliate links. Read full disclosure here.

Building a nightstand is a simple project, and it can be done in just a few hours with minimal equipment.  This small piece of homemade furniture can make a big difference in your day (and night), so it’s well worth the effort.

DIY Nightstand

…

Read More

Filed Under: DIY

Calendula Body Butter

April 3, 2023 by Ashley Adamant 2 Comments

This post may contain affiliate links. Read full disclosure here.

Calendula body butter is a luscious way to nourish your skin with the natural healing benefits of calendula.

Calendula Body Butter

Calendula is one of the best herbs for home skincare, and it nourishes skin, both inside and out.  It’s often used in herbal preparations like calendula tea, but it can also be used topically in salves, creams or this luscious and deeply nourishing calendula body butter.

This natural recipe for calendula body butter comes from Herbal Revolution by Kathi Langelier.

Herbal Revolution Book Cover

Reprinted with permission from Herbal Revolution by Kathi Langelier. Page Street Publishing Co. 2020. Photo credit: Erin Little.

Whipped Calendula Body Butter

I used to make a lot of lotions when I started making body products, but when I became a massage therapist, I switched over to making body butters. I preferred the creamy, light texture and richness of a whipped body butter, and because it doesn’t have a water element, it’s more shelf stable.

Body butters can be made out of any infused oils, and this recipe uses calendula oil. Calendula is anti-inflammatory and soothing, making this thick and luscious butter wonderful for dry, cracked skin and rashes.

Calendula Body Butter

Calendula Body Butter

Calendula Body Butter
Ashley Adamant

Calendula Body Butter

Body butters can be made out of any infused oils, and this recipe uses calendula oil. Calendula is anti-inflammatory and soothing, making this thick and luscious butter wonderful for dry, cracked skin and rashes.
Print Recipe Pin Recipe
Ingredients Equipment Method Notes

Ingredients
  

  • ½ oz 14 g cocoa butter
  • 2 oz 56 g shea butter
  • 3 oz 85 g Calendula Oil
  • 1 tsp rose hip oil
  • 1 tsp vitamin E oil

Equipment

  • Digital scale
  • Small pan
  • Strainer
  • Hand mixer
  • 4 (2-oz [60-ml]) or 8 (1-oz [30-ml]) jars, for storage

Method
 

  1. Using the scale, weigh out the cocoa butter and shea butter and melt in a small pan over low heat.
  2. Place the oils in a bowl. Once the butters have melted, pour through a strainer into the bowl. Use a hand mixer to blend the ingredients together. Start slowly on low speed and work your way up to high speed, and whip for 1 to 2 minutes. Then place the bowl into the freezer for about 10 minutes.
  3. Take the bowl out of the freezer and scrape down the sides with a spatula. Then mix again with the mixer, again starting on low speed and working your way up to high speed. Mix for about 1 minute. If the cream is still liquid or really soft, put the bowl back in the freezer for 5 minutes. Take it out again, then scrape and mix. If still a liquid, place back in the freezer for another 5 minutes.
  4. Repeat this process until you have a nice whipped cream consistency. If the cream ends up in the freezer for too long, it will become too hard. So, what you can do then I slowly drizzle in more calendula oil as you whip it with the mixer. Keep adding until you achieve the consistency you like.
  5. Scoop the mixture into four 2-ounce (60-ml) or eight 1-ounce (30-ml) containers. The body butter can be stored at room temperature, out of direct heat or sunlight.

Notes

To Use: This body butter is lovely to use on any rough or dry skin and rashes. Take a small pea-sized amount and gently rub into the skin. Use as often as needed.

Calendula Recipes

Looking for more ways to use Calendula?

  • Calendula Tea
  • Lotion Bars
  • Homemade Calendula Oil
Calendula Body Butter Recipe

Filed Under: Herbal Medicine, Herbalism

Violet Skin Cream (for Lymphatic Health)

March 27, 2023 by Ashley Adamant Leave a Comment

This post may contain affiliate links. Read full disclosure here.

Violet skin cream is a natural herbal remedy that promotes lymphatic health.  While most violet remedies use flowers, this one actually uses violet leaves.

Wild Violet Leaf Skin Cream

Wild violets are a welcome sight each spring, brightening up every corner of the yard.

The beautiful purple flowers are edible, and they make a delightful violet jelly.  The leaves are also edible, and they can be used as a salad green in season.

Beyond their edible qualities, they’re also medicinal!

Violet leaves promote good lymphatic health and is thought to dissolve cystic tissue over time, and the rich oils included in the cream nourish and increase resiliency in the skin. This cream can be used to address hardened lymph nodes in the breast,  underarm, groin and along the neck for both women and men.

If no essential oils are included in this blend, it is safe for nursing mamas and babies. Since this cream contains some water but no chemical preservative agent, it should be stored in the refrigerator between uses.

I was so happy to find this recipe for a natural violet leaf skin cream in the book

Backyard Herbal Apothecary cover

Reprinted with permission from The Backyard Herbal Apothecary by Devon Young. Page Street Publishing Co. 2019. Photo credit: Devon Young.

Violet Herbal Monograph

  • Common Names: viola, pansy, Johnny-jump-up, heartsease, kiss-me-at-the-gate
  • Latin Name: Viola odorata, V. sororia, V. tricolor, V. papilionacea

    There are over 50 species with some degree of interchangeability.
  • Herbal Energetics: cool/moist
  • Therapeutic Actions: alterative, analgesic, anti-inflammatory, antiseptic, demulcent, diuretic, laxative, lymphatic, nervine, nutritive, purgative (roots and seeds), sedative, tonic
  • Parts Used: leaf, flower

If there ever was a flower more fabled than the rose, it is most certainly the violet. As school children, violet entered our lexicon as “roses are red, violets are blue.” It is often seen as a flower associated with Valentine’s Day imagery, and some of its common names refer to stolen and secretive kisses. A Greek myth tells that Zeus provided a field of violets for his lover to graze after he turned her to a white heifer to save her from the jealous wrath of Hera. In Roman mythology, we learn that Venus beat a few fair maidens blue and turned them into violets upon her son Cupid’s declaration that the maidens were more beautiful. Early Christians held that violets once pointed their countenance to the sky, but after the crucifixion, the flowers nodded to the ground in despair. In an interesting dichotomy, Christianity sees the flower as a symbol of modesty and humility, while more pagan cultures often associate violets with jealousy, sex and love/lust. Whatever the symbolism, violets are revered. Perhaps even greater than violet symbolism is the vast medicinal application of this precious botanical.

Although the fragrant “sweet violet” (Viola odorata) is most often touted in herbal repertories, there are many species of the Viola genus, known as “violets” and their associated common names—which are practically as abundant as the members of the violet family. Most can be used interchangeably; edibility and palatability may differ among the species. Some sources indicate that wild, yellow flowering species are “soapy” and undesirable due to a high saponin content. Yet, most common members of the Viola hold similar medicinal value—meaning that your cultivated potted plants may be just the remedy you are looking for, assuming that they are free of contamination.

Violets are the great soothers of the plant world, gently encouraging flow and movement of internal fluids. Most often the leaves and flowers are used in combination. This botanical is often used in cough remedies. Being demulcent and lymphatic, it is particularly useful for hot, dry conditions of the throat, coupled with hard, painful lymph glands under the jaw. I think of violets when there are complaints of pain and difficulty swallowing, irritable, dry cough and palpable nodules along the neck. Similarly, violets are often suggested to soothe ulcerations of the mouth and esophagus.

Violets

Chief among violet’s many virtues is as a profound lymphatic. This is easily observed in the lymph tissues around the neck, but violet seems to have a particular affinity for the axillary (armpit to breast) and groin nodes as well. The lymphatic system does not have autonomous circulation, thus requiring movement and manual manipulation to circulate. Herbs such as violet are an excellent remedy to increase lymphatic drainage and soften hardened nodes. As it pertains to breast health, violet helps to soften fibrous breast tissue and cysts when combined with a gentle massage of concerning areas. Moreover, there is even some science to indicate that violet may have some anticancer potential. A 2014 study successfully demonstrated inhibition of activated lymphocyte cell proliferation using an aqueous Viola tricolor extract. Another 2017 study suggests that Voila odorata may have anti-melanogenic properties which show promise in the area of skin cancer research. While clearly these small studies do not constitute a “cancer cure,” they do offer new and interesting potential for this botanical.

Violets are often overlooked as a nutritive tonic. They are abundant in vitamins A and C, rich in minerals and contain a phytonutrient known as rutin, which is associated with strengthening blood vessels—perhaps evidenced in the common name “heartsease.” Violets, prepared with other alterative herbs such as chickweed, nettle and dock, will help the liver to purge excessive toxin buildup and recharge the batteries of a sluggish circulatory system.

Slightly sedative and analgesic and abundantly nervine, violets are often suggested when tension is associated with pain and irritability. Tradition suggests that violets placed about the head relieve headaches. Consumed as a tea with other nervine herbs, violet can promote calm and clarity, without making one overly sleepy.

Violet is often called for when constipation with dry, hard stools is a complaint, due to the softening, lubricating effects of its mucilage, an insoluble fiber not unlike that of oatmeal. It is a gentle laxative that one can try before resorting to stronger herbs that often cause cramping. The seeds and roots of violet are thought to be purgative and emetic, so use with proper caution, if at all.

Best Violet Herbal Preparations

Violets lend themselves to a variety of preparations.

Leaves and flowers are often dried and used in teas and infusions, ground to a paste for a poultice and tinctured in alcohol or vinegar. Vinegar is especially good for drawing out minerals and, when combined with honey, can be a tasty oxymel.

Violets can be simmered with water and sugar to create a flavorful syrup that is perfect for relieving a cough or, mixed with sparkling water, for an herbal treat.

Oils can also be infused with violets for salves, creams and massage bases.

Violets are also edible.

The greens have a bland flavor somewhat similar to spinach and can be used in salad or even in soups where it acts as a milk-thickening agent. Violet flowers are very decorative, and they are often seen crystallized and topping worthy confections!

Backyard Herbal Apothecary violet cream

Herbal Substitutes

Marshmallow (Althea officinalis): mucilage

Blue vervain (Verbena hastata): tension

Safety and Precautions

Violets are largely considered safe, even while pregnant or nursing. Be advised that larger doses are purgative and laxative, so consume in reasonable amounts.

Violet Look A-Likes

Vinca (Vinca sp.), lesser celadine (Ficaria verna) TOXIC in large amounts

Identify and Grow Violets

Type of Plant: Perennial (sometimes annual) L

Habitat: Violets prefer partial shade and moisture-retentive soils. They are generally found in wooded areas and shady lawns. In certain situations, violets may be spotted in sunnier locations, but they are intolerant of extreme heat and often wilt mid-summer in such areas. Cultivated varieties, frequently referred to as pansies, can be spotted in garden centers as early as late winter.

Height: 6–10″ (15–25 cm)

Leaf: Simple, basal or alternate depending on species; palmate leaves with a “scalloped” margin, often heart-shaped to kidney bean–shaped

Stem: Flowers arise on leafless stalks

Flower: Violets appear most often in shades of blue-purple and variation on the theme such as white and blue stripes, although white and yellow wild varieties exist. All violets are irregular flowers with five petals, stamens and sepals each. Cultivated pansies can be splashier in color, often with yellow centers. Interestingly, the early spring flowers are sterile; it is a second, rather unnoticeable, flower that produces seed.

Seed: Seeds are mature in late summer to early fall in three-valved capsules.

Growing Information: Violets grow well in moist, moderately shady areas. Violets can be propagated by root division or will often freely reseed when healthy and established.

Forage or Grow? Violets are easy to grow and easy to identify. Even cultivated varieties have medicinal value. So, this one is a toss up. Forage and grow perhaps— one can.

Harvesting flowers and leaves can be done easily with a pair of scissors, and the plant can benefit from a gentle harvest. Think of it like giving the violets a haircut. Do note that some native violet species are currently considered threatened and should not be harvested, especially when so many other options exist.

Backyard Herbal Apothecary violet cream
Ashley Adamant

Violet Skin Cream

One of the most vital actions a woman can take for her health is to preform regular breast exams. Vigilance leads to early detection and treatment of lumps and other abnormalities. This violet breast cream is designed for everyday use. That’s right. I said every day. Applying this cream daily encourages familiarity with one’s own breasts and how they may change and feel different throughout each cycle.

Violet promotes good lymphatic health and is thought to dissolve cystic tissue over time, and the rich oils included in the cream nourish and increase resiliency in the skin. This cream can also be used to address hardened lymph nodes in the underarm, groin and along the neck for both women and men.

If no essential oils are included in this blend, it is safe for nursing mamas and babies. Since this cream contains some water but no chemical preservative agent, it should be stored in the refrigerator between uses.
Print Recipe Pin Recipe
Ingredients Method

Ingredients
  

  • 2 tbsp 6 g dried violet leaf and flower, divided
  • 8 oz 240 ml water
  • 2 tbsp 30 g coconut oil or oil of your choice
  • 1 tbsp 15 g cocoa butter
  • 1 tbsp 12 g emulsifying wax pastilles
  • 12 drops chamomile essential oil optional

Method
 

  1. Make a violet infusion by infusing 1 tablespoon (3 g) of dried violet in 8 ounces (240 ml) of water just off the boil. Infuse for 20 minutes, then strain. Set aside 3 to 5 tablespoons (45 to 75 ml) of this infusion for the purposes of this recipe.
  2. Using the double boiler method, infuse the coconut oil and cocoa butter with 1 tablespoon (3 g) of violet.
  3. Strain the infused oil through a fine-mesh sieve and return to the double boiler. Add the emulsifying wax and optional essential oil, and heat just until the wax is melted.
  4. Remove from the heat, and set aside. Meanwhile, adjust the temperature of the violet infusion to within about 10 degrees of the oils. In a small blender or with a handheld beater, slowly pour the reserved violet infusion into the oils to emulsify.
  5. Spoon or pipe into a 2-ounce (60-ml) container.

    Apply using a sweeping motion from the underarm, around each breast and up the chest wall, and/or on the underarm, groin and neck. Use generously and make a new batch every 2 weeks. Refrigerate between uses.
Violet Skin Cream for Lymphatic Health

Filed Under: Herbal Medicine, Herbalism

Herbal Bath Tea

March 20, 2023 by Ashley Adamant Leave a Comment

This post may contain affiliate links. Read full disclosure here.

Herbal bath teas are an easy herbal preparation to make at home, and you skin will thank you!

Herbal Bath Tea

Many herbs have natural benefits for skin, and a warm herbal bath filled with natural herbal bath tea ingredients is the perfect way to get those benefits to every inch of your skin.

You’ve probably heard about bath salts, which can also sometimes include herbs, but this simple herbal bath tea is made without salt.  It includes skin nourishing oat powder which helps sooth skin irritation and manage dryness.

It also has skin nourishing botanicals like calendula, lavender, rose and chamomile.

This specific recipe comes from the book Natural Homemade Skincare by Militza Maury.

Natural Homemade Skincare

This recipe for herbal bath tea is reprinted with permission from Natural Homemade Skin Care by Militza Maury. Page Street Publishing Co. 2020. Photo credit: Militza Maury.

Herbal Bath Tea

This bath treat is like a giant cup of tea, giving your skin just what it needs. Chamomile tea calms inflammation, lavender cools redness, calendula stimulates healing and oats soothe and soften. Herbs like rose also have aromatic benefits, soothing nerves and elevating your mood.

Skin type: all skin types | Shelf life: 1–3 months

  • 1⁄4 cup (32 g) oat powder (see Information about Ingredients, pages 147–148)
  • 1⁄4 cup (6 g) dried calendula flowers
  • 1⁄4 cup (9 g) dried rose petals
  • 1⁄4 cup (9 g) dried lavender flowers
  • 1⁄4 cup (9 g) dried chamomile flowers
  • 15 drops lavender essential oil
  • 1 tbsp (9 g) grated cocoa butter, optional
Herbal Bath Tea

Add the oat powder, calendula flowers, rose petals, lavender flowers and chamomile flowers to a small blender, bullet blender or spice grinder. Blitz the ingredients a few times, just to slightly break up the herbs. Pour the blend into an airtight container with a lid, like a Mason jar. Add the lavender essential oil to the mixture along with the grated cocoa butter, if using (this gives the bath a nice creaminess). Close the lid and shake well to incorporate. Store the herbal oat blend in a glass Mason jar by your bath or under the bathroom sink—don’t forget to label and date the jar!

To use, scoop out 1⁄2 cup (30 g) of Bath Tea into a muslin bag, or tie the mixture into a piece of cheesecloth (this way the herbs will not float off into the bathwater and you can avoid a messy cleanup after your bath!). Add the Bath Tea to the tub as you fill it up, so that it can begin to infuse the water. As you soak, squeeze the bag to release the creamy oat milk; I love splashing it onto my skin and face!

Tip: You can also brew Bath Tea in the kitchen and then pour the herbal tea directly into the bathwater. In a quart-sized (950-ml) Mason jar, add 2 tablespoons each of rolled oats (not oat powder), calendula, rose, lavender and chamomile. Pour 4 cups (960 ml) of hot water from a kettle over the dry ingredients, then close the lid and allow the tea to infuse for 20 minutes. Then strain the liquid through a fine-mesh strainer, and pour directly into the bath. If you wish to add essential oils, combine 1 teaspoon of jojoba oil with 5 drops of essential oil, and pour the oil mixture into the bath.

Herbal Bath Tea
Ashley Adamant

Herbal Bath Tea

This bath treat is like a giant cup of tea, giving your skin just what it needs. Chamomile tea calms inflammation, lavender cools redness, calendula stimulates healing and oats soothe and soften. Herbs like rose also have aromatic benefits, soothing nerves and elevating your mood.
Print Recipe Pin Recipe
Ingredients Method Notes

Ingredients
  

  • 1/4 cup 32 g oat powder (see Information about Ingredients, pages 147–148)
  • 1/4 cup 6 g dried calendula flowers
  • 1/4 cup 9 g dried rose petals
  • 1/4 cup 9 g dried lavender flowers
  • 1/4 cup 9 g dried chamomile flowers
  • 15 drops lavender essential oil
  • 1 tbsp 9 g grated cocoa butter, optional

Method
 

  1. Add the oat powder, calendula flowers, rose petals, lavender flowers and chamomile flowers to a small blender, bullet blender or spice grinder.
  2. Blitz the ingredients a few times, just to slightly break up the herbs.
  3. Pour the blend into an airtight container with a lid, like a Mason jar.
  4. Add the lavender essential oil to the mixture along with the grated cocoa butter, if using (this gives the bath a nice creaminess).
  5. Close the lid and shake well to incorporate.
  6. Store the herbal oat blend in a glass Mason jar by your bath or under the bathroom sink—don’t forget to label and date the jar!

    To use, scoop out 1⁄2 cup (30 g) of Bath Tea into a muslin bag, or tie the mixture into a piece of cheesecloth (this way the herbs will not float off into the bathwater and you can avoid a messy cleanup after your bath!). Add the Bath Tea to the tub as you fill it up, so that it can begin to infuse the water. As you soak, squeeze the bag to release the creamy oat milk; I love splashing it onto my skin and face!

Notes

Tip: You can also brew Bath Tea in the kitchen and then pour the herbal tea directly into the bathwater. In a quart-sized (950-ml) Mason jar, add 2 tablespoons each of rolled oats (not oat powder), calendula, rose, lavender and chamomile. Pour 4 cups (960 ml) of hot water from a kettle over the dry ingredients, then close the lid and allow the tea to infuse for 20 minutes. Then strain the liquid through a fine-mesh strainer, and pour directly into the bath. If you wish to add essential oils, combine 1 teaspoon of jojoba oil with 5 drops of essential oil, and pour the oil mixture into the bath.
How to Make Herbal Bath Tea

Filed Under: Herbalism, Natural Body Care

DIY Houseplant Shelf

March 16, 2023 by Ashley Adamant Leave a Comment

This post may contain affiliate links. Read full disclosure here.

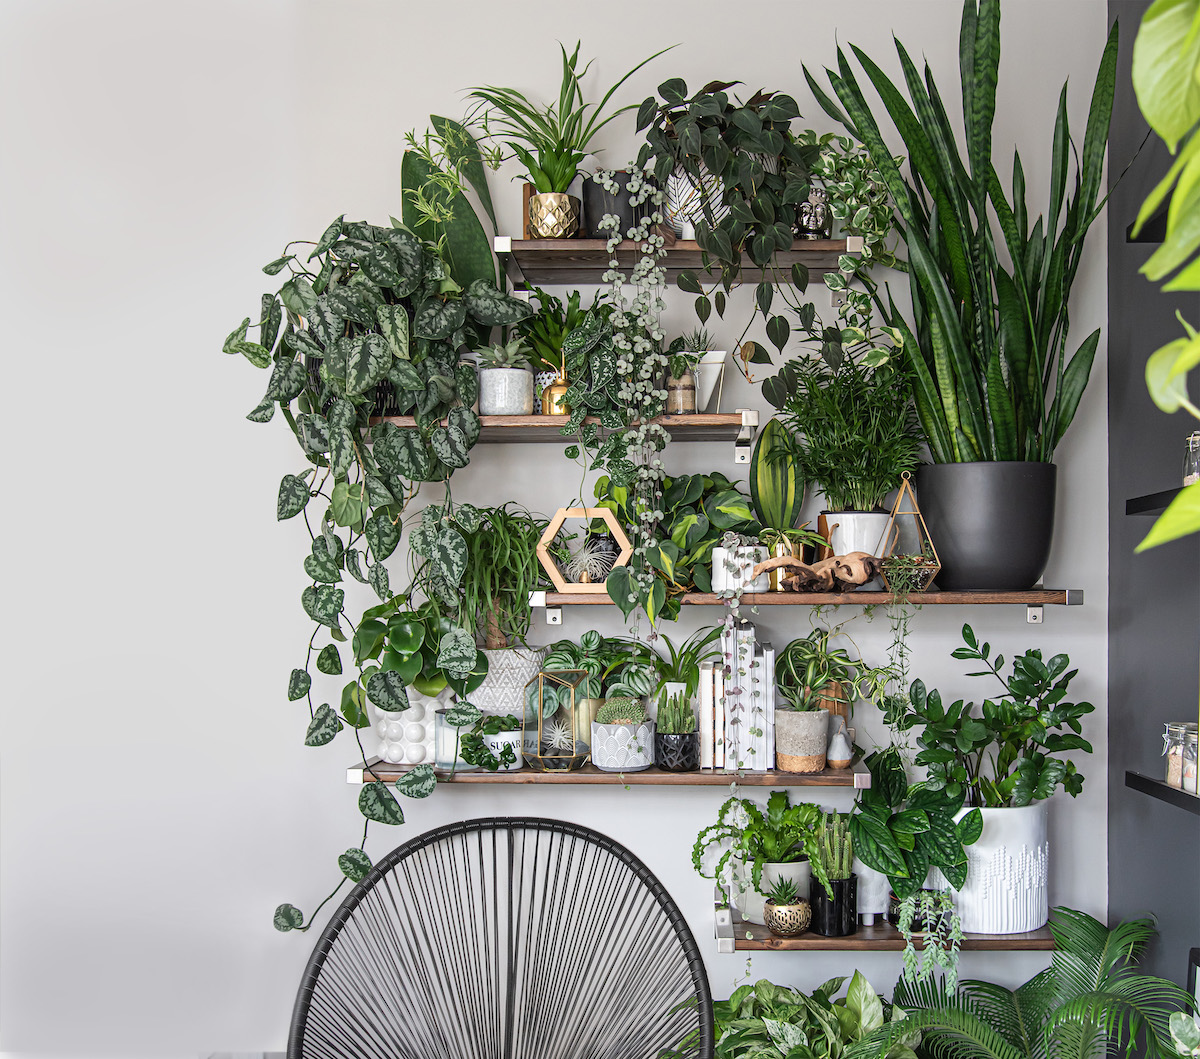
Building a DIY Houseplant Shelf is an easy way to both display your houseplants and make their care easy and stress free.

DIY Houseplant Shelf

…

Read More

Filed Under: DIY

DIY Buffet Table with Storage (Step by Step Plans)

November 22, 2022 by Ashley Adamant Leave a Comment

This post may contain affiliate links. Read full disclosure here.

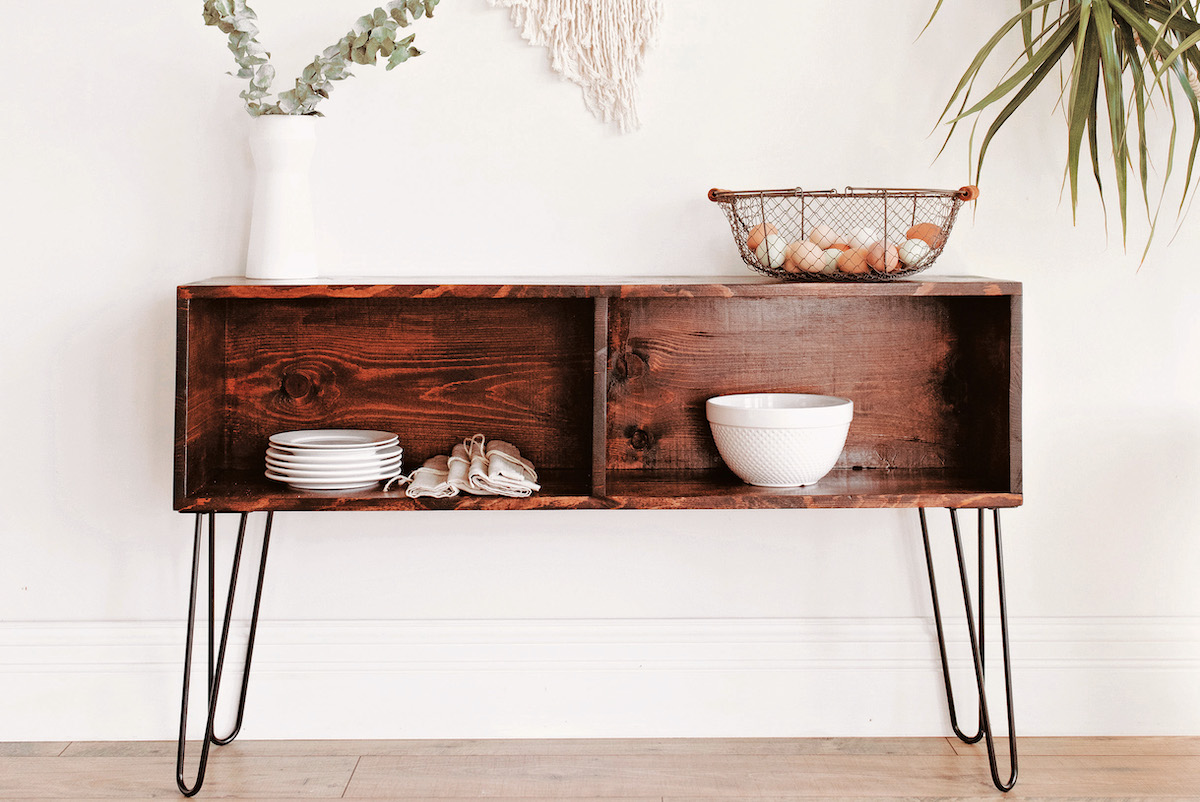
These DIY plans for a farmhouse-style buffet table are easy to follow, and you’ll have a beautiful piece of homemade furniture in no time!

DIY Buffet Table with Storage


…

Read More

Filed Under: DIY

18 Herbal Remedies Anyone Can Make at Home

June 1, 2022 by Ashley Adamant Leave a Comment

This post may contain affiliate links. Read full disclosure here.

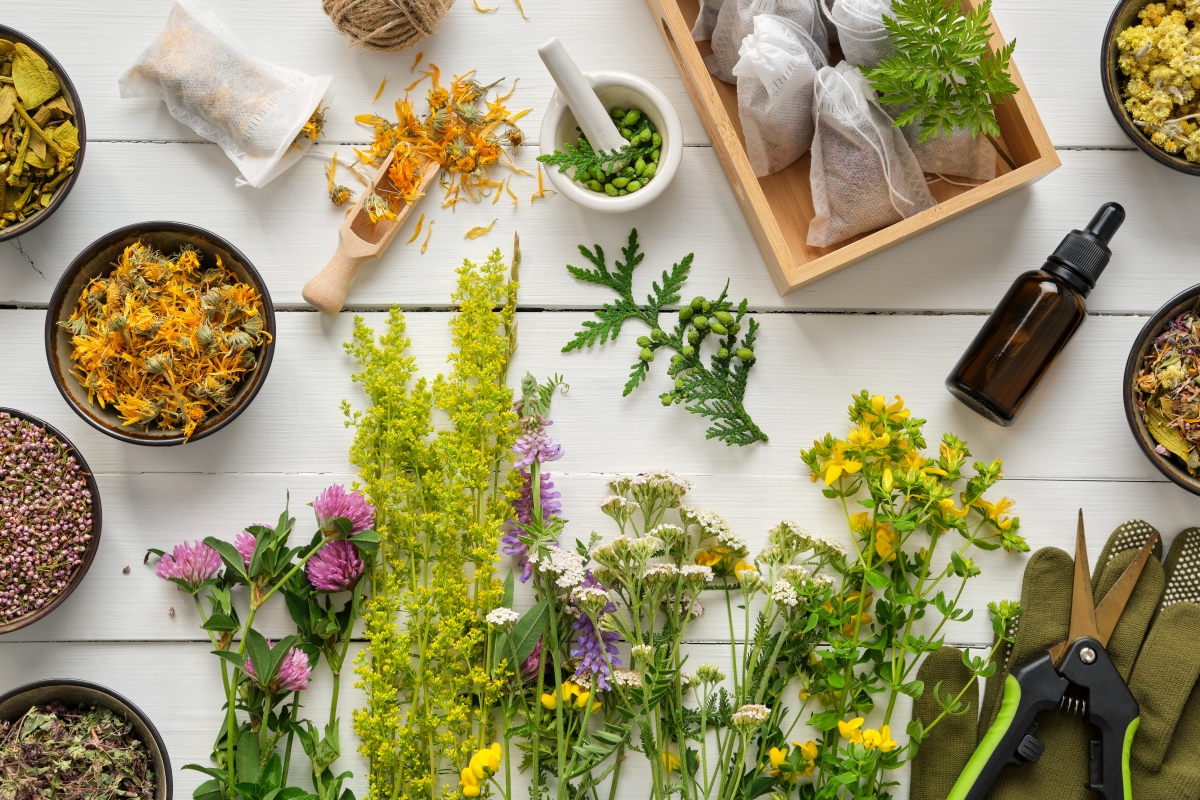
Homemade herbal remedies are easier than you think, and most only require a few minutes of hands-on time before you’ve crafted powerful herbal medicine for your families’ medicine chest.

Herbal Remedies

…

Read More

Filed Under: Adamant Living, Herbalism

Making Calendula Tea (& 15 Ways to Use It)

April 22, 2022 by Ashley Adamant Leave a Comment

This post may contain affiliate links. Read full disclosure here.

From its impressive immune-boosting benefits to its time-honored wound-healing properties, when it comes to what-ails-you there’s no better remedy than freshly brewed calendula tea.

Calendula Tea

…

Read More

Filed Under: Herbalism

How to Make Lotion Bars

December 22, 2021 by Ashley Adamant 41 Comments

This post may contain affiliate links. Read full disclosure here.

Lotion bars are solid bars of moisturizer made from equal parts oil, butter, and beeswax. They soften at the touch of warm skin, travel without leaking, and keep for a year or more on the shelf, so they make an easy first body care project and a simple homemade gift.

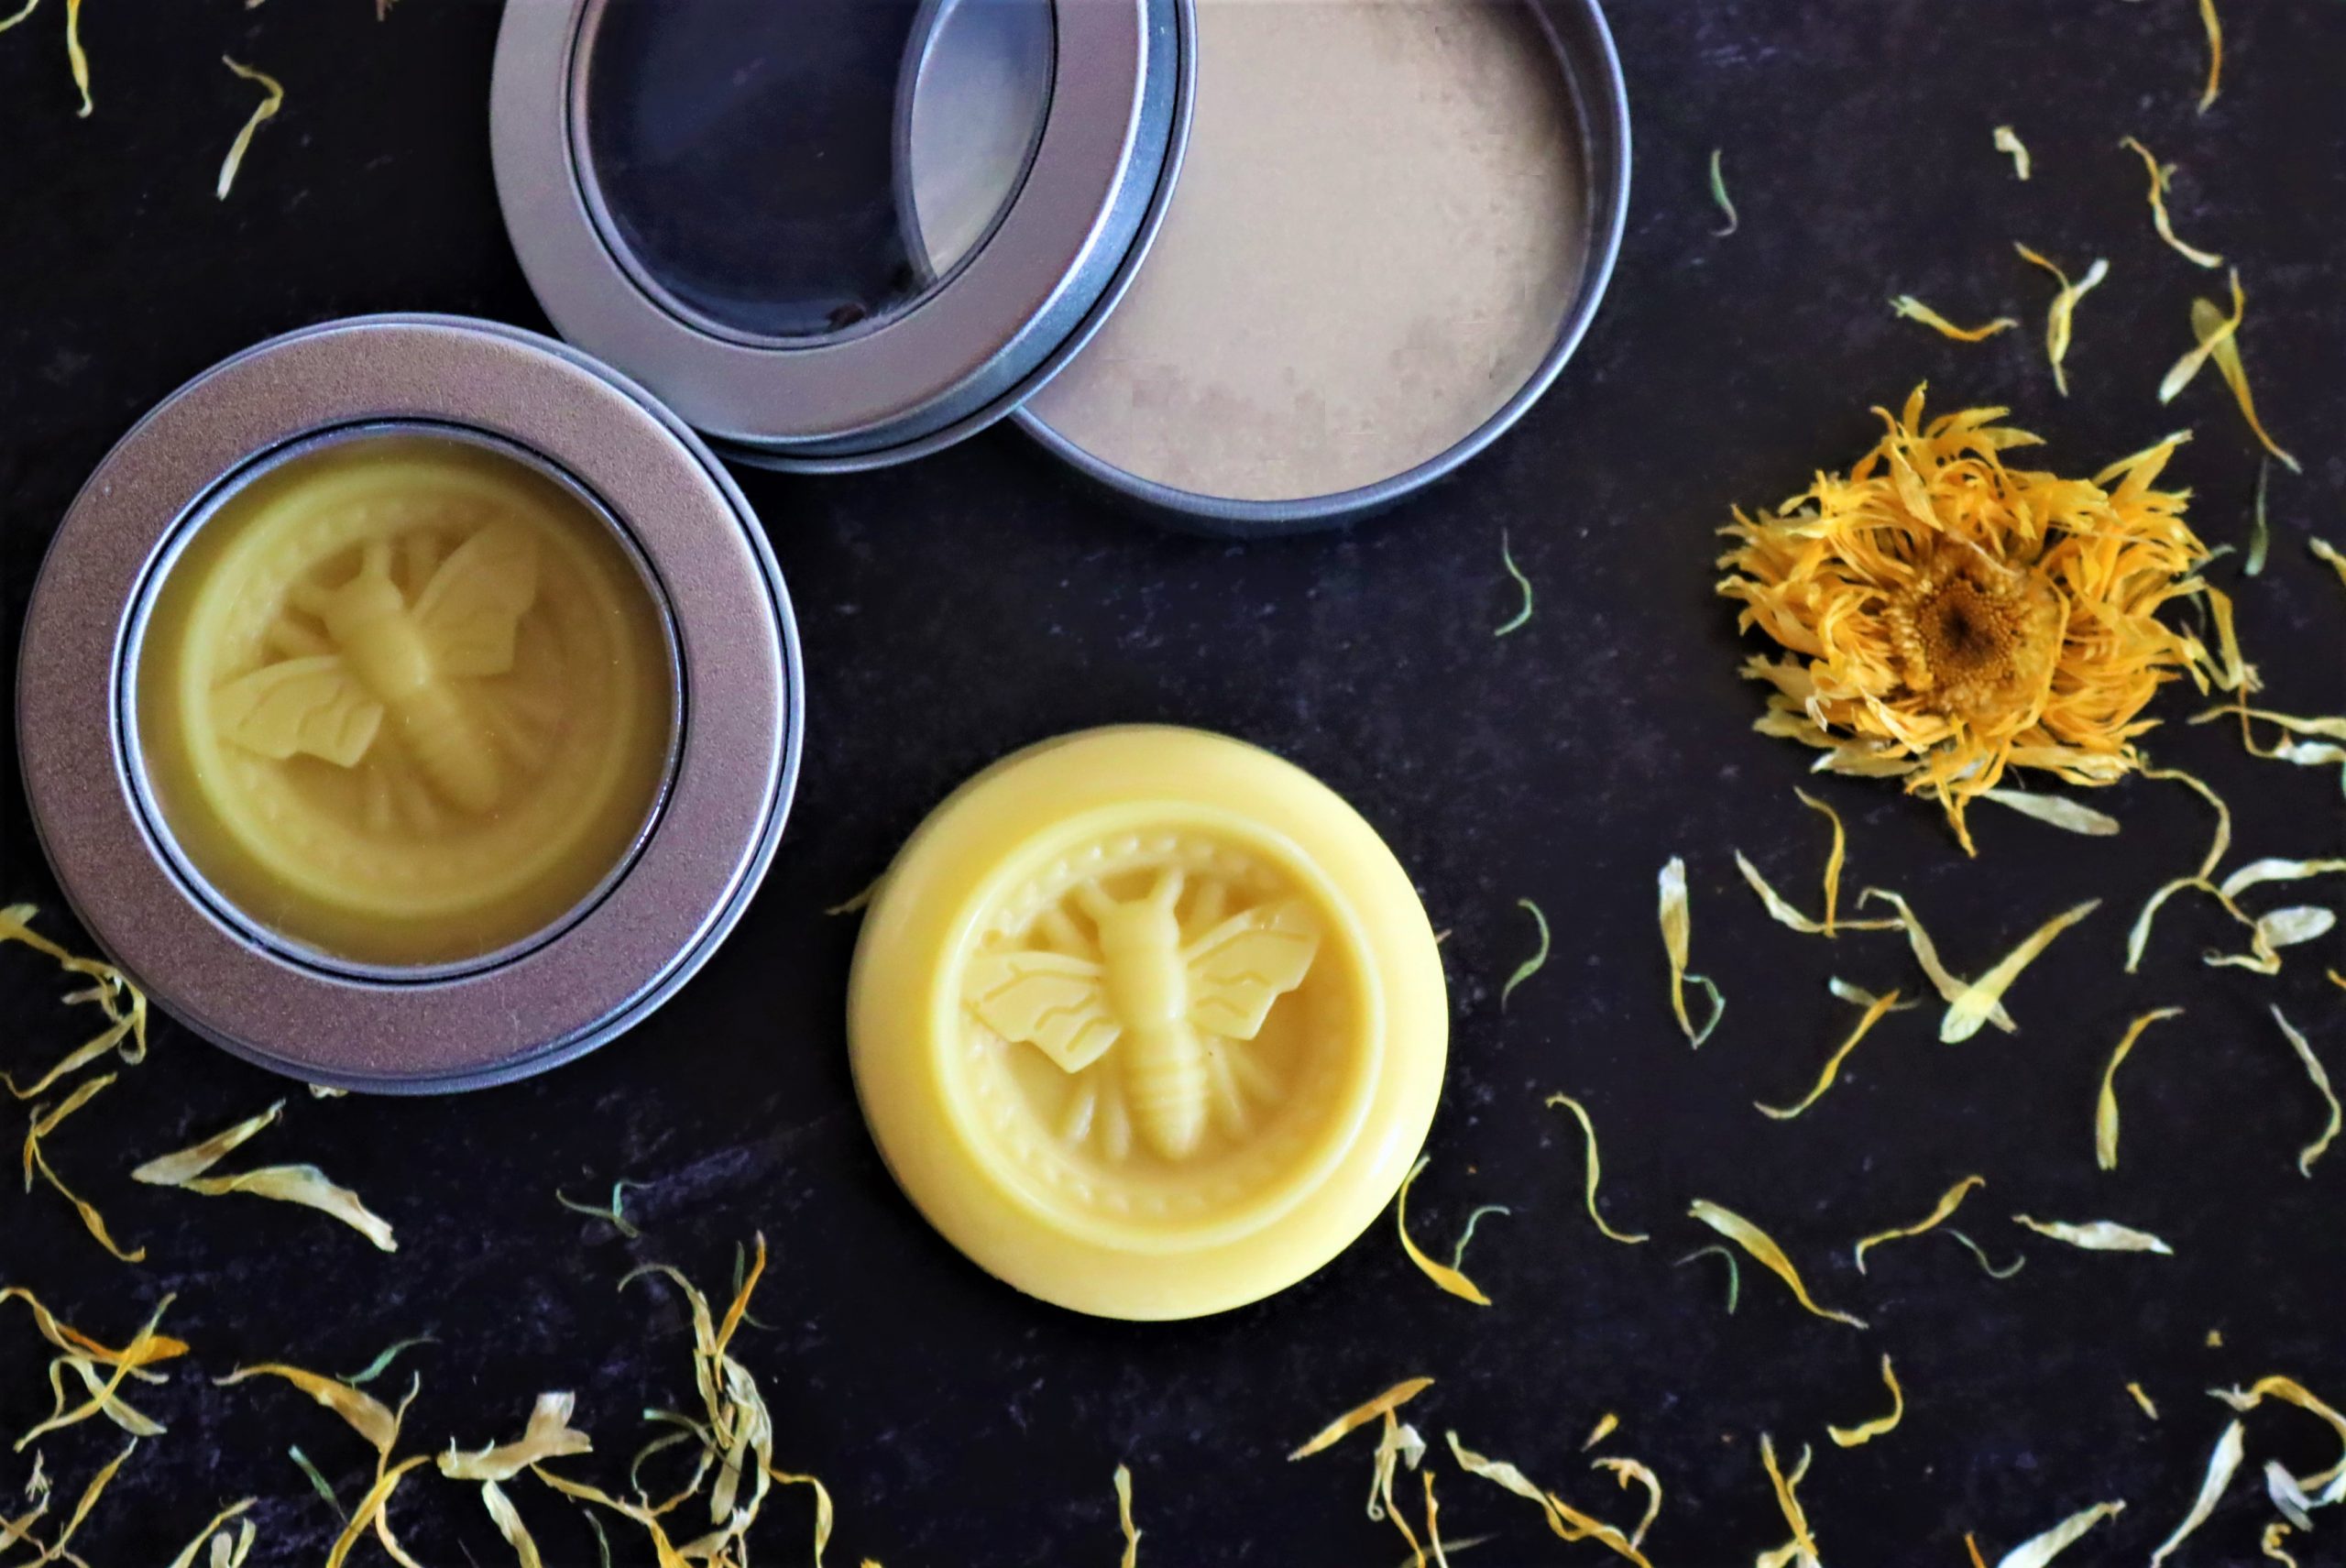
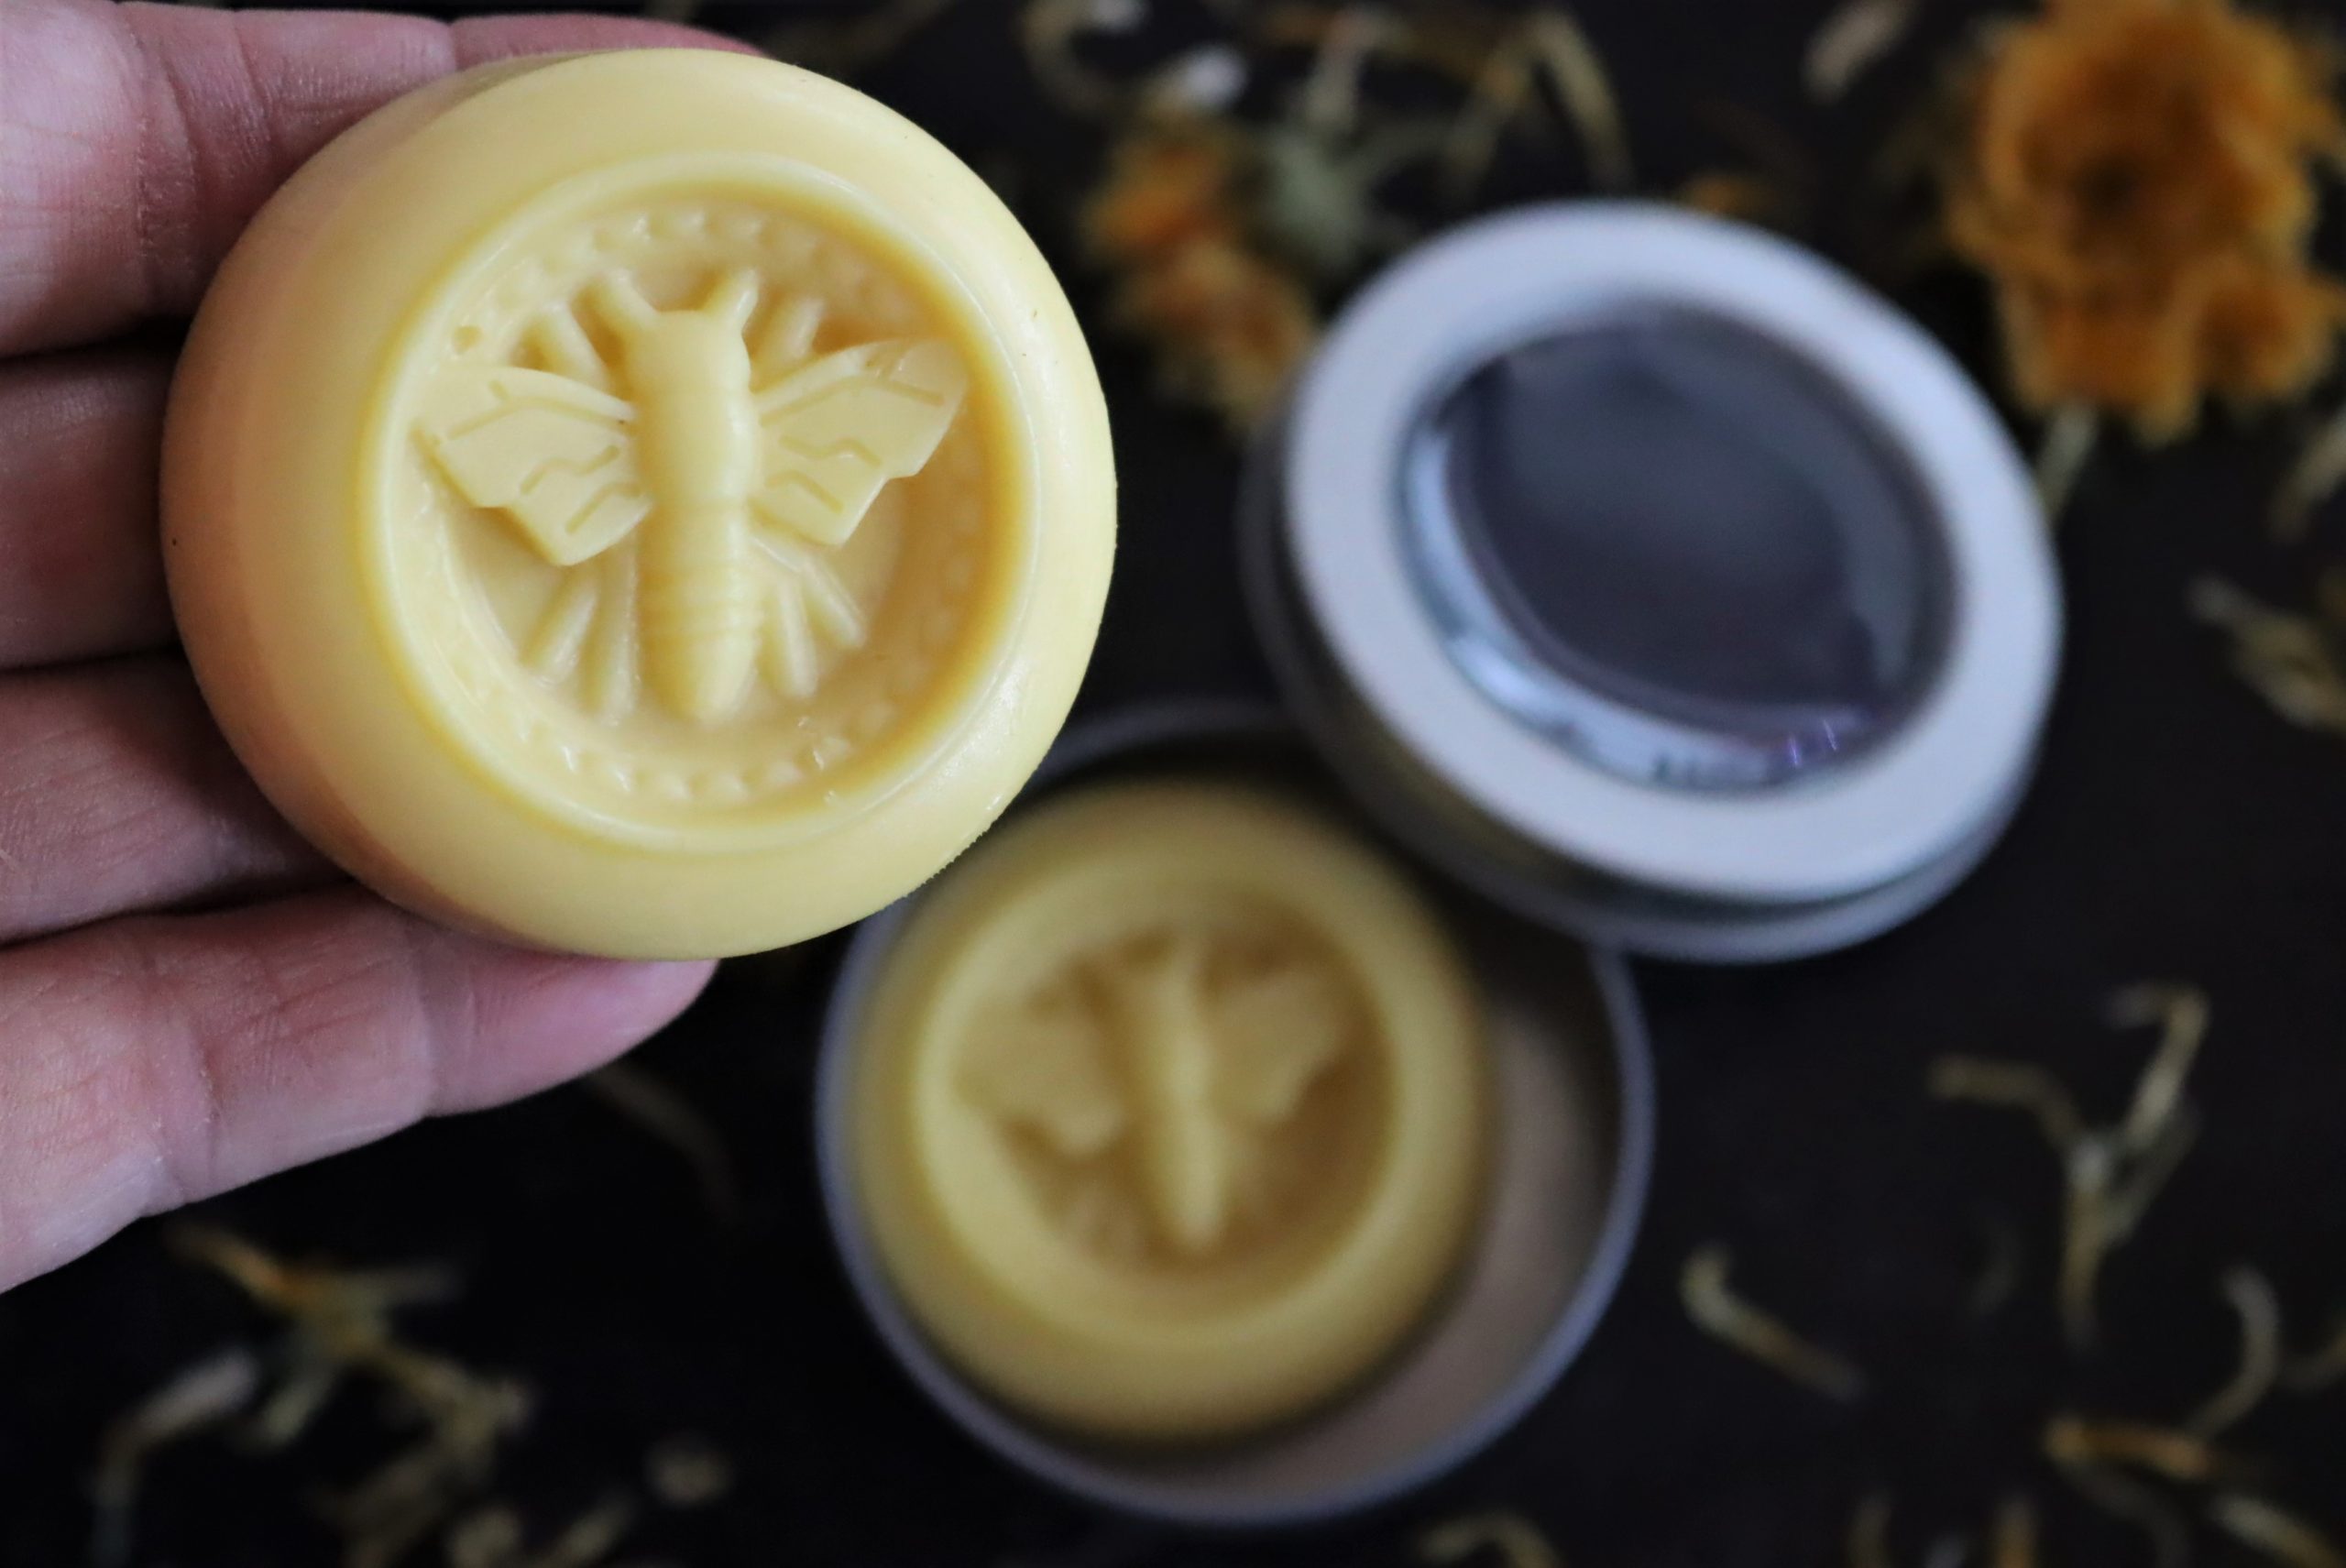
Bee-stamped lotion bars in round salve tins with dried calendula petals

A lotion bar is about as simple as homemade body care gets. There’s no water in the recipe, so there’s nothing to emulsify and no preservative to add.

That’s the big difference from homemade lotion. Anything made with water needs a preservative to keep mold away, while a bar of oil, butter, and wax keeps until the oils themselves get old.

The base is only three ingredients: a liquid oil, a solid butter like shea, and beeswax. You can leave it unscented, add a few drops of essential oil, or steep herbs into the oil first, the same way you would for calendula body butter.

If you enjoy making these, shampoo bars and bath bombs use many of the same ingredients and the same molds.

What Is a Lotion Bar?

A lotion bar is a block of moisturizer that’s firm at room temperature, a bit like a bar of soap. When you rub it on your skin, body heat softens the surface and leaves a thin layer of oil behind.

It has a few advantages over lotion in a bottle:

  • No container needed: A bar holds its shape on its own, though it looks nice in a small tin.
  • Portable: It won’t leak in a bag or a pocket the way a bottle can.
  • Simple ingredients: You choose every oil and scent that goes in, and you can leave out anything your skin doesn’t like.
  • Long shelf life: With no water in it, a lotion bar keeps far longer than homemade lotion.

How to Use a Lotion Bar

Hold the bar in your hand for a moment, then glide it over your skin. It softens as it warms, and a little goes a long way. Rub it in with your fingers afterward.

It works best right after a shower or bath, while your skin is still warm and a little damp. I like to keep one close to the shower for that reason.

You can use it on your face too. It’s heavier than a typical face moisturizer, so many people prefer it as part of an evening routine.

Hand holding a bee-stamped lotion bar beside another bar in a salve tin

Ingredients for Lotion Bars

The recipe is equal parts oil, butter, and wax, and each part has a few good swaps. Jojoba oil and shea butter are the pairing I like most, with beeswax to firm it up.

  • Liquid oil: This is what makes the bar glide. Jojoba oil, sweet almond, apricot kernel, grapeseed, and avocado oil all work, alone or blended. You can also use an herb-infused oil here.
  • Butter: Shea butter gives a creamy, soft bar with very little scent. Cocoa butter makes a harder bar that smells faintly of chocolate, and mango butter makes a softer one.
  • Beeswax: The wax is what holds the bar together. Beeswax pellets are the easiest to measure, and a beeswax block works if you grate or weigh it.
  • Essential oil (optional): A few drops add scent. Skip it for an unscented bar, which is a good choice for sensitive skin.

Choosing Oil for Lotion Bars

Any skin-safe liquid oil will make a lotion bar, so the choice mostly comes down to how it feels. Some sink in quickly, and others leave more of a glow on the skin.

Jojoba is technically a liquid wax rather than a true oil. A 2018 review in the International Journal of Molecular Sciences notes that it’s made mostly of wax esters, which is part of why it feels light and absorbs quickly.

  • Jojoba oil: Light, with almost no scent, and it’s the one I use most often.
  • Sweet almond oil: A classic for body care, slightly richer than jojoba. Skip it if anyone using the bars has a nut allergy.
  • Apricot kernel oil: Similar to almond oil in feel and a little lighter.
  • Grapeseed oil: Very light and inexpensive, a good choice if heavier oils seem to sit on top of your skin.

Avocado oil is thicker and richer, and coconut oil firms up the bar since it’s solid at cool room temperature. Olive oil is easy to find, but the same 2018 review reports that olive oil on its own can weaken the skin’s outer barrier, so it’s better as part of a blend than as the only oil.

Adding Herbs or Essential Oils

An herb-infused oil gives the bars a gentle scent and color. Calendula is a common choice, and the method is the same for most dried herbs. There are step-by-step instructions for calendula oil, dandelion oil, and herbal infused oil in general.

Essential oils give a stronger scent. They’re concentrated, and the National Capital Poison Center advises diluting them in a carrier oil to avoid a bad reaction on the skin. In a lotion bar, the oil and butter do that job, so add them only to the melted mixture and never put them straight on your skin.

A little goes a long way. This essential oil dilution chart suggests 0.5 to 1 percent for lotion bars, or 3 to 6 drops per ounce, which works out to about 15 to 25 drops for one batch of this recipe.

I usually choose scents based on what I enjoy or what a friend would like. Lavender, rose geranium, rosemary, clary sage, peppermint, and frankincense are all popular in lotion bars, alone or blended.

Vegan Lotion Bars without Beeswax

Candelilla wax is the usual plant-based swap. It has about twice the firming power of beeswax, so one supplier, Aussie Soap Supplies, recommends cutting the wax by half when you substitute it.

Start with half as much candelilla as the beeswax called for, then make a small test bar. You can always remelt the batch and add a little more wax if it’s too soft.

Equipment for Lotion Bars

You probably have most of what you need already. A double boiler keeps the heat gentle, and a heatproof glass bowl set over a pot of simmering water works just as well.

Here’s what to gather:

  • Scale: A digital scale is handy if you’re working from a block of beeswax.
  • Double boiler: Or a glass bowl over a saucepan of water.
  • Spatula: A silicone spatula scrapes the last of the mixture out of the bowl.
  • Molds: Silicone lotion bar molds, or a muffin tin lightly greased with a neutral oil.

How to Make Lotion Bars

Set up the double boiler and add the oil, butter, and beeswax to the top. Keep the water at a gentle simmer and make sure the bowl isn’t touching it, then stir now and then until everything has melted together.

Take the mixture off the heat. If you’re using essential oil, add it 10 drops at a time and stir it in, up to about 25 drops for the whole batch. You can always add more, but you can’t take the scent back out.

Pour the mixture into your molds. Let the bars set at room temperature for about an hour, or put them in the fridge for 15 minutes to speed things up. Then pop them out, and they’re ready to use.

Yield Notes

By weight, 1/4 cup each comes to about 52 grams of oil, 44 grams of shea butter, and 28 grams of beeswax pellets, the same numbers given for these rose lotion bars. That’s about 4 1/2 ounces of lotion bar in all.

A typical bee-shaped silicone mold, like this bee mold, holds 2 ounces per cavity, so one batch makes about two bars with a little left over, or four 1 ounce bars. For gifts, double or triple the batch.

Using a different mold? Fill one cavity with water, measure it, and compare it to the batch. The same trick tells you whether a bar will fit a 2 ounce or 4 ounce tin.

Troubleshooting Lotion Bars

Lotion bars are forgiving. If a batch doesn’t turn out the way you want, melt it down gently and adjust one ingredient at a time.

Climate makes a difference too. In a hot, humid place you’ll want a firmer bar, and in a cold, dry one a slightly softer bar is easier to use.

How to Make Lotion Bars Harder

Add more wax. Try 1 1/2 times the beeswax as a starting point, or swap some of the shea butter for cocoa butter, which is firmer.

Measuring by volume makes a fairly soft bar, because a 1/4 cup of beeswax pellets weighs only about half as much as a 1/4 cup of oil. For a firmer bar that holds up in warm weather, weigh the ingredients instead. These herbal lotion bars use roughly equal weights of beeswax, butter, and oil.

How to Make Lotion Bars Softer

Use a little less wax and keep everything else the same. Changing one ingredient at a time makes it easy to see what did the trick.

Mango butter also gives a softer bar. I don’t usually use it, but it’s a good choice if you want a bar that glides more easily.

Why Are My Lotion Bars Greasy?

A lotion bar is mostly oil, so it will feel richer than lotion from a bottle. Use less than you think you need, and rub it in well with your hands.

Applying it to damp skin right after a shower helps it absorb. If it still feels heavy, try a lighter oil like grapeseed or jojoba in the next batch, or add a little more wax.

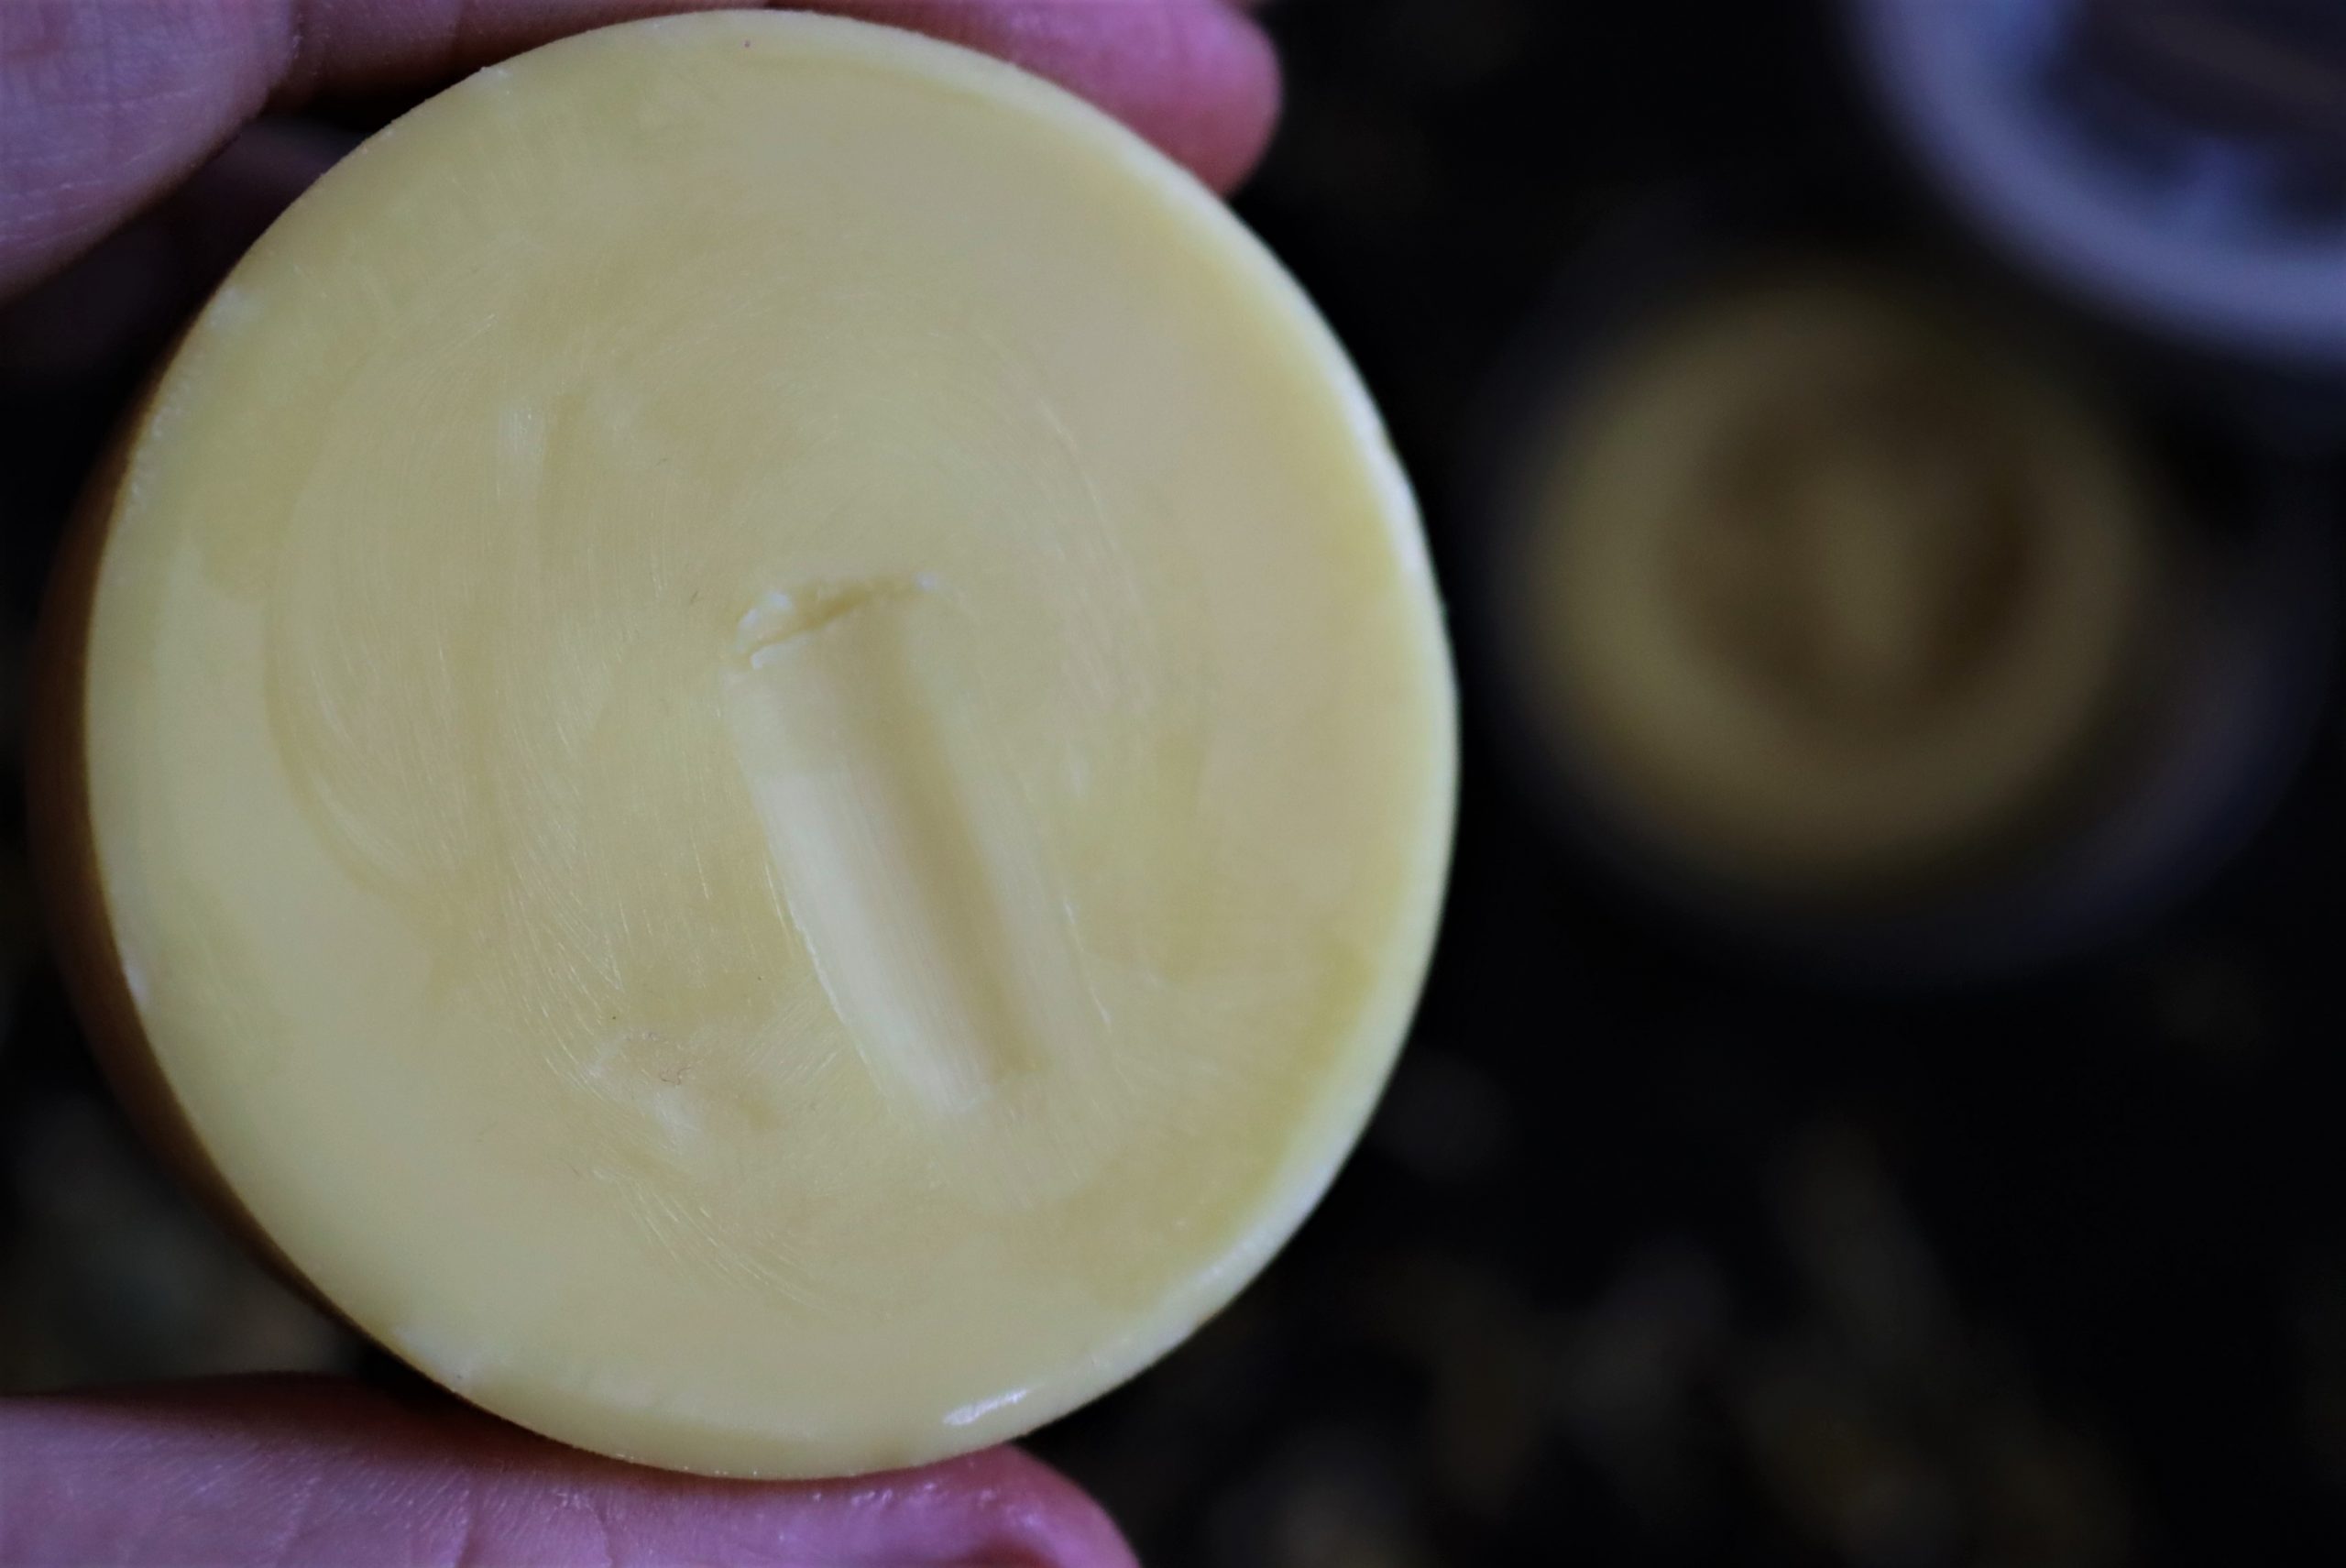
Smooth side of a lotion bar with a small fingernail dent in the surface
The finished texture should be firm enough to hold its shape, but soft enough to dent when you run a fingernail across the surface.

How to Store Lotion Bars

Small salve tins are an easy way to store lotion bars, and the ones with windows look especially nice for gifts. 4 ounce tins with windows, plain 2 ounce salve tins, and little 1 ounce tins all work, depending on the size of your molds.

You can also stack bars in a glass jar with a square of parchment paper between each one. For an on-the-go bar, pour the slightly cooled mixture into an empty twist-up deodorant tube and let it set.

Keep lotion bars away from heat, whether that’s a radiator, a sunny window, or a hot car. They’ll soften into a puddle in the heat, though they still work fine once they cool.

I store mine in metal tins, and the small amount of essential oil in these bars hasn’t caused any trouble with the tins in my experience.

Are Lotion Bars Shelf Stable?

Yes. With no water in the recipe, lotion bars don’t grow mold the way homemade lotion can. What eventually goes off is the oil, which can turn rancid over time.

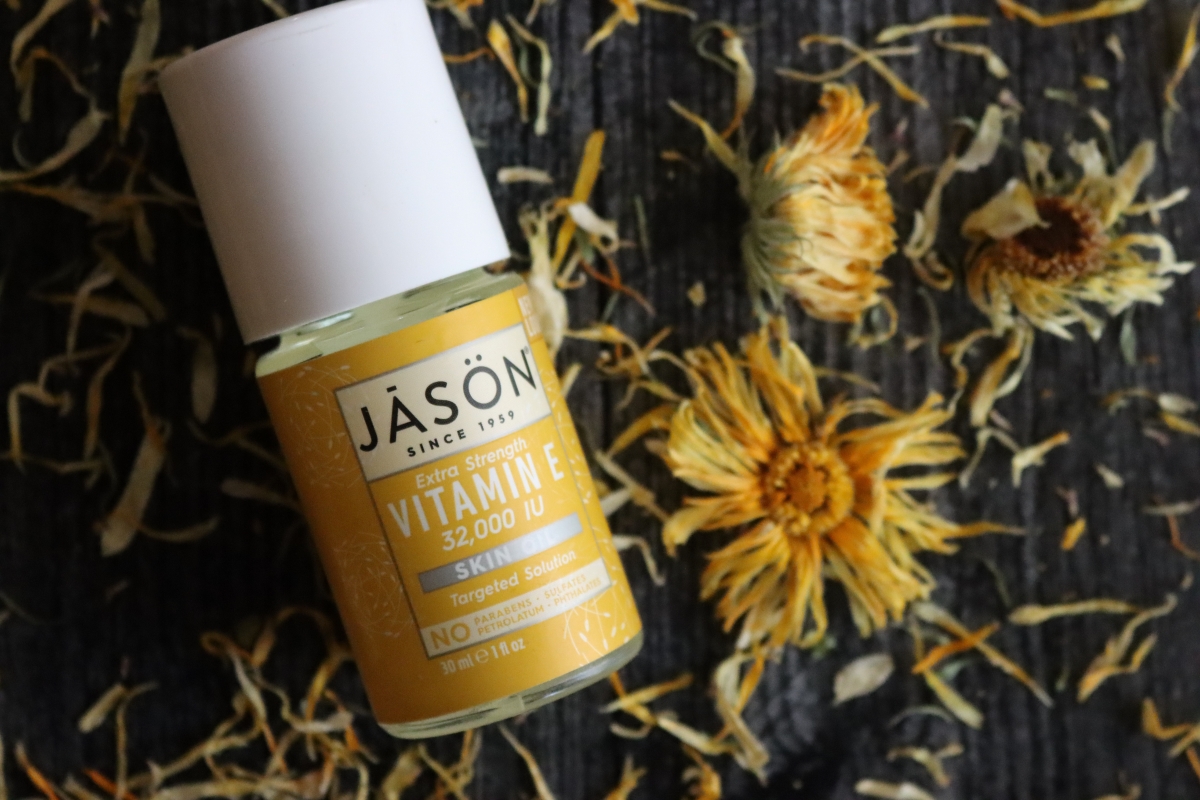
Most lotion bars keep for 1 to 2 years. A few drops of vitamin E oil stirred into the melted oils can help slow rancidity, and storing the bars somewhere cool and dark helps too.

Adding vitamin E oil to homemade calendula oil

Lotion Bar Recipe Variations

Once you’ve made a basic batch, it’s easy to change things up. Infused oils are the simplest swap, and calendula lotion bars use calendula-infused oil in place of plain oil.

Dried flower petals pressed into the top of the mold make a pretty gift, like these flower lotion bars. If you’d like to learn more about herbs for body care, the Herbal Academy has courses on making herbal skin care at home.

Notes from My Kitchen

I worked as a massage therapist for many years, mostly at spas, and a lot of oils and lotions passed through my hands in that job. Jojoba and shea butter were the two I kept coming back to, and they’re still what I use in my lotion bars.

I like to make them in a bee-shaped mold. The bars fit nicely into 4 ounce salve tins with window lids, and a few of them tucked into tins make an easy gift.

Lotion Bars FAQs

These are the questions readers ask most, starting with how many bars one batch makes.

How many lotion bars does this recipe make?

One batch is about 4 1/2 ounces, enough for about two bars in a 2 ounce bee mold, or four 1 ounce bars. Double or triple the recipe if you’re making gifts.

Can I use mango butter instead of shea butter?

Yes. Mango butter works in place of shea, cocoa, or both. It makes a softer bar, so you may want a little more beeswax if you live somewhere warm.

Can I use fragrance oil instead of essential oil?

You can use a fragrance oil sold as skin-safe for body care. Follow the maker’s recommended usage rate, and leave it out entirely for an unscented bar.

Can I make a big batch of lotion bars?

Yes. As long as the oil, butter, and wax stay in equal parts, the recipe scales up or down. Work in batches that fit comfortably in your double boiler.

Can I sell homemade lotion bars?

The FDA doesn’t require approval for homemade cosmetics, but labels must list the maker’s name and address, and any claim to treat a condition makes the product a drug. Check your state’s rules as well.

If you made this Lotion Bar Recipe, or anything else from Adamant Living, leave a ⭐ star rating and tell me how it turned out in the 📝 comments below!

lotion bars
ashley.adamant

Lotion Bars

5 from 2 votes
Homemade lotion bars made with equal parts oil, shea butter, and beeswax. This simple lotion bar recipe takes about 20 minutes of hands-on time and makes solid bars that soften on warm skin.
Print Recipe Pin Recipe
Prep Time 10 minutes mins
Cook Time 10 minutes mins
Setting Time 1 hour hr
Total Time 1 hour hr 20 minutes mins
Servings: 2 2-ounce bars
Course: Body Care
Cuisine: American
Ingredients Equipment Method Notes

Ingredients
  

  • 1/4 cup liquid oil such as jojoba or sweet almond, see notes
  • 1/4 cup shea butter or cocoa or mango butter
  • 1/4 cup beeswax pellets see notes
  • essential oil optional, see notes

Equipment

  • Double boiler
  • Silicone spatula
  • Lotion bar molds or muffin tin
  • Digital scale (optional)

Method
 

  1. Set up a double boiler with the water at a gentle simmer, making sure the top bowl does not touch the water.
  2. Add the oil, shea butter, and beeswax to the top of the double boiler and stir now and then until everything has melted together.
  3. Take the mixture off the heat. If using essential oil, stir it in 10 drops at a time, up to about 25 drops.
  4. Pour the mixture into lotion bar molds, or into a muffin tin lightly greased with a neutral oil.
  5. Let the bars set at room temperature for about 1 hour, or refrigerate for 15 minutes.
  6. Pop the bars out of the molds. Use right away or store them in tins somewhere cool.

Notes

Yield: One batch weighs about 4 1/2 ounces (52 grams oil, 44 grams shea butter, 28 grams beeswax pellets). That fills about two 2 ounce bee molds with a little left over, or four 1 ounce molds.
Ratio: Keep the oil, butter, and beeswax in equal parts by volume and you can scale the recipe up or down.
Firmer bars: Measuring by volume makes a fairly soft bar. For a firmer bar in warm weather, use equal weights of oil, butter, and beeswax, or add up to half again as much beeswax.
Softer bars: Use a little less beeswax, or swap some of the shea for mango butter.
Essential oils: Add them only to the melted mixture, 10 drops at a time, up to about 25 drops per batch (0.5 to 1 percent). Never put them straight on your skin. Leave them out for an unscented bar.
Vegan option: Use candelilla wax in place of beeswax, starting with half as much.
Storage: Keep the bars somewhere cool and away from heat. They keep for 1 to 2 years.

A Word on Using Herbs Safely

Herbal traditions carry a lot of hard-won knowledge, and the Herbal Academy is a good place to learn it in an organized way. What a website can’t tell you is whether a particular herb is a good fit for you.

Herbs are potent plants, and that cuts both ways. Some interact with prescription drugs, some aren’t safe during pregnancy or while breastfeeding, and some people react badly to plants most folks handle just fine. A recipe on a website can’t account for your health history.

Before you start using something new, here’s what I’d do:

  • Check with your doctor or pharmacist, particularly if you’re on any prescription medication, you’re pregnant or breastfeeding, or you have an ongoing health condition. Your pharmacist can look up interactions on the spot.
  • Find a clinical herbalist near you. A trained practitioner can look at your whole situation and suggest the herbs and amounts that suit you. Local herb shops and co-ops can usually point you to one.
  • Learn the plants yourself. If you want to build your own knowledge, a good first step is the Introduction to Herbal Medicine course from the Herbal Academy. The Mushroom Course and the Botany and Wildcrafting Course are good next steps.

Think of what you read here as a starting point, and make the final call with someone who knows your health history.

More Natural Body Care

These use many of the same oils, butters, and molds.

  • How to Make Lotion at Home
  • Calendula Body Butter
  • How to Make Shampoo Bars
  • How to Make a Herbal Healing Salve

Looking for something else?

Search for a plant, a remedy, or a project to find what you need.

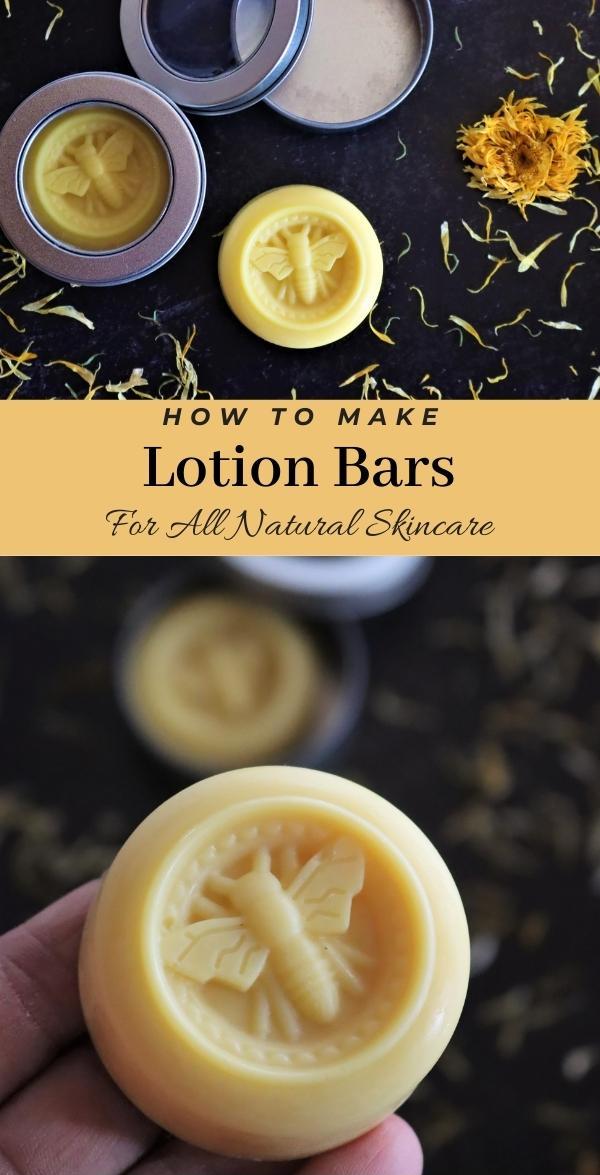
Pinterest pin for how to make lotion bars

Filed Under: Natural Body Care

  • « Go to Previous Page
  • Page 1
  • Page 2
  • Page 3
  • Go to Next Page »

Primary Sidebar

Meet Ashley from Adamant Living

Ashley Adamant Author Bio

Adamant Living is all about giving you the tools and resources to live your very best life!

My goal is to encourage you to focus on quality over quantity, and strive to strive for a healthy, all-natural lifestyle. Read More...

Recent Posts

  • Gardening By the Moon: Using the Moon Phases to Guide Your Gardening
  • Full Moon Names: Why They Exist and Why They Matter
  • Shampoo Bar Recipe: How to Make Shampoo Bars at Home
  • Herbal Under Eye Cream with Wild Rose
  • Herbal Smudge Sticks with Mugwort and Lavender

Footer

Adamant Living is a personal blog and a woman-owned small business.  I am a participant in the Amazon Services LLC Associates Program, an affiliate advertising program designed to provide a means for sites to earn advertising fees by advertising and linking to Amazon.com. For more details, visit my disclosures page.

Copyright © 2026 · Foodie Pro Theme on Genesis Framework · WordPress · Log in