Building a DIY Houseplant Shelf is an easy way to both display your houseplants and make their care easy and stress free.
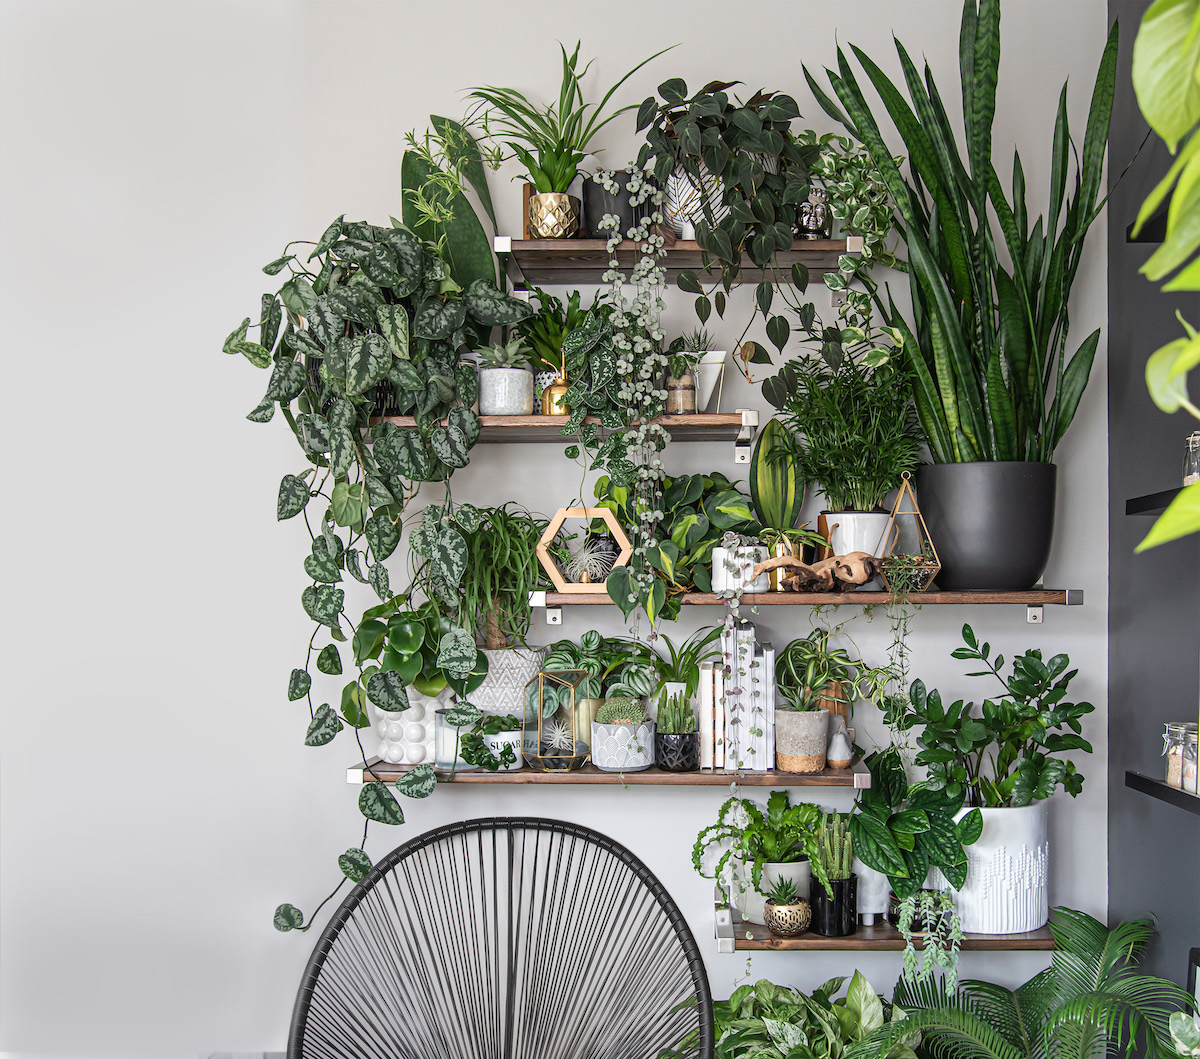
Houseplants are a great way to add color and life to any room, but it can be difficult to find places for all your plant babies. This DIY Houseplant Shelf is a great way to artfully display your plants with minimal space, and it makes for easy plant care as well.
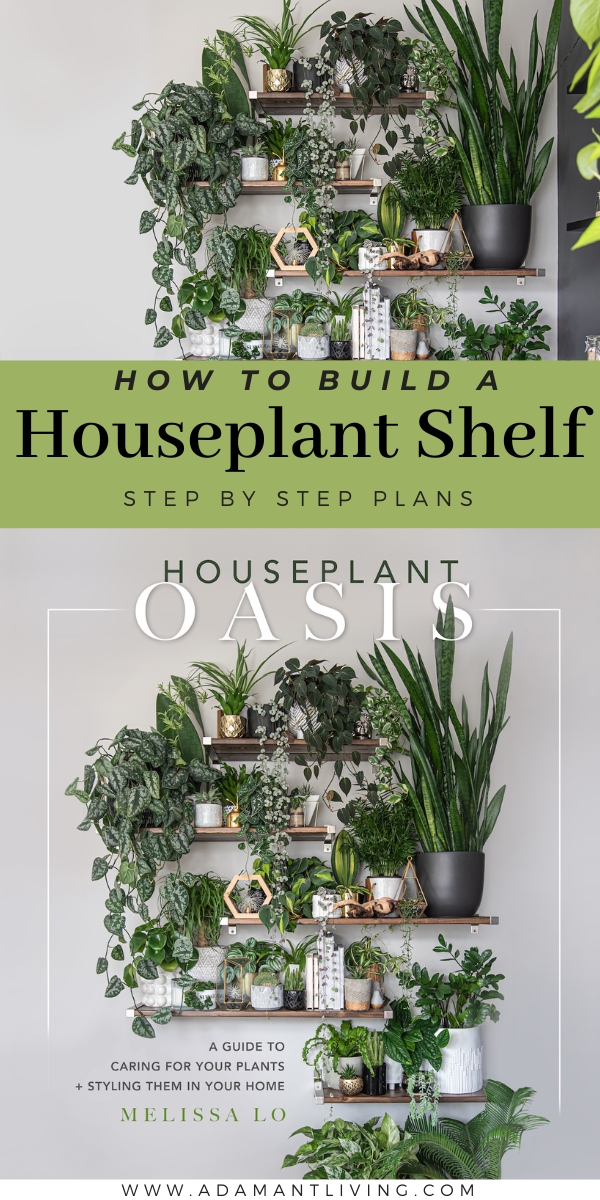
When I saw the stunning cover of the book Houseplant Oasis by Melissa Lo, I just knew I needed to know how to build something like that in my own home.
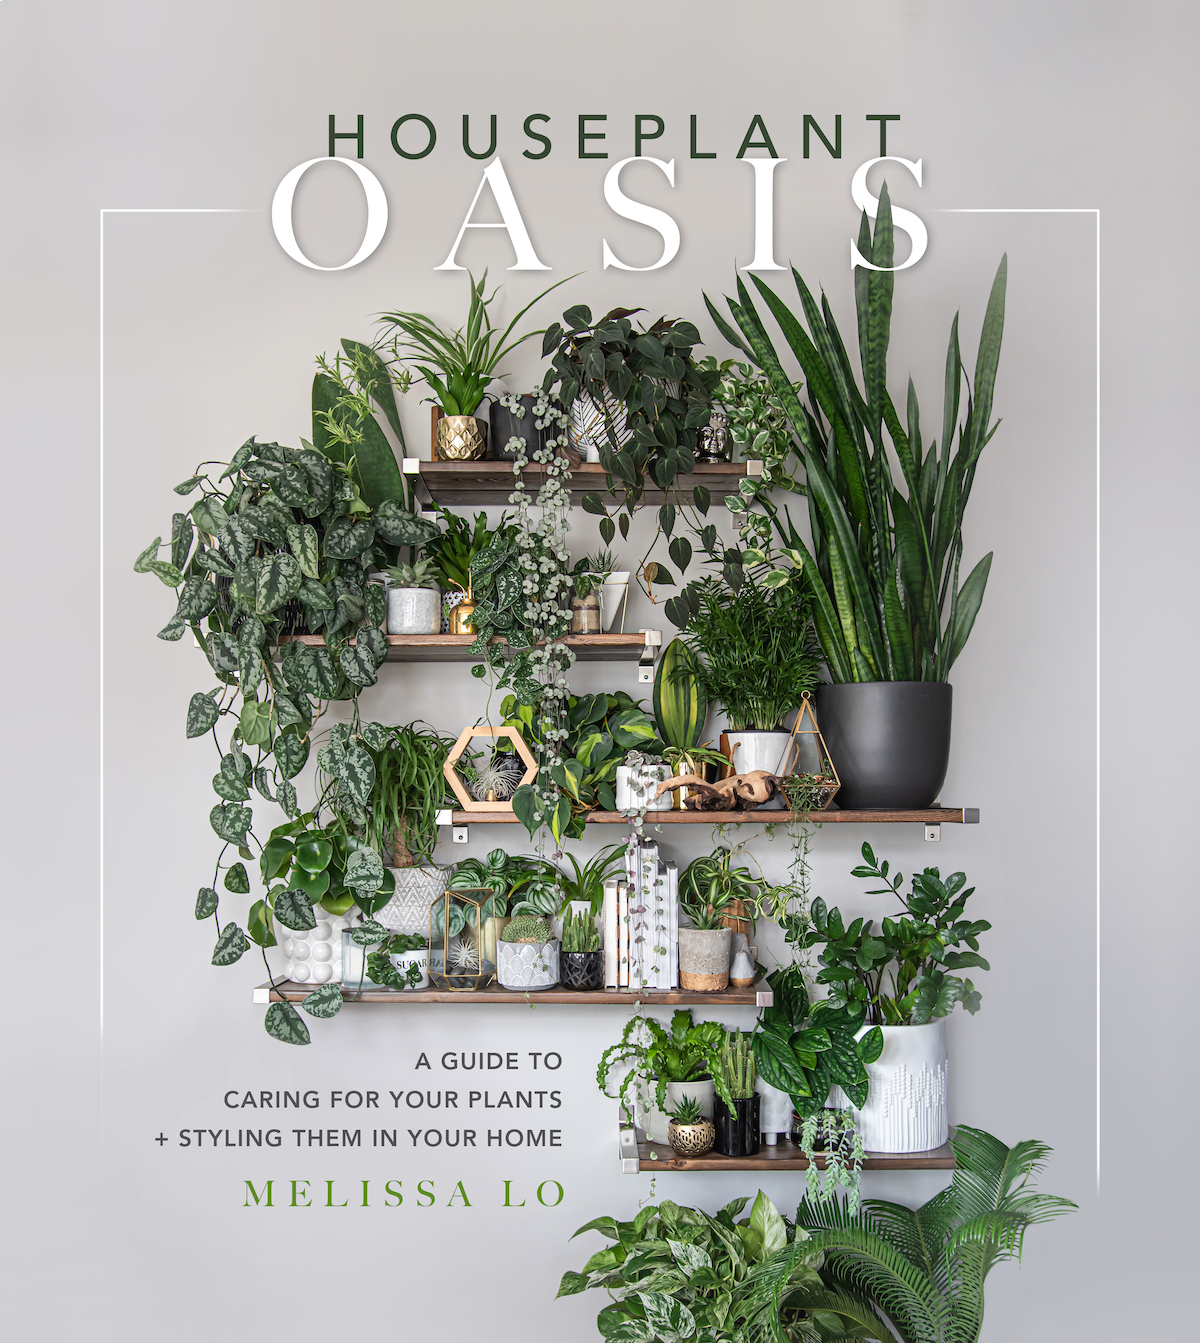
The following is reprinted with permission from the book Houseplant Oasis by Melissa Lo. Page Street Publishing Co. 2022. Photo credit: Melissa Lo, Justin Wong, and Danielle Sum.
DIY Houseplant Shelf
This easy homemade houseplant shelf comes together quickly, with only a few easy to find materials.
Materials
- 5 (5⁄4x 6–inch [3.18 x 15.25–cm]) pieces lumber (see BuildingTips)
- Interior wood stain
- Polyurethane seal
- Drywall anchors + screws (see Building Tips)
- 10 (11 x 4¾–inch [30 x 12–cm]) IKEA GRANHULT brackets
- Wood screws
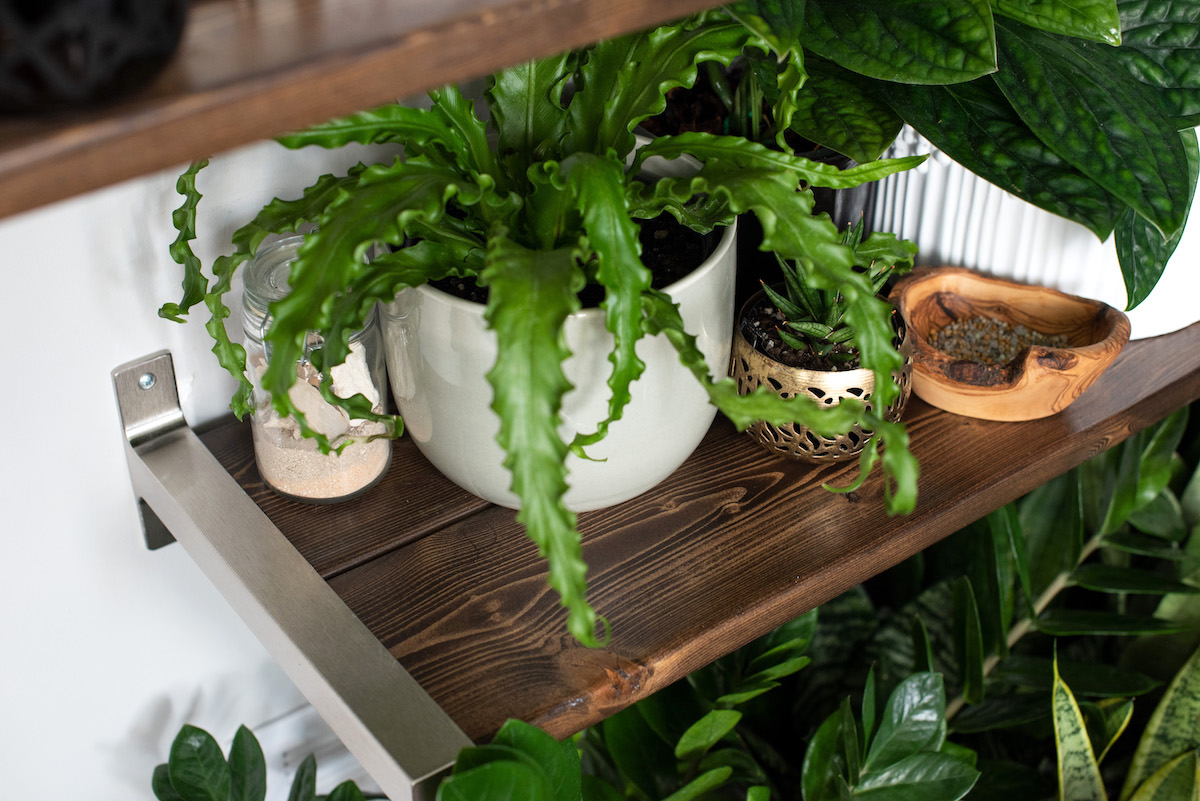
Houseplant Shelf Brackets
Tools
- Stud finder
- Pencil
- Painter’s tape
- Hand, table or circular saw (see Building Tips)
- Sandpaper in 80-, 120- and 180-grit
- Sanding block (optional)
- Level
- Drop cloth
- Latex gloves
- Clean cloths
- Paint brush
- Power drill
Houseplant Shelf Building Tips
It is important to know that with most dimensional lumber, what is labeled and sold at stores may not reflect the true measurements of the finished product. Although lumber yards list materials to be 5/4x 6–inch (3.18 x 15.25–cm), they are in fact 1 x 5.25–inch (2.5 x13.33–cm). For the houseplant shelf build, 2 pieces of lumber at this size are used to fit the depth of the 11-inch (28-cm) brackets.
Identify the type of wall you’re working with and use appropriate wall anchors. Securing the shelves to studs is recommended whenever possible as this offers greater support compared to drywall anchors. It is important to take note of the combined weight of plants and objects placed on each tier, so select anchors that support the load of your shelves. Recommended drywall anchors: E-Z Ancor®Twist-N-Lock #8.
Skip at-home cutting by getting the lumber cut at the hardware store. Call ahead to ask if they have a complimentary cutting service—the number of cuts will vary depending on the store and some will charge a small fee for subsequent cuts.
Houseplant Shelf Building Steps
1. Locate the studs using a stud finder and mark them on the wall with small pieces of painter’s tape. These will be used as reference points to determine the types of screws and fixings needed when it comes time to mount the shelves and put in the brackets.
2. Mock the shelves on your wall in their entirety using strips of painter’s tape. This serves as a visual aid for the overall design, ensuring adjustments can be easily made.
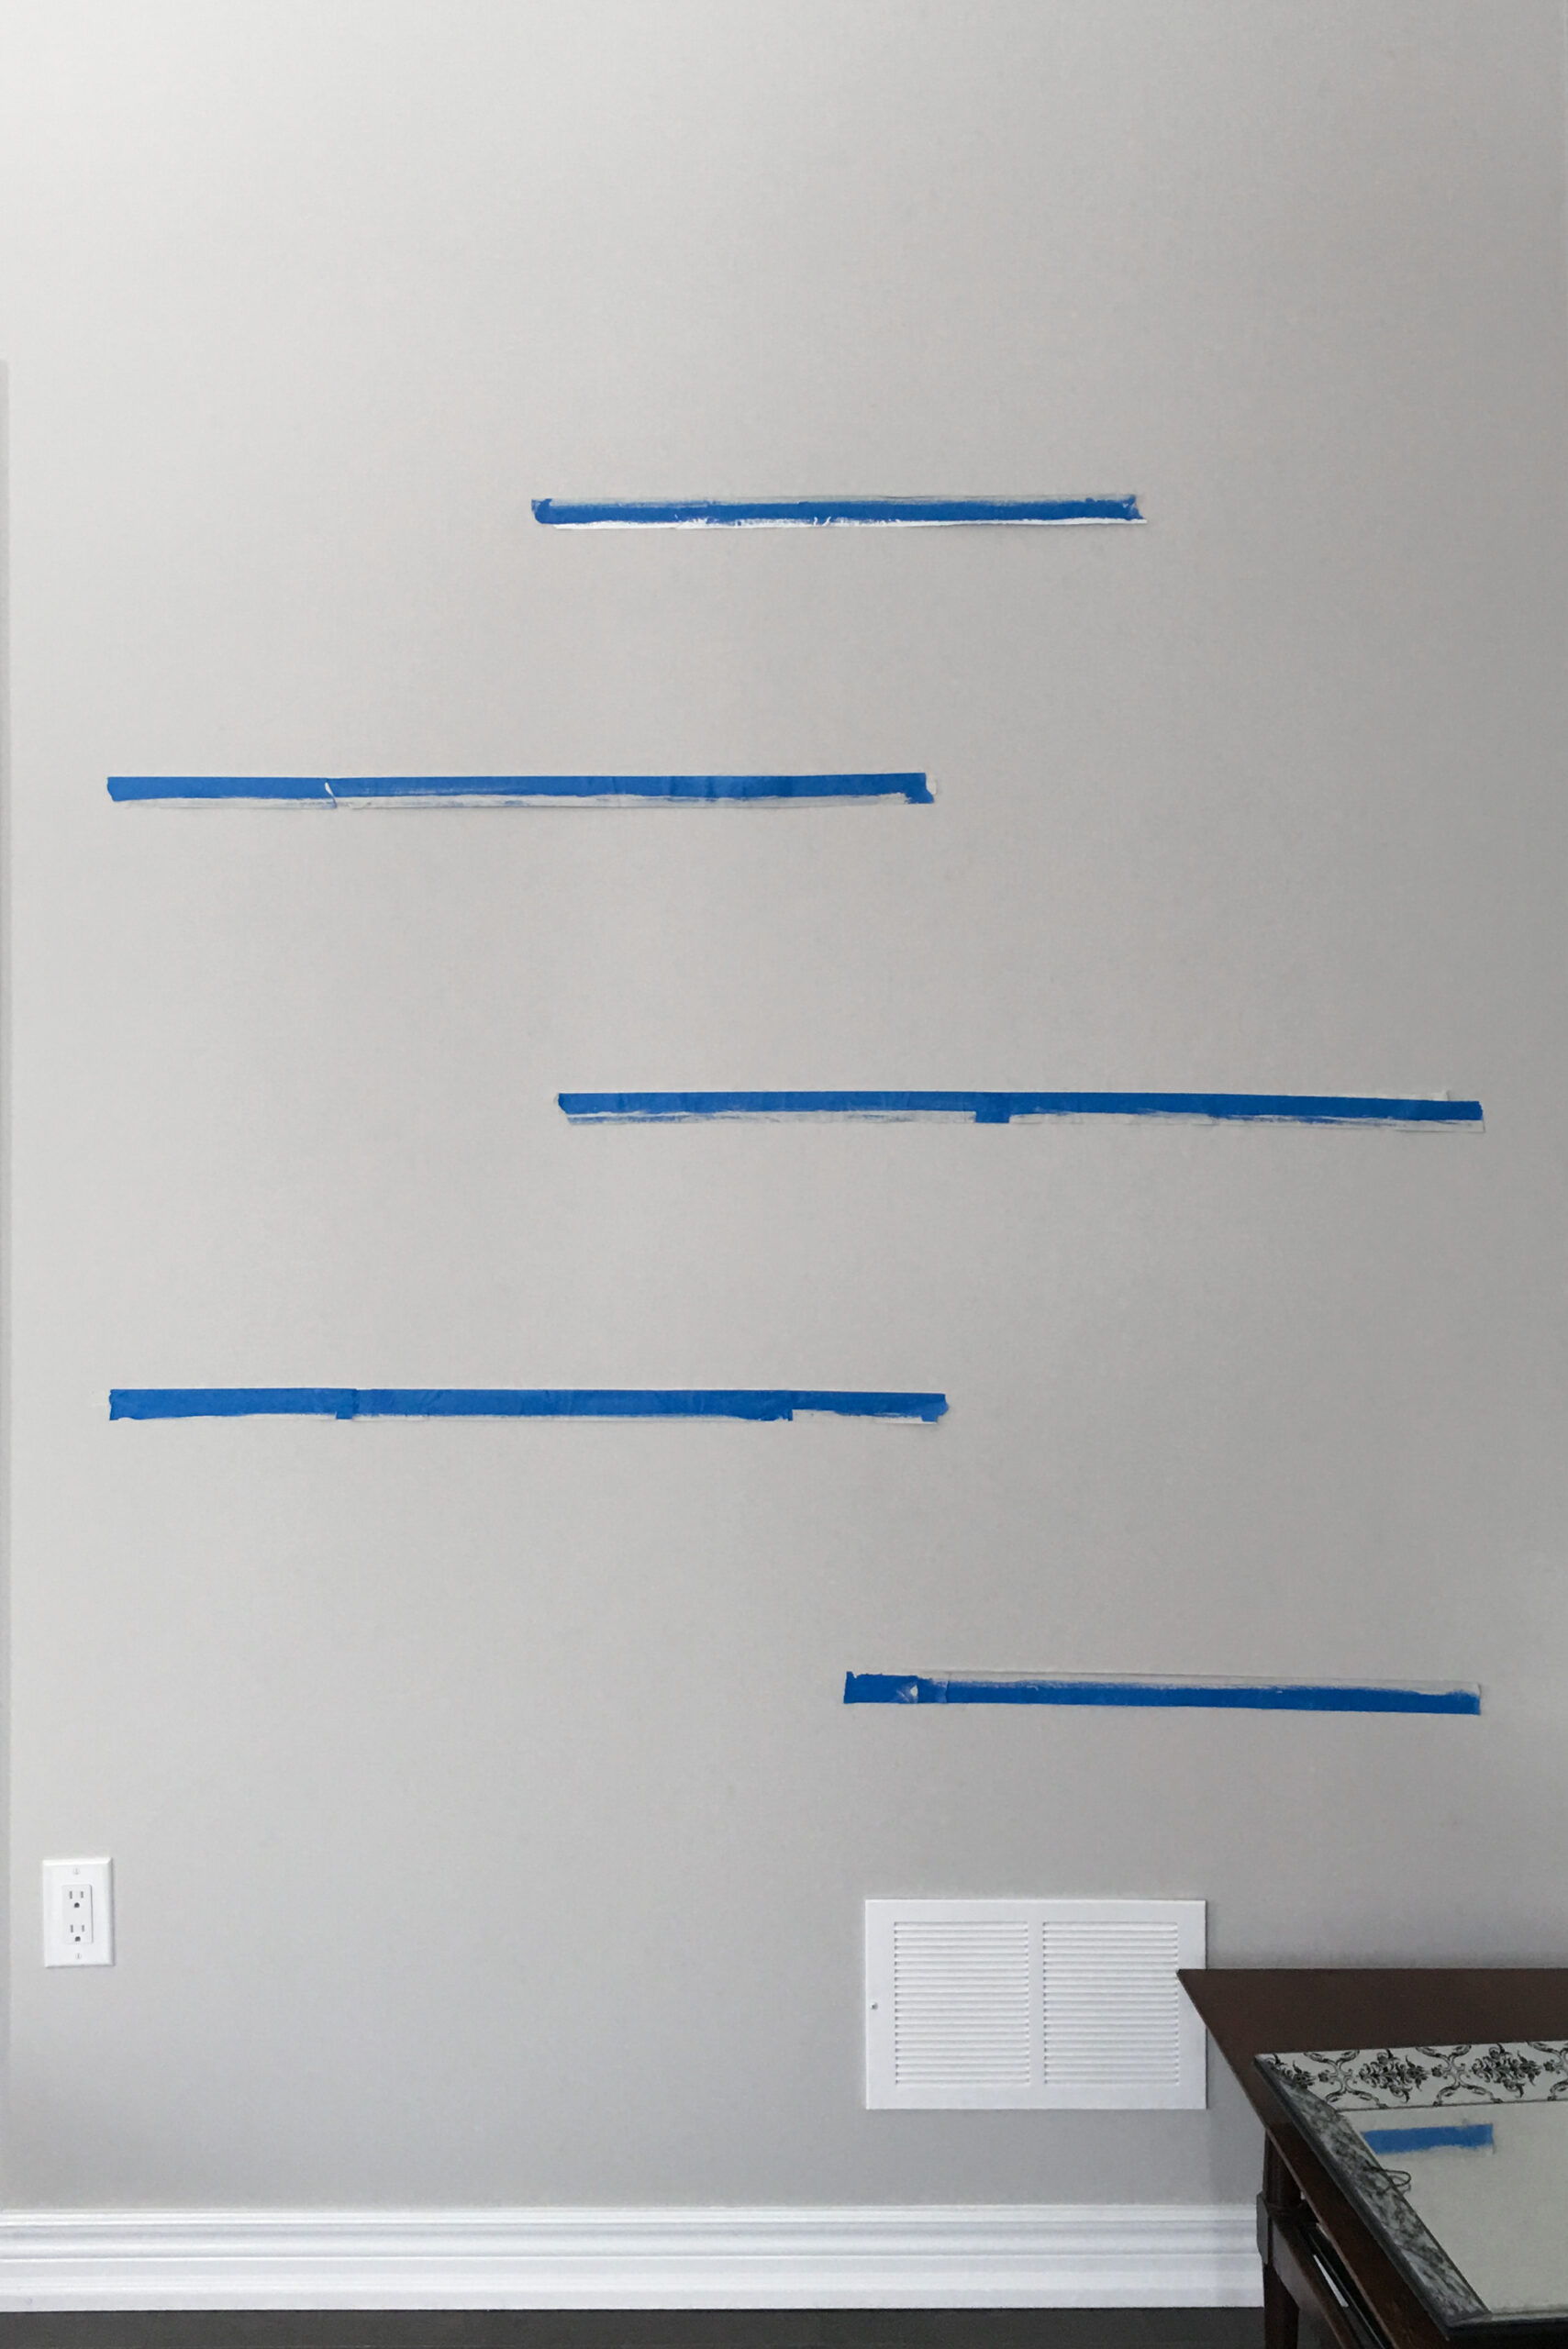
For reference, this DIY Houseplant Shelf was built on an approximately 6 x 9–foot (2 x 3–m) wall using a combination of wood screws through studs and drywall anchors for maximum support. Distance between shelves: 13 inches (33 cm).
3. Cut the lumber to appropriate lengths based on your mock-up.
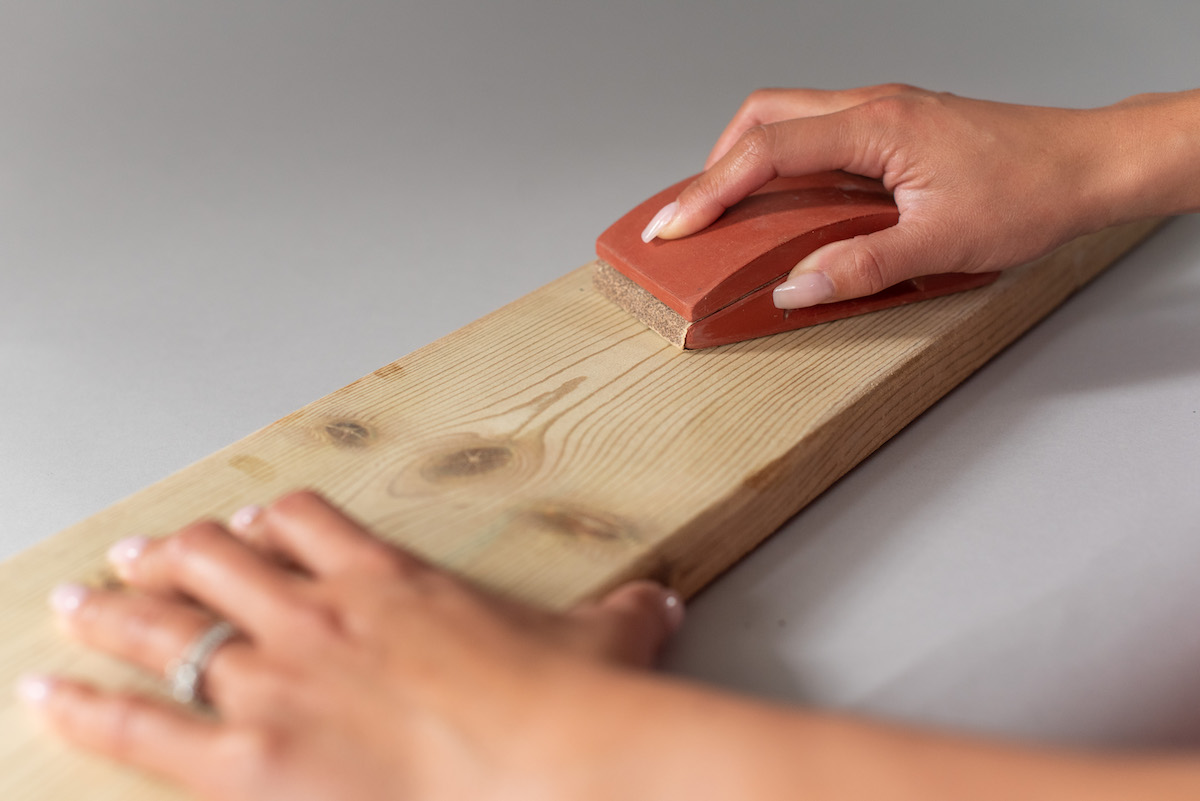
4. Thoroughly sand all surfaces and edges first with the 80-grit sandpaper to remove any imperfections in the wood. You can also use a sanding block for this step, if desired. Wipe off the dust. Follow with the 120-grit sandpaper and sand until the surface appears level. Again, wipe off the dust. Finish with the 180-grit sand-paper to remove any residual marks left by the 120-grit paper. Wipe clean.
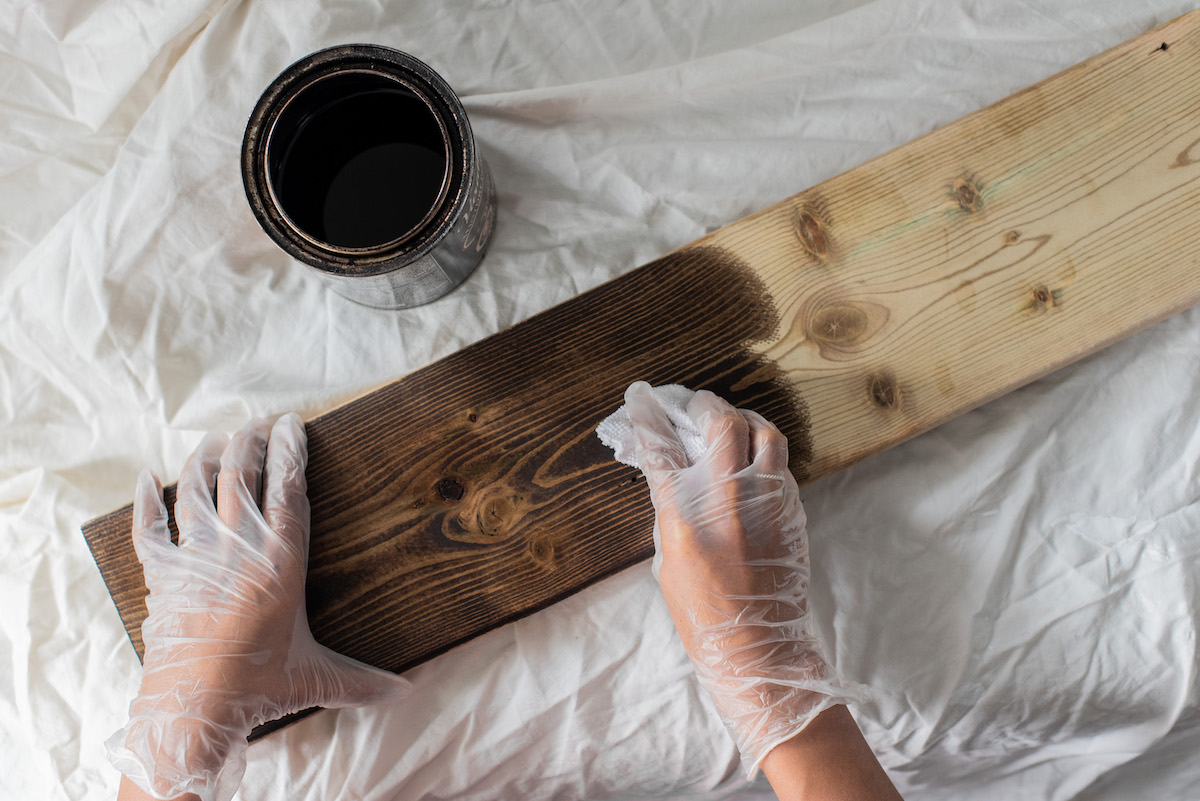
5. Stain the wood panels, working over a drop cloth and in a well-ventilated area. Latex gloves will help with messes. Thoroughly stir the stain before applying.
When applying stain, the cloth you apply it with should be wet but not dripping. Work a thin coat of product evenly onto all sides and edges of the panels.
Immediately following a coat of stain, use a clean cloth to wipe any excess product. Let the panels dry thoroughly. If you want a deeper color,repeat this step.
6. Using a clean paint brush, apply one or two thin coats of the polyurethane sealer. This will help protect the surfaces from moisture, scratches and fading. Let the panels dry and cure completely for approximately 24 hours.
Houseplant Shelf Installation
Now that your houseplant shelf is pretty well built, we’ll talk about installation.
7. Level and drill the first bracket directly into the wall using wood screws if you are mounting to a stud. On the other hand, if you are using anchors, first level the bracket and use a pencil to mark the drill holes on the wall, setting aside the bracket.
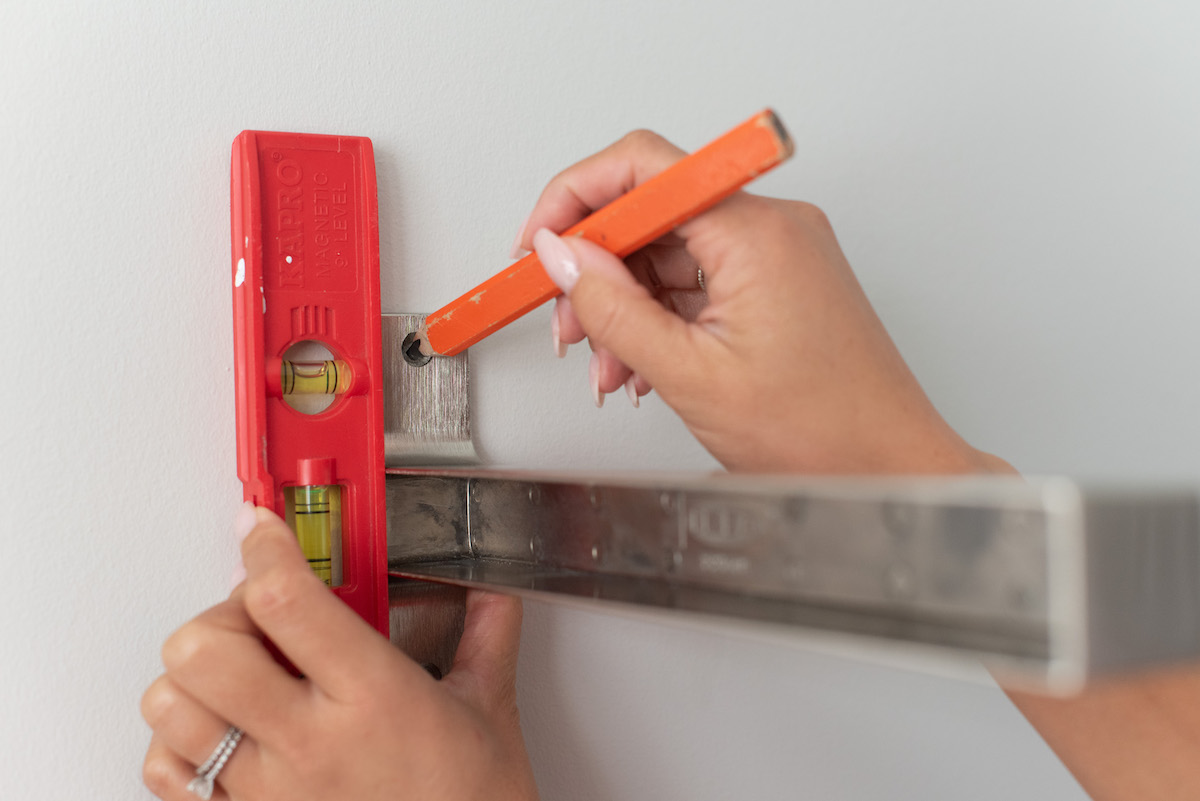
8. Screw in the drywall anchors where the drill holes were marked.
9. Mount the bracket by screwing the screws into the anchors using a power drill.
10. Insert the appropriate finished panels into the mounted bracket.
11. Attach the second bracket on the opposite side with the level placed on top of the panel and repeat step 7. Proceed with steps 8 and 9 if you are mounting the bracket to drywall.
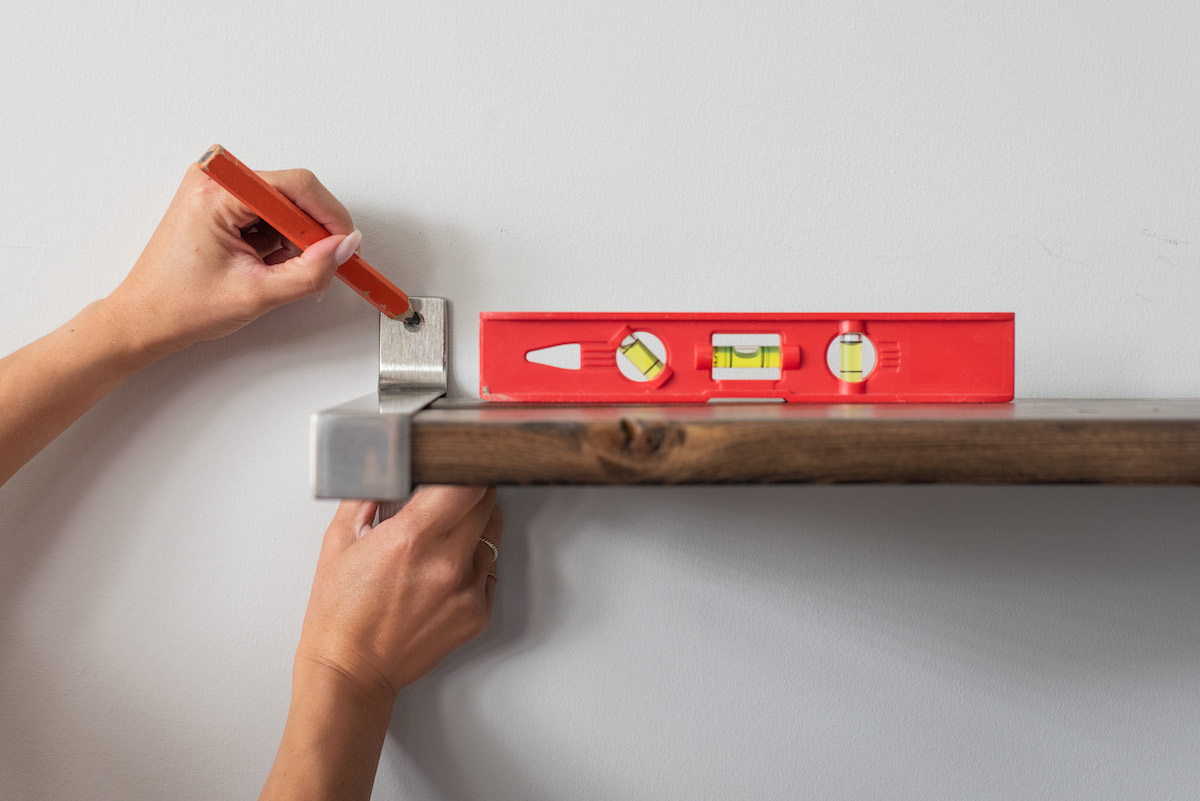
12. Repeat steps 7 through 11 for the remainder of the finished panels.
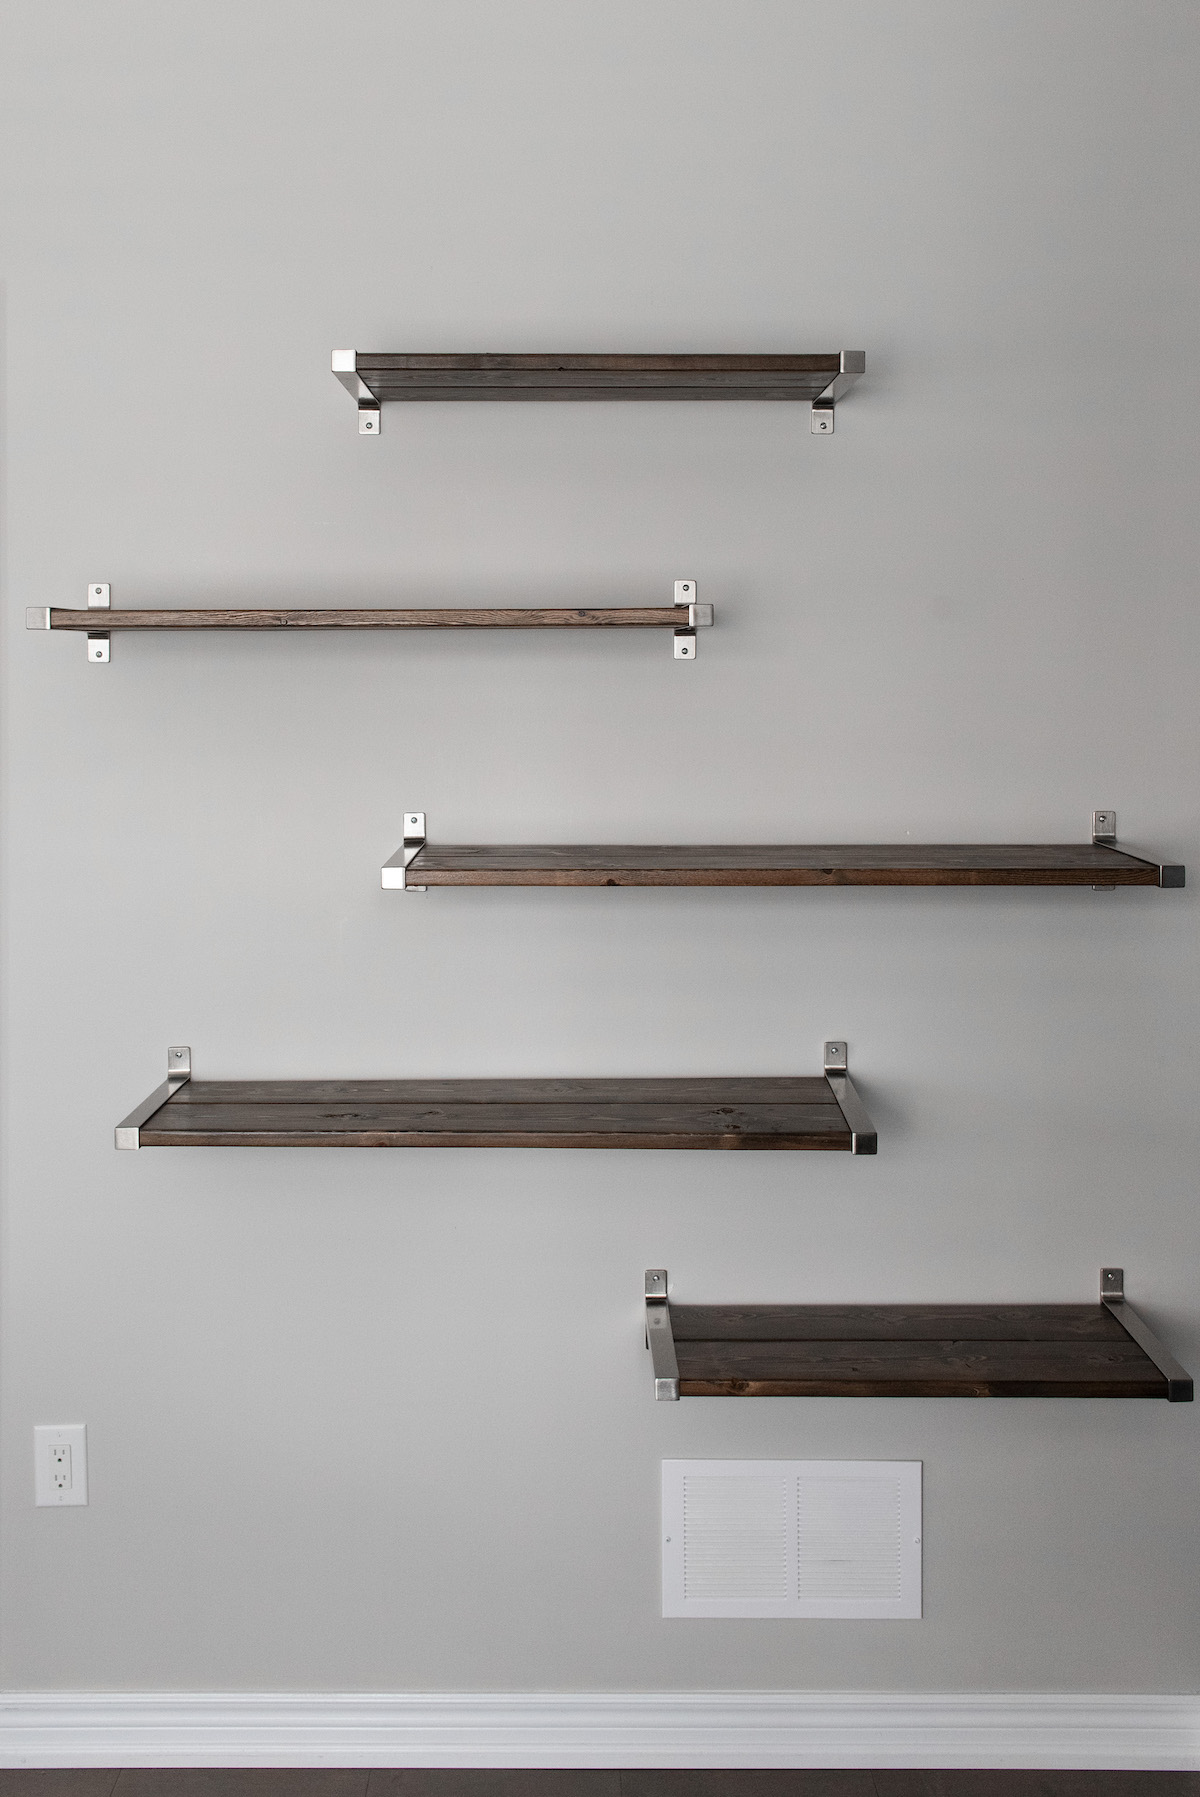
Caring for Your Houseplant Shelf
Wipe down the shelves of dust and debris to keep the panels looking new. Sand, re-stain and reseal as needed from wear and tear. Avoid letting water pool on the panels for long periods by wiping down excess moisture during watering and using drip-trays and saucers whenever possible.
Houseplant Shelf Project Tips
Locate a clean wall in your home to build your wall display. A brightly lit and warm area free from extreme temperature fluctuations and drafts is an ideal environment for thriving houseplants. A wall with plenty of window light shining into a south-, east- or west-facing room are great options for plants of varying light requirements. Note that plants grow towards a light source, so rotate your green babies every so often for even growth.
If sanding, staining and sourcing your own wood panels is not your forte, forgo this process by conveniently purchasing complementing IKEA BERGSHULT shelves. Note that the color options are limited and the panels are constructed of particleboard and synthetic finishes.
Of the various wood stains, the oil-based type tends to seep into the wood pores without raising the grain. Water-based wood stain tends to stain more evenly and be more environmentally friendly. Gel-based stains are thicker, allowing better control of color. Gel-based stains work well with pine to prevent the blotchiness that oil or water-based stains might cause.
Speak to your local hardware store or paint specialist for appropriate conditioners or fillers for certain wood types that may need to be applied before staining. Cut up old T-shirts to make stain cloths. Always read and follow instructions on product labels since this can vary from one product to another
Houseplant Shelf Design Tips
Survey your plant collection to determine which specimens have unique spacing requirements and can be thought of as the feature plants. A juvenile snake plant with upright growing blades will eventually need overhead clearance in the next several years. A vining pothos will cascade as it matures, so a position up high will allow it to grow into its vertical space.
With various bracket types and styles to choose from, you can explore different materials, colors and finishes to suit your personality and style sense. Shop online in the comforts of your home or take a walk around your local home improvement store, home décor center or anywhere home accessories are sold for the perfect shelfie brackets.
Add a personal touch by expressing other hobbies and interests on your display. Place little trinkets and souvenirs from travels, items of personal sentiment or gifts from loved ones alongside your plant babies to create a vignette of love, growth and individual narrative—a curated composition that instills a moment of awareness, sense of calm and promotes reflection.
Houseplant Watering Guide
Look, listen and feel for the need to water. Use a moisture meter if you need to, which is a device used to measure moisture content in soil. They can be found at garden centers, hardware stores or online from retailers such as Amazon.
Ensure that there is a drip-tray, saucer, cache pot or other container for catching runoff from watering. Placing your plant in a sink, bathtub or outdoors works too.
Water with a slow and even flow, covering all areas of the soil’s surface, until you start to see runoff from the drainage holes. Pause, letting any remaining water to channel through the drainage holes and repeat Step 3.
Thirsty tropicals can benefit from absorbing the extra runoff by allowing the plants to soak up the water from the drip-tray for about twenty to thirty minutes. Always remember to discard any remaining water that has not been absorbed after this period.
Leave a Reply