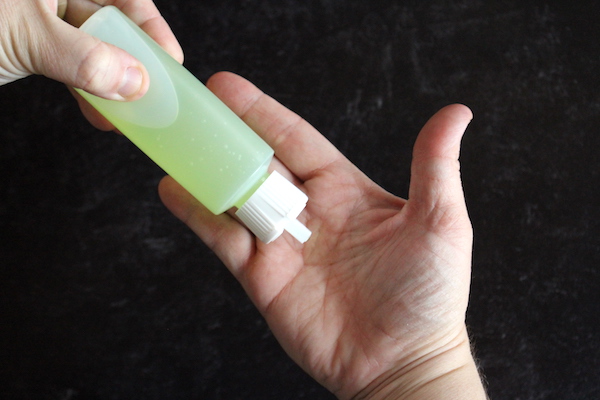
Making your own lotion at home is a fun, cost-effective option for creating a skincare product that’s specifically formulated to meet your skin’s unique needs. In this comprehensive guide, you’ll find all the information you need to choose a formulation based on your skin type as well as detailed instructions for creating a moisturizing lotion free from irritating or abrasive ingredients.
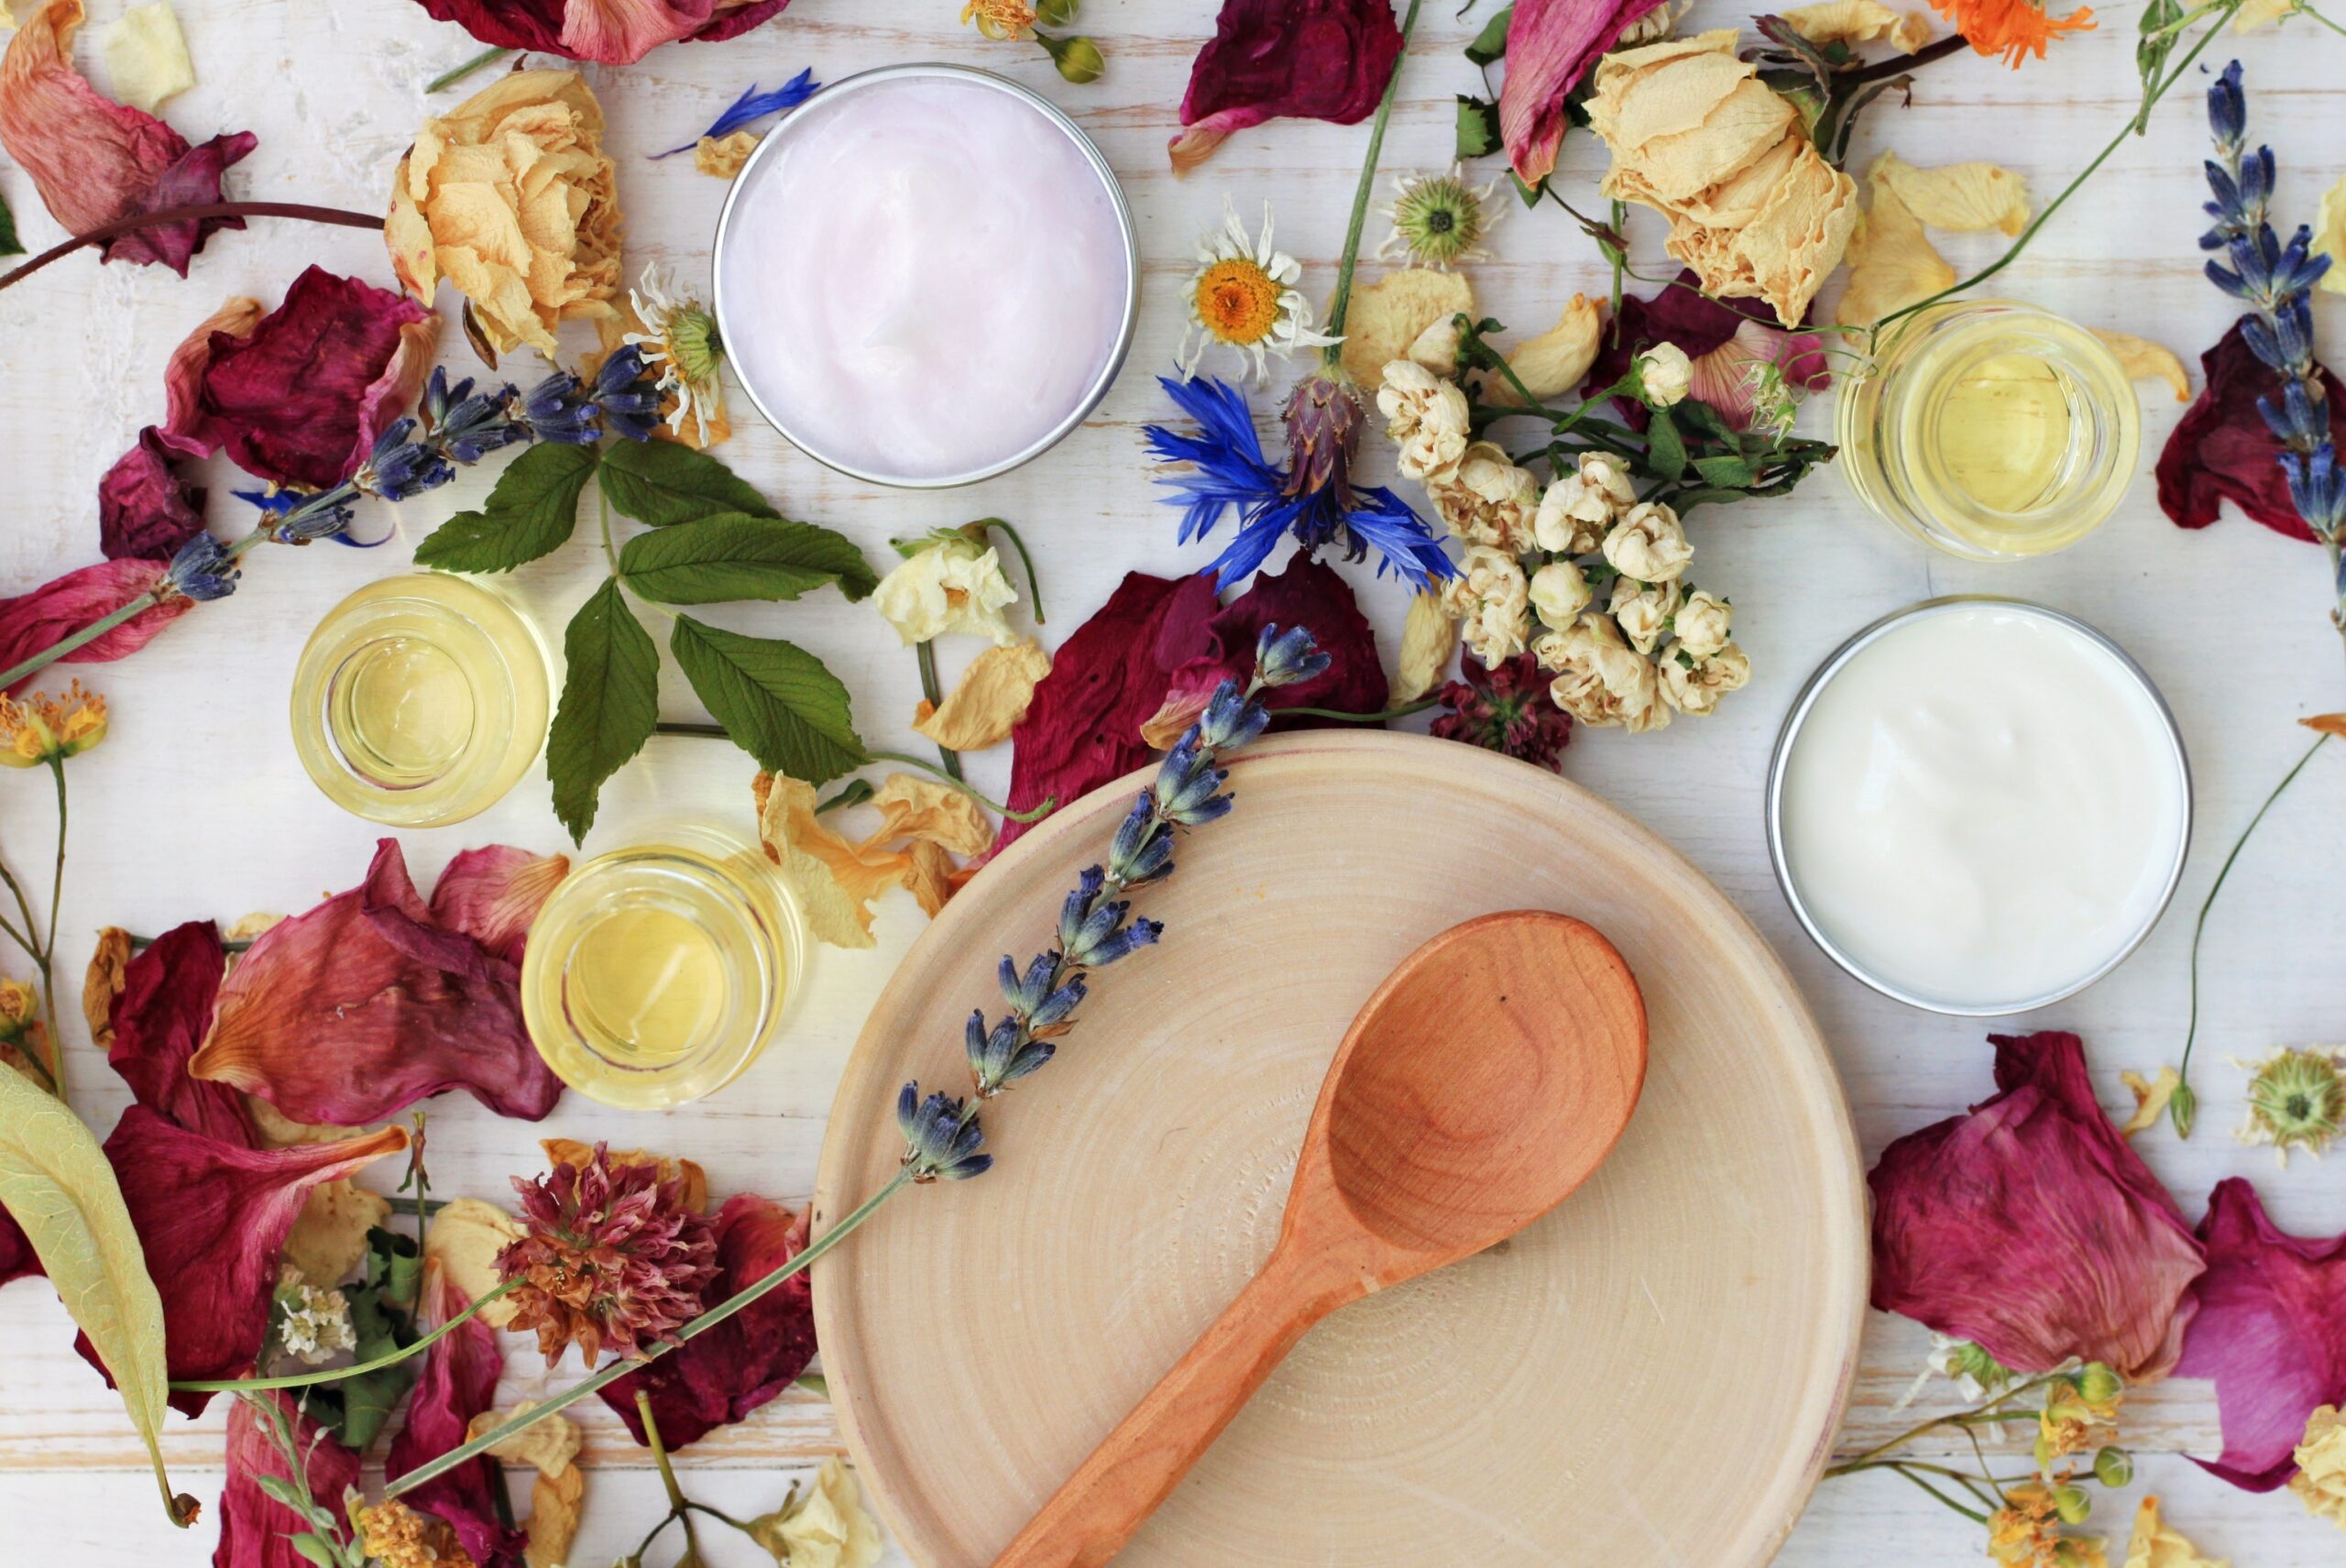
Homemade beauty products give you the peace of mind of knowing exactly what’s going onto your skin, and homemade lotion is no different.
While you can make salves, body butter, and lotion bars…sometimes there’s just no beating old-fashioned skin-nourishing lotion. It’s a bit trickier to make than the others, because it contains both oils and water to hydrate and condition your skin.
Having the right lotion recipe is key to success, but fear not, I’ll walk you through everything you need to know to make your own lotion at home!
What is Lotion?
Lotion is a skincare product that is specifically used to moisturize and soften the skin. Lotions and creams are both emulsions of oil and water. Lotion is made using more water than oil (in varying ratios) and cream, with its heavier texture, contains more oil than water. Because of its high water content, lotion is both lightweight and exceptionally moisturizing.
To prevent the ingredients from separating, an emulsifying wax is first melted and then mixed with the oil and water. From there, extras such as shea butter, essential oils, and vitamin E can be added to personalize your lotion and target specific skin concerns.
This lotion recipe can be formulated to support a wide variety of skin types, including dry, acne-prone, oily, mature, and sensitive skin. It can be applied all over the body or used exclusively on the face. Therein lies the fun of making your own lotion and homemade beauty products in general—the sky’s the limit in terms of supporting ingredients (and all at a much lower cost than pricey store-bought skincare products).
One thing to keep in mind is that lotion has a relatively short shelf life—which is a good case for making small batches at a time. Unlike salves and balms, which don’t contain water, lotion is prone to spoilage over time. For this reason, it should be stored in the refrigerator and used within a month’s time (I’ll get into this further down, where I’ll also be sharing tips for prolonging the shelf life of your lotion).
Ingredients for Lotion
The basic ingredients for DIY lotion are simple: you need oil, water, an emulsifier, and a preservative. As you’ll see below, there are many options to explore when it comes to each of these umbrella categories.
Choosing Oil for DIY Lotion
When you’re choosing an oil to include in your homemade lotion there are a couple of factors to consider. First, where will the lotion be applied? Depending on if it’s being used on the face or the body, you might want an oil that’s on the lighter side or one that’s super-rich. Do you have any known skin sensitivities, particularly any that can have an adverse effect on acne, rosacea, eczema, or otherwise blemish-prone skin? These are important questions to consider, as some oils are more likely to cause comedogenic issues which can lead to clogged pores (while others are known for the positive effects they have on skin that is prone is breakouts).
The oils I’ve included in this section contain a wide range of nutrients, all of which benefit the skin in myriad ways. Whichever oil you end up using, make sure it’s one that makes your skin feel hydrated and pampered.
Apricot kernel oil
Apricot kernel oil is an effective yet non-greasy moisturizer with antibacterial, anti-inflammatory, and antioxidant properties. Apricot kernel oil is particularly well-suited to mature, dry, and sensitive skin. Thanks to its impressive vitamin A and E content, apricot kernel oil can also be used to make a lotion that both softens and fades scars and stretch marks. Apricot kernel oil is also a popular choice for dark under eye circles or when the skin around tired eyes needs brightening up up.
Argan oil
Argan oil is a rich source of vitamins A and E in addition to having impressive anti-aging and anti-inflammatory benefits. Argan oil is pressed from the nuts of the argan tree, which grow in southern Morocco. A good choice for normal, oily, mature, damaged, and acne-prone skin types, argan oil is a common ingredient in rash and wound-healing preparations. Lotion made with argan oil can also be soothing to those who experience regular breakouts, not only does it help prevent clogged pores, it also regulates skin cell turnover thanks to its gentle exfoliating abilities.
Avocado oil
Another oil that’s an excellent source of vitamins A and E, avocado oil is also rich in vitamins B5, B6, and C as well as magnesium—a mineral that has proven muscle-relaxing properties when rubbed into the skin. Avocado oil is ultra-moisturizing base for any lotion, making this anti-aging and anti-inflammatory oil a good option for those with combination, damaged, and otherwise depleted skin types. When avocado oil is applied topically it may help prevent acne as well as reduce signs of hyperpigmentation and skin damage.
Coconut oil
Coconut oil is a classic addition to lotion and other skincare products for many reasons: it’s an excellent moisturizer, it’s high in vitamins A and K, and it has antimicrobial and anti-inflammatory properties. If you want to make a lotion that targets normal, inflamed, or damaged skin types, choose coconut oil. Skip the coconut oil if you have acne-prone skin—for some skin types coconut oil can worsen breakouts.
Grapeseed oil
Grapeseed oil is packed with vitamin E and omega-6 fatty acids, which helps it absorb into the skin more efficiently than other oil types. Lotion made with grapeseed oil will not only moisturize your skin, it also helps tighten pores while reducing the appearance of scars and stretch marks. Lotion made with grapeseed oil is particularly well-suited for acne-prone, combination, or oily skin types.
Jojoba oil
If you’ve ever had a professional massage, there’s a good chance you’ve already benefited from the moisturizing properties of jojoba oil. Packed with vitamins E and B, lotion made with jojoba oil is ideal for those with acne-prone, combination, and oily skin. In the skincare industry, jojoba oil is prized for its ability to unclog hair follicles, which means it may be helpful if you suffer from folliculitis or any other ailment that is caused by clogged follicles.
Olive oil
Olive oil is a good source of vitamins E and K, both nutrients that have anti-inflammatory and antioxidant properties (attributes that are known to help lessen signs of aging skin). Because olive oil is such an effective moisturizer, it’s best-suited to lotion that has been made for dry, mature, or combination skin types. For topical application, choose an olive oil that’s been labelled 100% pure olive oil. If in doubt, check the ingredients—olive oil should be the only ingredient, avoid those with added filler oils.
Peach kernel oil
Peach kernel oil is known for its ability to quickly absorb into the skin, making it a favorite choice for skincare companies and DIY beauty product enthusiasts alike. A good option for those with sensitive and dry skin, peach kernel oil is packed with vitamin E and omega fatty acids, which leaves skin feeling pampered and supple. Lotion made with peach kernel oil is particularly effective when applied under the eyes to reduce the appearance of dark circles and puffiness.
Rosehip seed oil
A potent option for acne-prone skin types, rosehip seed oil is a natural source a retinoid called trans retinoic acid. When applied topically, retinoids help regulate the production of skin cells (they work by increasing cell turnover, acting as a gentle exfoliant) and regular use can result in brighter, less inflamed skin with few blackheads and breakouts. And speaking of inflammation, lotion made with rosehip seed oil works exceptionally well to reduce symptoms of eczema, psoriasis, rosacea, and dermatitis. Finally, with consistent application, rosehip seed oil is thought to reduce hyperpigmentation from sun damage.
Sweet almond oil
Not to be confused with bitter almond oil, which has an intense, marzipan-like aroma and is toxic to injest by mouth, sweet almond oil is mostly scentless and a common ingredient in both skin and haircare products. Sweet almond oil is an abundant source of vitamins A and E. As with rosehip seed oil, sweet almond oil contains vitamin A in the form of retinoids, which leaves the skin feeling soft and luminous with daily use. Sweet almond oil is perhaps most famously included in skincare products that are intended to help lighten and fade scars and stretch marks.
Essential oils
Essential oils have a much different intended use than the neutral carrier oils listed above. When included in a recipe for lotion, they’re used in relatively minuscule amounts—a single batch of lotion needs barely a gram to make an impact. Popular essential oils for homemade skincare products include rose, lavender, rosemary, patchouli, and ylang ylang.
Emulsifier Options
Lotion is made with oil and water, two substances that infamously don’t mix well together. In order to blend the two, something called an emulsifier is needed. An emulsifier is a substance used to to stabilize emulsions (in other words, keeps tiny oil droplets uniformly spread throughout the water or water-adjacent base liquid). It also contributes to the lotion’s final consistency, giving the finished lotion in a rich and creamy—but not too heavy—feel.
Some factors to consider when choosing an emulsifier include whether or not you prefer a vegan option, the specific lotion formulation you’re following, and the choice between adding the emulsifier during the water stage or with the oil and water together in the same container.
Emulsifying wax
Emulsifying wax, which is sometimes referred to as e-wax, is a popular emulsifier choice for homemade lotions. When sourcing emulsifier wax, look for proprietary product names like BTMS-50, Emulsimulse, Olivem 1000, or Polax—you’ll find the exact chemical makeup is different depending on the formula you choose. Generally speaking, emulsifying wax is made from fatty acids and esters. In addition to stabilizing the ingredients in homemade lotion, it also contributes to the texture and feel of the finished result.
Lecithin powder
Lecithin powder is an easy-to-use emulsifier made from a variety of sources, including egg yolk, rapeseed, and cottonseed (Mountain Rose Herbs has two lecithin options, one derived from soybeans and one made from sunflower oil).
Stearic acid
Stearic acid can be derived from both animal and vegetable fats (an important distinction if you want to make a purely plant-based lotion) and is typically sold as small, wax-like pellets. Stearic acid is a co-emulsifier, which means it improves the viscosity as well as the stability of the formulation it is added to.
Cetearyl alcohol
Another co-emulsifier, cetearyl alcohol is a mixture of fatty alcohols that produce a creamy, smooth emulsion. Because cetearyl alcohol is oil soluble, it should always be added during the oil phase/directly to the oils being used in your lotion.
Beeswax
A familiar skincare ingredient, beeswax is a good choice if you want a lotion that’s as close to unprocessed as possible. When buying beeswax, look for beeswax pellets rather than the bars or solid blocks—it’s much easier to accurately measure out tiny pellets versus big chunks of wax using a kitchen scale.
Liquid Options
The water phase, also known as the aqueous phase, is an integral part of the lotion-making process. Because lotion is overwhelmingly made of water, the quality of the liquid used during this phase is a fairly crucial component when making your selection.
Distilled water
Any water that is included in your homemade lotion recipe should be distilled. This isn’t so much a matter of purity or personal preference, the main benefit of using distilled water is that it’s free from additives like chlorine, fluoride, and minerals which could theoretically have an effect on your finished lotion. Distilled water is inexpensive and can be purchased from drugstores or the grocery store. If distilled water isn’t an option for you don’t worry, you can still make lotion with regular tap water (and chances are, the results will be similar if not the same).
Rose water & other hydrosols
Persian grocery stores are a fantastic and often inexpensive source for hydrosols such as rosewater. In addition to rosewater, I’ve found additional scented waters including orange, lavender, rosemary, lemon verbena, chamomile, and mint—each essence gives the finished lotion a subtle, pleasant aroma.
Aloe vera
Cooling aloe vera water or juice is a natural fit for lotions, especially those applied to sunburnt, itchy, or dry skin. Aloe vera has impressive and cooling hydrating properties for inflamed skin and can also be beneficial for those who are prone to acne or rosacea.
Colloidal oatmeal water
Why not add the proven soothing and anti-itch ingredient to lotion? Distilled water that has been used to soak oats is a no-brainer of a liquid base for lotion, especially one that’s formulated for use on dry and itchy skin. Consider thinning out oat water with another water-like substance, as pure oat water may cause the lotion to thicken to an undesired consistency.
Herbal tea
Similar to the oatmeal soak listed above, you can also use unsweetened herbal tea (or a tisane, if you want to get technical) as a liquid base for lotions. Some of my favorite herbal tea bases to use include fresh or dried stinging nettle, calendula, or chamomile.
Natural Preservatives for Homemade Lotion
Broad-spectrum preservatives play an important role in any given lotion’s formulation. They protect the lotion from bacteria and mold growth and extend its self life from a number of days to a number of months. Certain non-broad spectrum preservatives, of which I’ve gone into in more detail below, have specific limitations and should be used as complementary (rather than primary) options.
Commercial plant-based preservatives
These preservatives are naturally derived, broad-spectrum plant-based preservative—perfect for vegans and non-vegans alike. Fair warning, there’s a good chance that you’ll have to order them from a commercial manufacturer or a specialist website, but by choosing a preservative that’s been tested on a large scale you can be sure of its efficacy as ingredient.
Each preservative has its own set of uses and limitations, so it’s important to carefully read the label before purchasing and using the product. You’ll find that certain preservatives work best when added to lotions (and any other skincare product) that have a particular pH range and/or temperature range. Many broad-spectrum preservatives also offer additional benefits to the skin, such as improved moisturizing or skin soothing properties.
Some of the more commonly available and extensively tested commercial plant-based preservatives include the following:
- Leucidal® Liquid SF*: Use a concentration of 2-4%, add at 158°F/70°C or lower; pH range of 3-8 (moisturizing properties).
- NataPres™: Use a concentration of 0.5-2.5%, add at 122°F/50°C or lower; pH range of 2-8 (suitable for sensitive skin).
- PhytoCide Aspen Bark: Use a concentration of 0.2-3%, add at 140°F/60°C or lower; pH range of 3-9 (evens skin texture).
- Geogard ETC: Use a concentration of 0.6-1%, add at 113°F/45°C or lower; pH range of 3-8 (contains salicylic acid, an exfoliant).
- Amticide Coconut: Use a concentration of 2-4%, add at 158°F/70°C or lower; pH range 3-8 (best used at pH 6 or lower).
*This preservative has been ECOCERT-approved as an organic preservative, making it appropriate for homemade or commercial organic skincare products.
Vitamin E
Vitamin E is not considered a broad-spectrum preservative and is, therefore, not suitable as a primary preservative. However, vitamin E has antioxidant properties so it does have its uses as a preservative for oil and oil-based ingredients. I like to add a small amount of vitamin E as a nourishing add-on when making lotion, which gives it a boost of benefits for the skin while helping to extend the shelf life of the lotion.
Rosemary oil
Similar to limitations with vitamin E, rosemary oil will help prevent the growth of bacteria in oil-based ingredients but will do nothing to counteract these growths in water-based ingredients. Although it might not be an appropriate choice for a broad-spectrum preservative, rosemary oil has strong antimicrobial, antifungal, and antimicrobial properties—not to mention a beautiful pine-like, woodsy aroma.
Alcohol & tinctures
Alcohol and tinctures (also known as herb-infused alcohol) are suitable preservatives for many types of skincare products, particularly those with astringent properties, but in order for alcohol to act as a broad-spectrum preservative in lotion it needs to make up 15% of the finished lotion’s volume. To say that would be drying would be an understatement! If there’s a tincture I think would be a great addition to homemade lotion I add it as a supplemental ingredient—any added preservation is a bonus at that point.
If you’re like me and can’t resist a deep dive into anything related to DIY skincare, I’d highly recommend this scientific exploration of natural preservatives.
All the preservatives in the world won’t fully protect your lotion from the growth of unwanted bacteria if you begin with less-than-sterile equipment. Always sanitize glassware, whether’s it’s being used to measure ingredients or for storage. You can do this with a dishwasher or by washing the glass with soap and hot water—white vinegar can also be added to get your containers squeaky clean. Be sure to disinfect your work station before beginning, too.
Equipment for Homemade Lotion
A basic kitchen scale is a must for anyone interested in making their own skincare products. While it’s possible to find lotion recipes that are measured in cups, you’ll be able to measure out your ingredients to a much, much higher degree of accuracy if you use a scale. It’s also much simpler to tinker with recipes if you stay within the confines of any given weight measurement. Plus, a kitchen scale eliminates the need for other measuring tools—simply tare the scale each time you need to add the next ingredient.
You’ll also need some heat-proof glass jars, which are used to hold the oil and water (separately) while they are gently heated up in a water bath. Sterilizing the jars before use is recommended—simply wash them with hot soapy water or run them through the dishwasher.
Any large, wide-bottomed pot or a Dutch oven—this will be used for a water bath to slowly heat the oil and water in their separate containers.
To make sure the ingredients are fully emulsified, I like to blend them together with a stick immersion blender. Some people just use a whisk, but I like the uniformity in texture that an immersion blender gives the finished lotion.
Finally, a pack of pH test paper strips to check the final pH of your lotion and to make sure the pH matches the recommendations of your chosen preservative.
How to Make Lotion
Begin by disinfecting your workspace and sanitizing all jars and any utensils you plan on using in hot soapy water or in the dishwasher. If you want to blend the oil and water together at a later point, include a whisk or the detachable blade piece of an immersion blender in your sanitization plans.
Weigh out your choice of aqueous liquid. For the purpose of these instructions I’ll refer to it as distilled water, but you’re free to choose the type of liquid you’d like to use. For this recipe, we’re going to use 65 grams of distilled water. Measure the distilled water out in one of the sanitized jars.
In another sanitized jar, we’re going to weigh out 30 grams of oil. Many types of emulsifying wax need to be melted directly into the oil. Carefully check the label of your emulsifier and if this is the case, add 4 grams of emulsifying wax to the oil.
Transfer the jars to a large, wide-bottomed pot or Dutch oven and fill it a couple of inches high with water, this will function as a water watch as we gently heat the ingredients. Bring the water to barely a simmer and heat the oil and water until they both reach a temperature that’s somewhere between 160°-170°F/70°-75°C—try to get each liquid as close in temperature to the other as possible.
Add the water to the oil (in this order) and whisk or blend the ingredients until the mixture has reached the desired texture.
Allow the water, oil, and emulsifier mixture to cool down. You can use the cooldown period to check the pH of your lotion, with a pH of 5-6 being ideal for use on skin. To increase the pH, add a couple of drops of lactic acid. If the pH is lower than you’d like, add a very small amount of baking soda (remember, it’s always best to add ingredient gradually—you can always add more but it’s basically impossible to take out if you go overboard).
Once the lotion has reached a temperature of 85°F or 30°C it’s time to stir in 1 gram of preservative and any other ingredients that are sensitive to heat. If you’d like to include essential oils in the mix, you can also add 1 gram of essential oil to the lotion at this point.
Carefully decant the finished lotion to a container. For the sake of keeping your lotion as sanitized as possible, these flexible silicone tubes can’t be beaten. Not only are they perfect for travel, your fingers won’t come into contact with the remaining lotion which means bacteria has less of a chance to thrive. If you prefer to store your lotion in glass, these lidded containers fit the bill (and are pretty enough for gift-giving if you find yourself in the habit of making your own skincare products).
Homemade Lotion Variations
Once you’ve mastered the basic formula for lotion you can begin to explore other recipes, oil blends, emulsifier options, and add-ins meant to target specific skin types and concerns.
- Warming Fall Spice Blend Lotion
- Classic Vanilla Body Lotion
- Lotion with Sweetgrass Hydrosol
- Shea Butter Lotion
- Lotion for Dry and Mature Skin with Macadamia Nut Oil
Storing Homemade Lotion
Thanks to its high water content, lotion that is made at home is considered a perishable product. If all safety precautions were taken with sanitizing equipment and with choosing appropriate ingredients, homemade lotion should last about 3 months when it’s stored away from heat and a direct source of light. While it isn’t strictly necessary to refrigerate lotion that contains natural broad-spectrum preservatives, I find that the colder temperatures can extend the shelf life of small-batch skincare products even longer.
On the other hand, if you’ve decided to make lotion without the use of preservatives or with preservatives that aren’t broad-spectrum, refrigeration is mandatory, and your lotion should be used within 1 to 2 weeks (depending on the volatility of the oils used in the recipe).
How to Make Lotion at Home
Ingredients
Method
- Sanitize all pieces of equipment (jars and whisk or detachable immersion blade) using hot water and soap or the dishwasher. Disinfect your workspace and wipe down with a clean cloth.
- Using a kitchen scale, measure 65 grams of distilled water (or preferred liquid) into a sanitized jar. In another jar, measure out 30 grams of oil. Add 4 grams of emulsifying wax, unless the label specifies adding it at a different time in the process.
- Transfer the jars into a wide-bottomed, large pot or Dutch oven. To make a water bath, fill the pot with 2-3 inches of water.
- Bring the water to a steady simmer and then turn the heat down so that the water is barely simmering. Gradually bring the temperature of the water and oil up so that it sits around 160°-170°F/70°-75°C.
- Before combining the ingredients, measure the temperature of both the water and the oil—they should be roughly the same temperature.
- Carefully pour the hot water into the hot oil. Use a whisk or immersion blender to blend the ingredients until emulsified, and the mixture has begun to thicken and turn opaque.
- Allow the lotion to cool until it reaches 85°F/30°C. As the mixture cools, measure its pH using paper pH strips. If the pH is on the high side, add about 3 drops of lactic acid. If the pH is low, add a tiny pinch of baking soda. If you’ve made any adjustments here, blend the lotion again. You can also add your choice of essential oils at this stage.
- Carefully decant the cooled lotion into silicone tubes or small glass jars with lids.
- As long as a broad-spectrum preservative was used, your lotion should keep for up to 3 months. Store lotion in the refrigerator for even longer or if you choose not to include a broad-spectrum preservative in your formulation.
DIY Body Products
Looking for more DIY skincare products that you can easily make a home?