Lotion bars come together with only a handful of ingredients and make the perfect customizable gift for yourself or your loved ones!
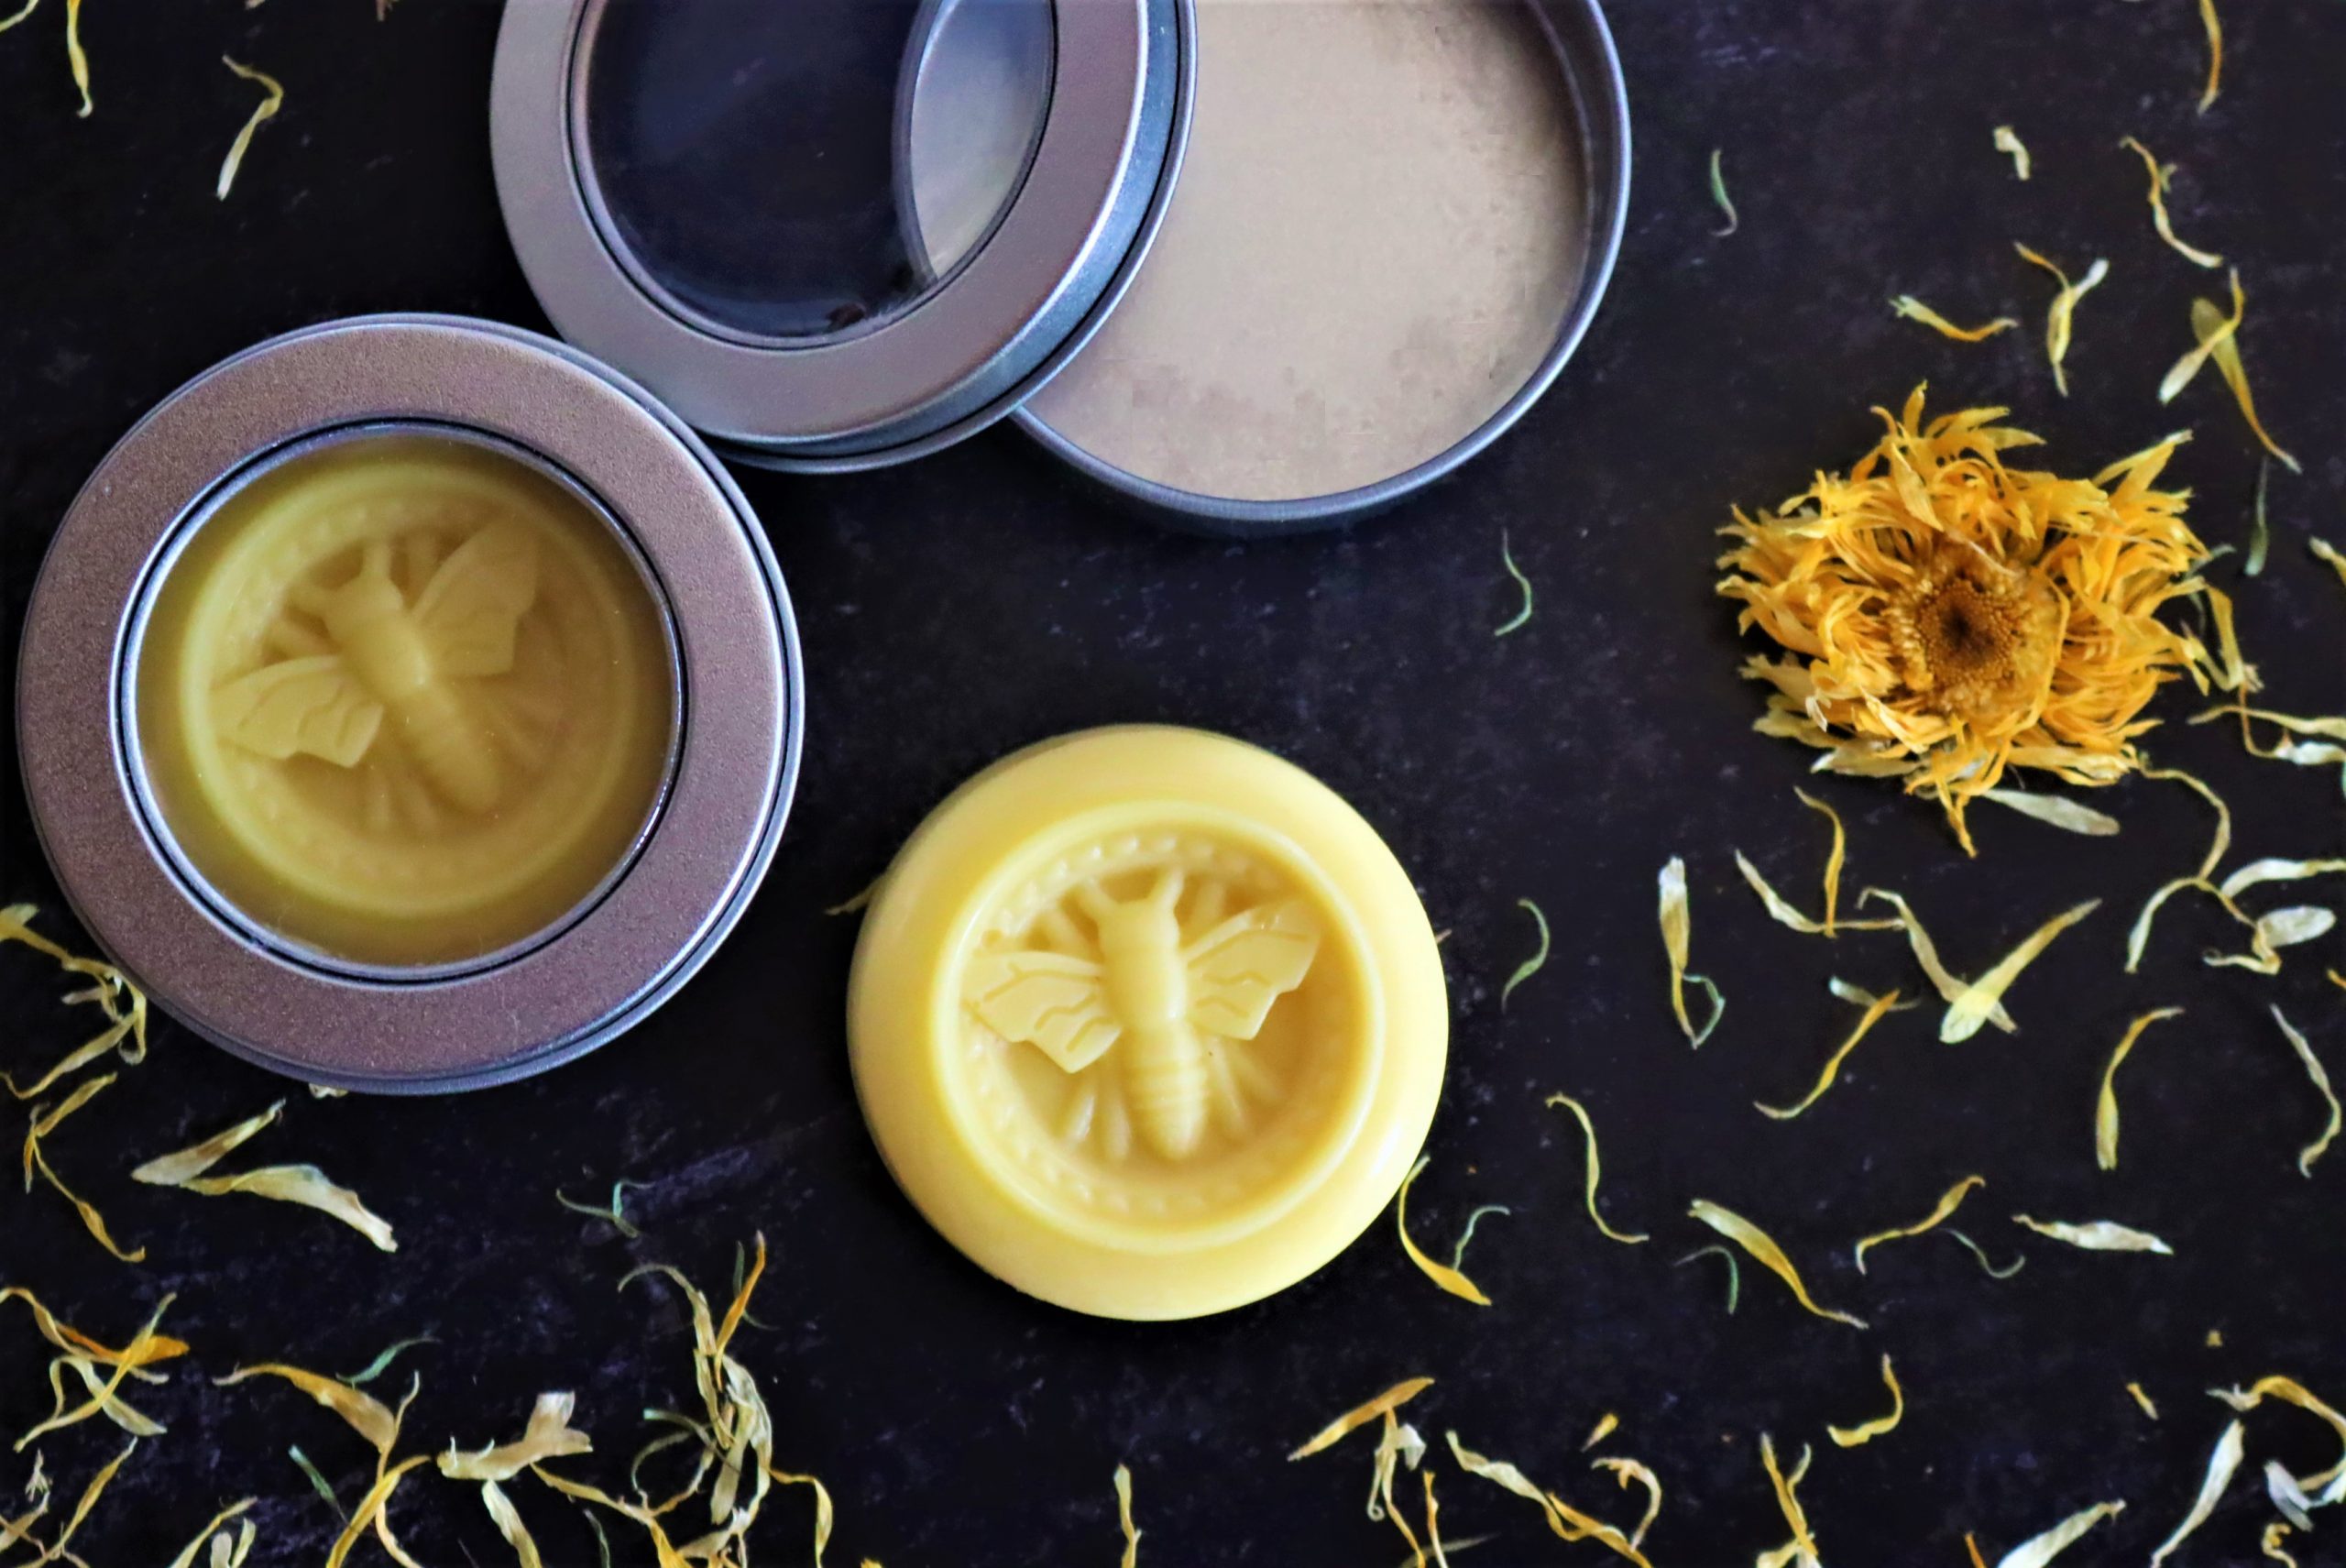
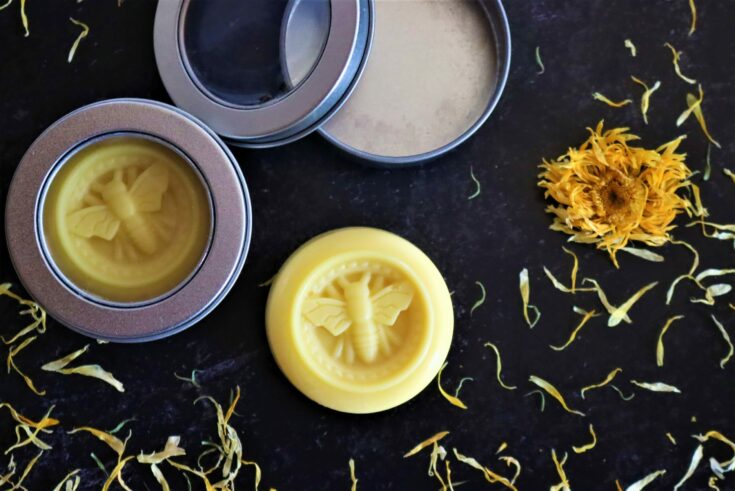
Homemade calendula lotion bars made in a honey bee mold fit perfectly into small salve tins, and look especially nice in the ones with windows.
Homemade lotion bars are one of the easiest skin care products you can make right in your own kitchen. They come together with just a few easy to find ingredients, and they’ll keep for years.
While homemade lotion can be tricky to master, and the texture is often not quite right. It also spoils quickly, and store bought lotion has chemical preservatives to keep it from molding on the shelf.
Lotion bars, on the other hand, are incredibly simple to make, and easy to customize too. Since they don’t have added water, they won’t spoil like natural homemade lotions and there’s no need to add preservatives.
(Since they’re solid at room temperature, lotion bars are also much easier to transport without making a mess!)
What is a Lotion Bar?
A lotion bar is a solid block of lotion that resembles a bar of soap. The lotion stays solid at room temperature, but will begin slowly melting when applied to the skin. I love making and using lotion bars for a couple of different reasons:
- Unlike traditional lotion, lotion bars are solid enough that they don’t need a container (although they look very pretty stored in reusable tins) which makes them better from an environmental/zero waste perspective.
- Lotion bars are portable, you can bring them anywhere!
- You can use them immediately after having a shower or bath, when the skin is still warm and the pores are open. I like to keep a lotion bar close to the shower so that I can apply it as soon as possible.
- By making your own herbal skincare at home, you have total control of the ingredients. Dry, itchy skin? No problem. Skin that’s sensitive to fragrance? Again, no big deal! The beauty of DIY skincare is that you can skip harsh fillers and preservatives, some of which are known to cause skin sensitivities or exacerbate existing conditions, and concentrate on ingredients that are beneficial to your skin.
- Lotion bars have a longer shelf-life than lotions as they don’t contain any water-based ingredients.
I’m particularly fond of making lotion bars with shea butter and jojoba oil, as those are some of the most nourishing and easily absorbed oils for skin care. I use bees wax because it’s a natural way to firm up the bars, but there are vegan options as well.
My favorite mold is this cute round bee shape mold, that fits nicely into 4 ounce salve tins with window lids.
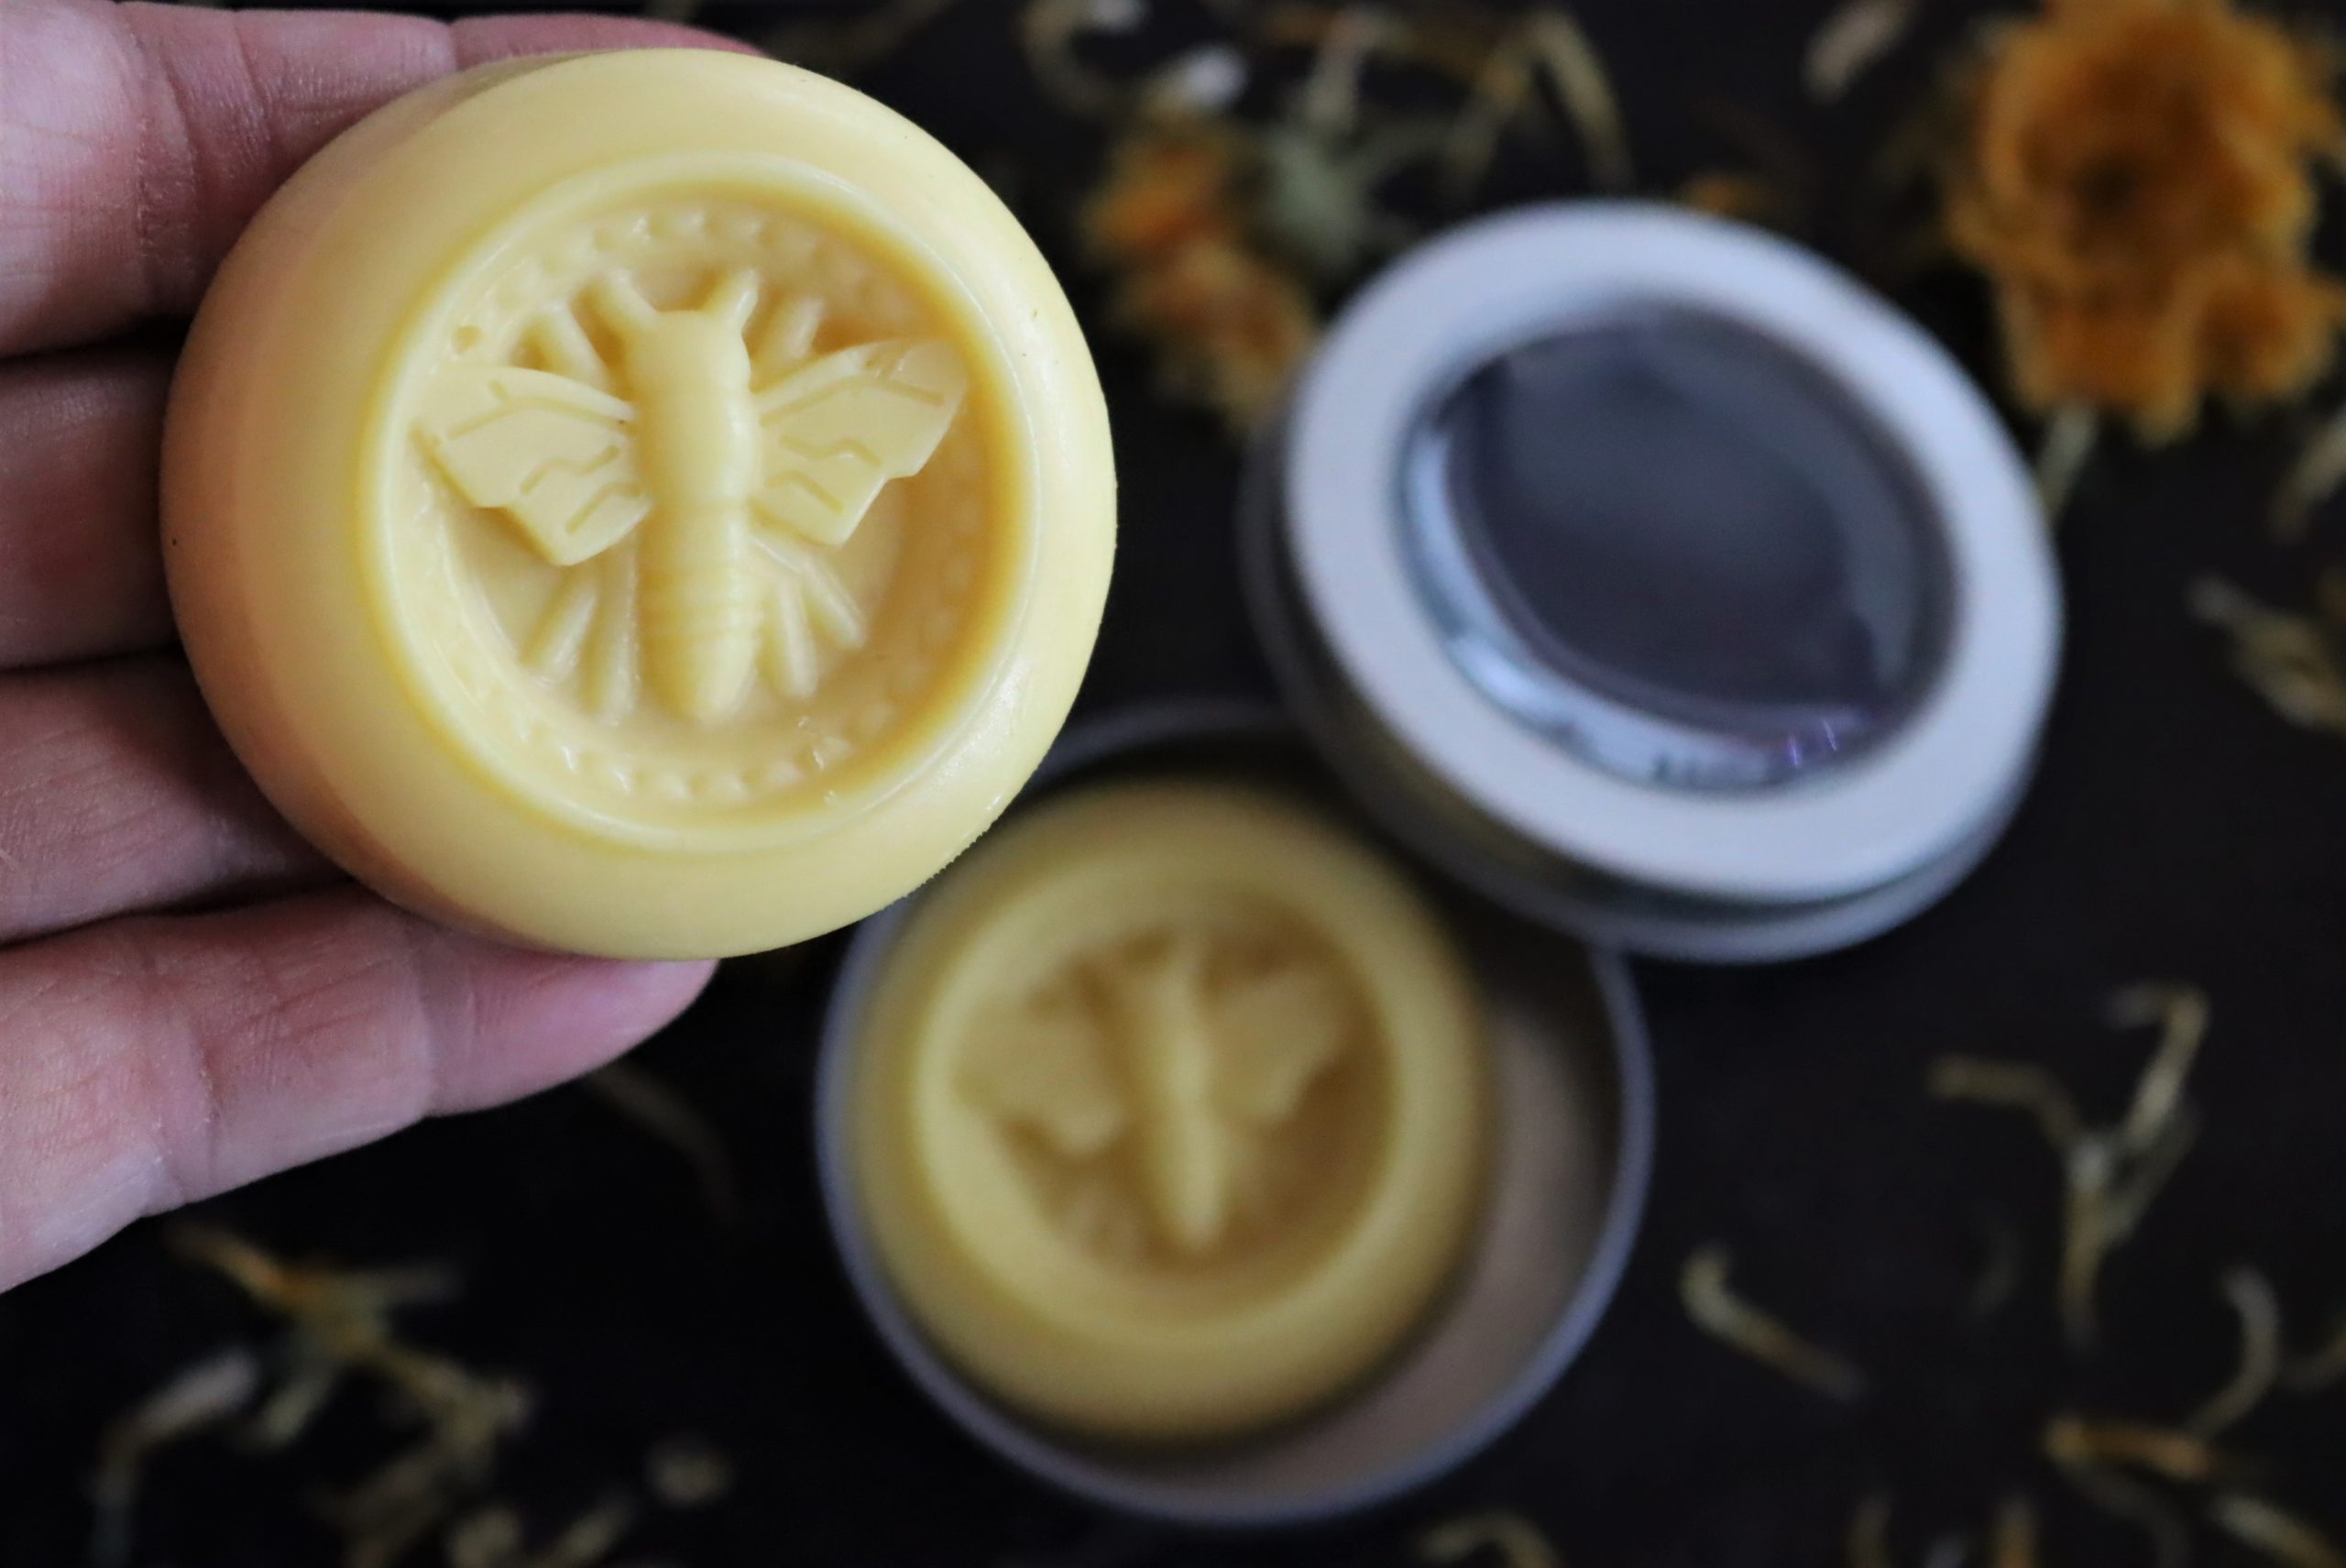
Our own homemade lotion bars.
Ingredients for lotion bars
You don’t need very many ingredients to make lotion bars, it mostly comes down to some type of natural moisturizing oil (olive, almond, shea butter, etc) and wax (although there are recipes for lotion bars that don’t call for wax).
Choosing Oil for Lotion Bars
The oils listed below with an asterisk (*) are carrier oils, which means that in addition to having natural moisturizing properties, they can hold more volatile oils (such as essential oils) in suspension. You can also infuse the medicinal benefits of certain herbs and plants, such as yarrow, dandelion, or calendula, into a carrier oil using very low heat.
Look for cold-pressed or virgin oil that has been stored in a tightly sealed, dark-colored container to use in topical applications. If you’re shopping online, the selection at Mountain Rose Herbs is always top quality, and there’s a huge selection to choose from.
My absolute favorites for lotion bars are jojoba oil and shea butter. I worked as a massage therapist for many years, at some of the top spas in the country, and I’ve found those to the absolute best for nourishing skin.
Jojoba oil* contains vitamins B and E and is known for its anti-aging, anti-inflammatory, and penetrative properties. Best for most types of skin, especially acne-prone, combination, or oily skin.
Apricot oil* contains vitamins A, B, C, and E and is known for having anti-inflammatory and antibacterial properties, as well as the ability to help soften scars and brighten the skin. Apricot oil is a good choice for dry and/or mature skin as well as sensitive skin.
Sweet almond oil* contains B vitamins and has anti-inflammatory properties in addition to helping sustain skin immunity (including hair and nails). An excellent choice for those with normal, dry, sensitive, and/or mature skin.
Grapeseed oil* is a rich source of vitamin E and has antibacterial and skin toning properties. This is a good option if oil tends to “sit” on top of your skin without being absorbed, and it’s also great for combination or oily skin types.
Avocado oil* contains vitamins A and E and is extra-moisturizing and nourishing for dry, combination, damaged, or weakened skin.
Olive oil* contains vitamins E and K, giving it anti-inflammatory properties. It’s an excellent choice for those with dry, mature, and/or combination skin.
Coconut oil* is a good source of vitamins A and K, works as an anti-inflammatory and antimicrobial agent and helps with skin cell turnover. Coconut oil is best for dry, normal, inflamed, or damaged skin.
Cocoa butter contains vitamins E and K and has anti-inflammatory and protective properties. Cocoa butter can be used on most skin types, however those with acne-prone skin should avoid it.
Shea butter contains vitamin A and E and is a popular addition to skincare products thanks to its anti-inflammatory properties, which benefit those who have dry, mature, and/or inflamed skin.
Tallow might seem like a surprising addition to lotion bars, but the use of rendered beef or mutton fat for healthy skin is a tradition that’s making a comeback among skincare DIYers. If you’re interested in making tallow bars I’d suggest heading over to the Homesteading Hippy website, where you can learn how to make these nourishing tallow lotion bars from scratch.
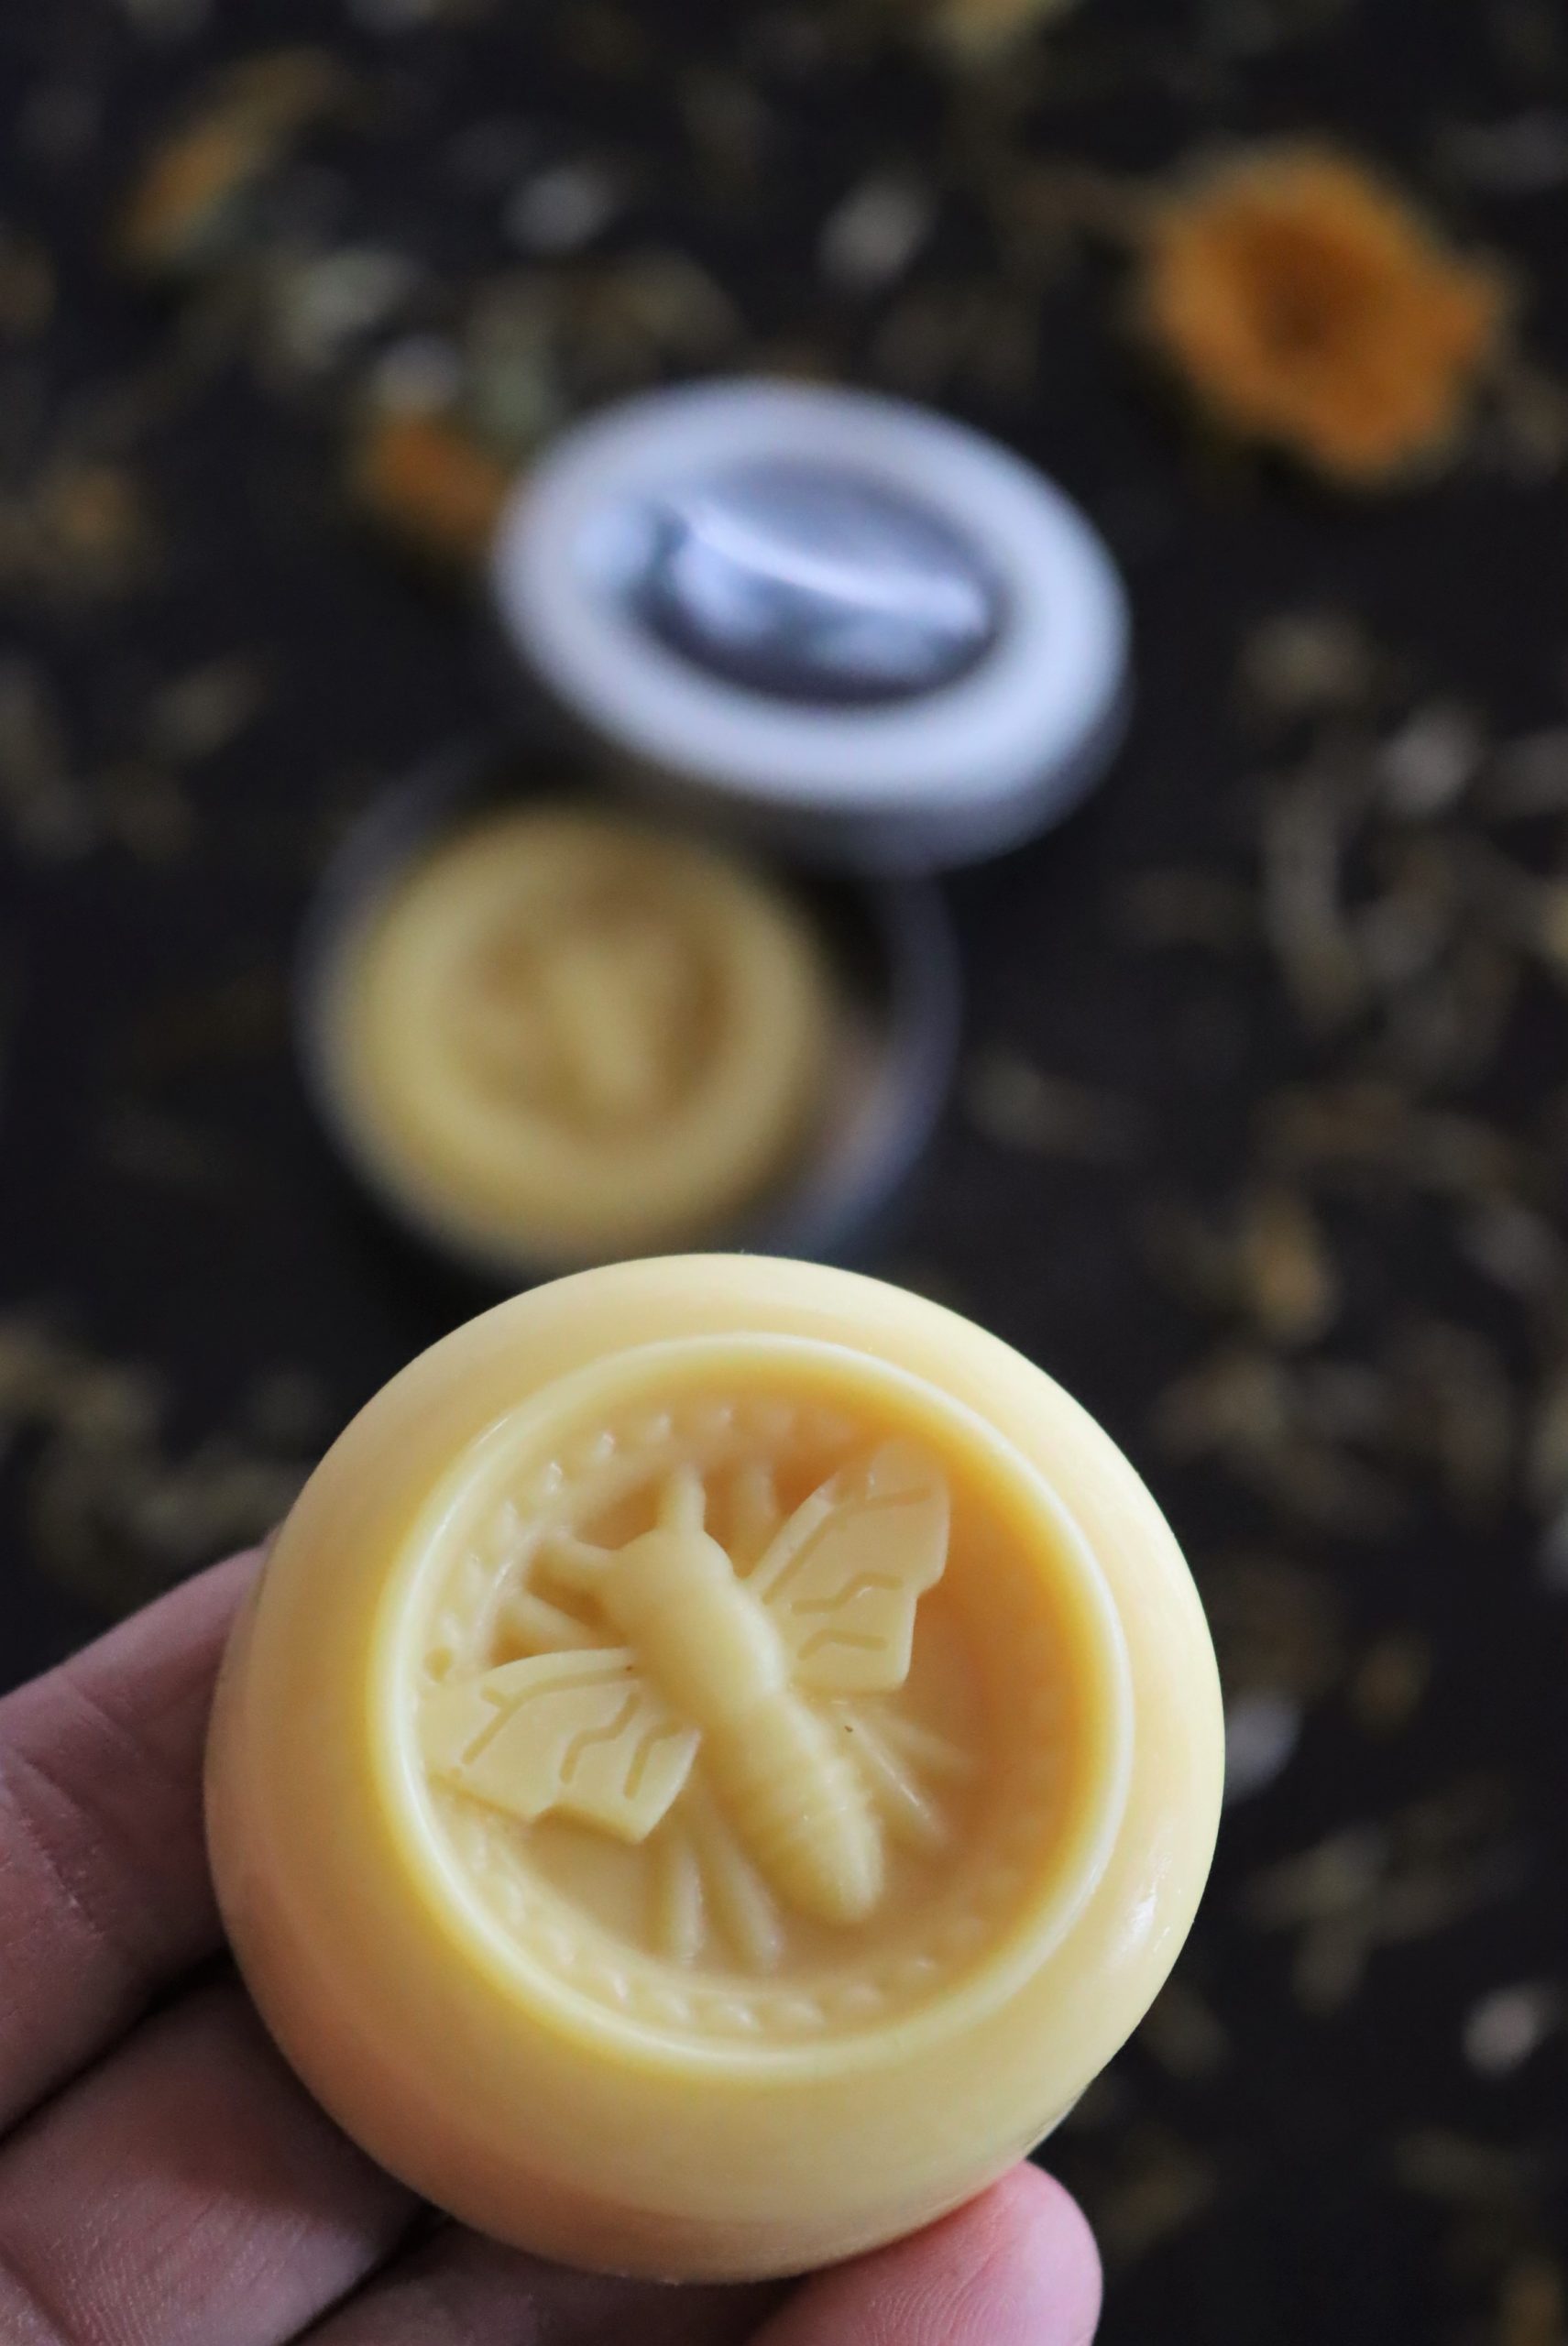
Our own homemade lotion bars made using shea butter and jojoba oil.
Choosing Herbs or Essential Oils for Lotion Bars
Essential oils and herb-infused oils make the lotion-bar-experience feel like a trip to the spa, all in the comfort of your own home. Whenever you’re working with essential oils, it’s important to first conduct a patch test, and if it passes, to add it to the lotion bar via the carrier oil of your choice. Never apply essential oils directly to the skin, as this can result in skin irritation, inflammation, burns, and itchy rashes.
There are literally hundreds of different oils to choose from, and I typically make my choices based on scents I enjoy or scents I think my friends and family would enjoy. Some of my favorite essential oils include rose geranium, rosemary, lavender, clary sage, peppermint or spearmint, eucalyptus, frankincense, sandalwood, and tea tree oil — from there you can blend the oils, which gives you a near-endless number of combinations to try.
You can also make an herb-infused carrier oil using fresh or dried plant material to include in the lotion bars, this will give the finished product a gentler scent than if you were using essential oils (you can also combine infused oil and essential oil, if the mood strikes). I’ve written about making infused oils with dandelion and calendula specifically, as well as broad instructions for other herbs.
Whichever method you choose, I wouldn’t worry as much about choosing antimicrobial ingredients (as opposed to a herbal salve or an antimicrobial soap), because you don’t want to damage your delicate skin microbiome if the lotion is applied frequently.
Choosing Wax for Lotion Bars
Wax is typically added to handmade skin care products to make sure the ingredients stay together, although this is less of a concern when making lotion bars as they don’t contain any water and don’t really require an emulsifier. Whenever I’m making lotion bars I use beeswax and you’ll probably find that most recipes use this type of wax, although there are other options to consider if you can’t find beeswax (or find it too costly) or if you’re vegan. When I’m buying beeswax I prefer to use either a block or pellets, and I use a food scale for measuring the amount the recipe calls for.
Vegan Lotion Bars without Beeswax
There are a couple of options for vegan lotion bars, including soy wax, sunflower wax, candelilla wax, and carnauba wax. Each wax has a different degree of firmness as well as having a unique melting point, with the exception of soy wax, which can be used in equal amounts and will melt at the same temperature as beeswax.
If you’re interested in making vegan lotion bars without any wax, try this recipe for lavender-and-rose-scented bars which use cocoa butter and shea butter to firm up.
Equipment for Lotion Bars
The equipment needed to prepare lotion bars is fairly basic, there’s a good chance you already have everything you need sitting in the kitchen already! To make lotion bars you’ll need the following items:
- Food scale (if weighing wax from a block)
- Measuring cups (for liquids) and a set of measuring spoons
- Double boiler (or you can make your own using a pot and a glass bowl/smaller saucepan)
- Spatula
- Muffin tins or silicone lotion bar molds
How to Make Lotion Bars
To make lotion bars you’ll need equal amounts of the following (for example, 1/4 cup or 2 ounces of each ingredient):
- Shea butter or cocoa butter
- Oil (can be a single oil, combination of more than one oil, or an infused oil)
- Wax
As well as (optional):
- Essential oil (either a single scent or a combination)
Once you have your double boiler set up, gently melt the shea or coconut butter, oil, and wax in the bowl or saucepan (if using). Err on the side of caution and make sure the melting vessel doesn’t touch the boiling water, stirring slowly with the spatula until the contents eventually melt together.
When all the ingredients are melted, take the mixture off the heat. Add the essential oil(s) 10 drops at a time if using, stirring to combine (you can add more, but start with a smaller amount since you can’t take the scent out once it’s in the mixture).
Carefully pour the mixture into muffin tins that have been lightly greased with a neutral oil or into the molds. Let the lotion bars cool and solidify for about an hour, at which point they can be popped out and are ready for use.
Troubleshooting Lotion Bars
While lotion bars are fairly easy to make, they can sometimes be a bit finnicky — especially if this is a new skill.
The good news?
If your new lotion bars aren’t up to par, you can simply remelt them and tinker with the formula (just be sure to reheat gently, too much heat can damage essential oils).
Climate can play a part in the success of your lotion bars, too. If you live somewhere hot and humid you’ll want to make them on the firm side, and if you live in a cold and dry climate they should be slightly softer.
How to Make Lotion Bars Harder
You can make lotion bars harder by adding more wax (try multiplying the amount called for by 1.5 as a starting place) or by adding more shea butter, cocoa butter, or solid oil such as coconut oil.
How to Make Lotion Bars Softer
Try adding less wax than called for, keeping the other ingredients the same (it’s always easiest to play around with one ingredient at a time, that way you can be sure of the process when you find a formulation that works). I don’t typically use mango butter in my lotion bars, but I’ve read that it can result in a too-soft bar if that isn’t your goal.
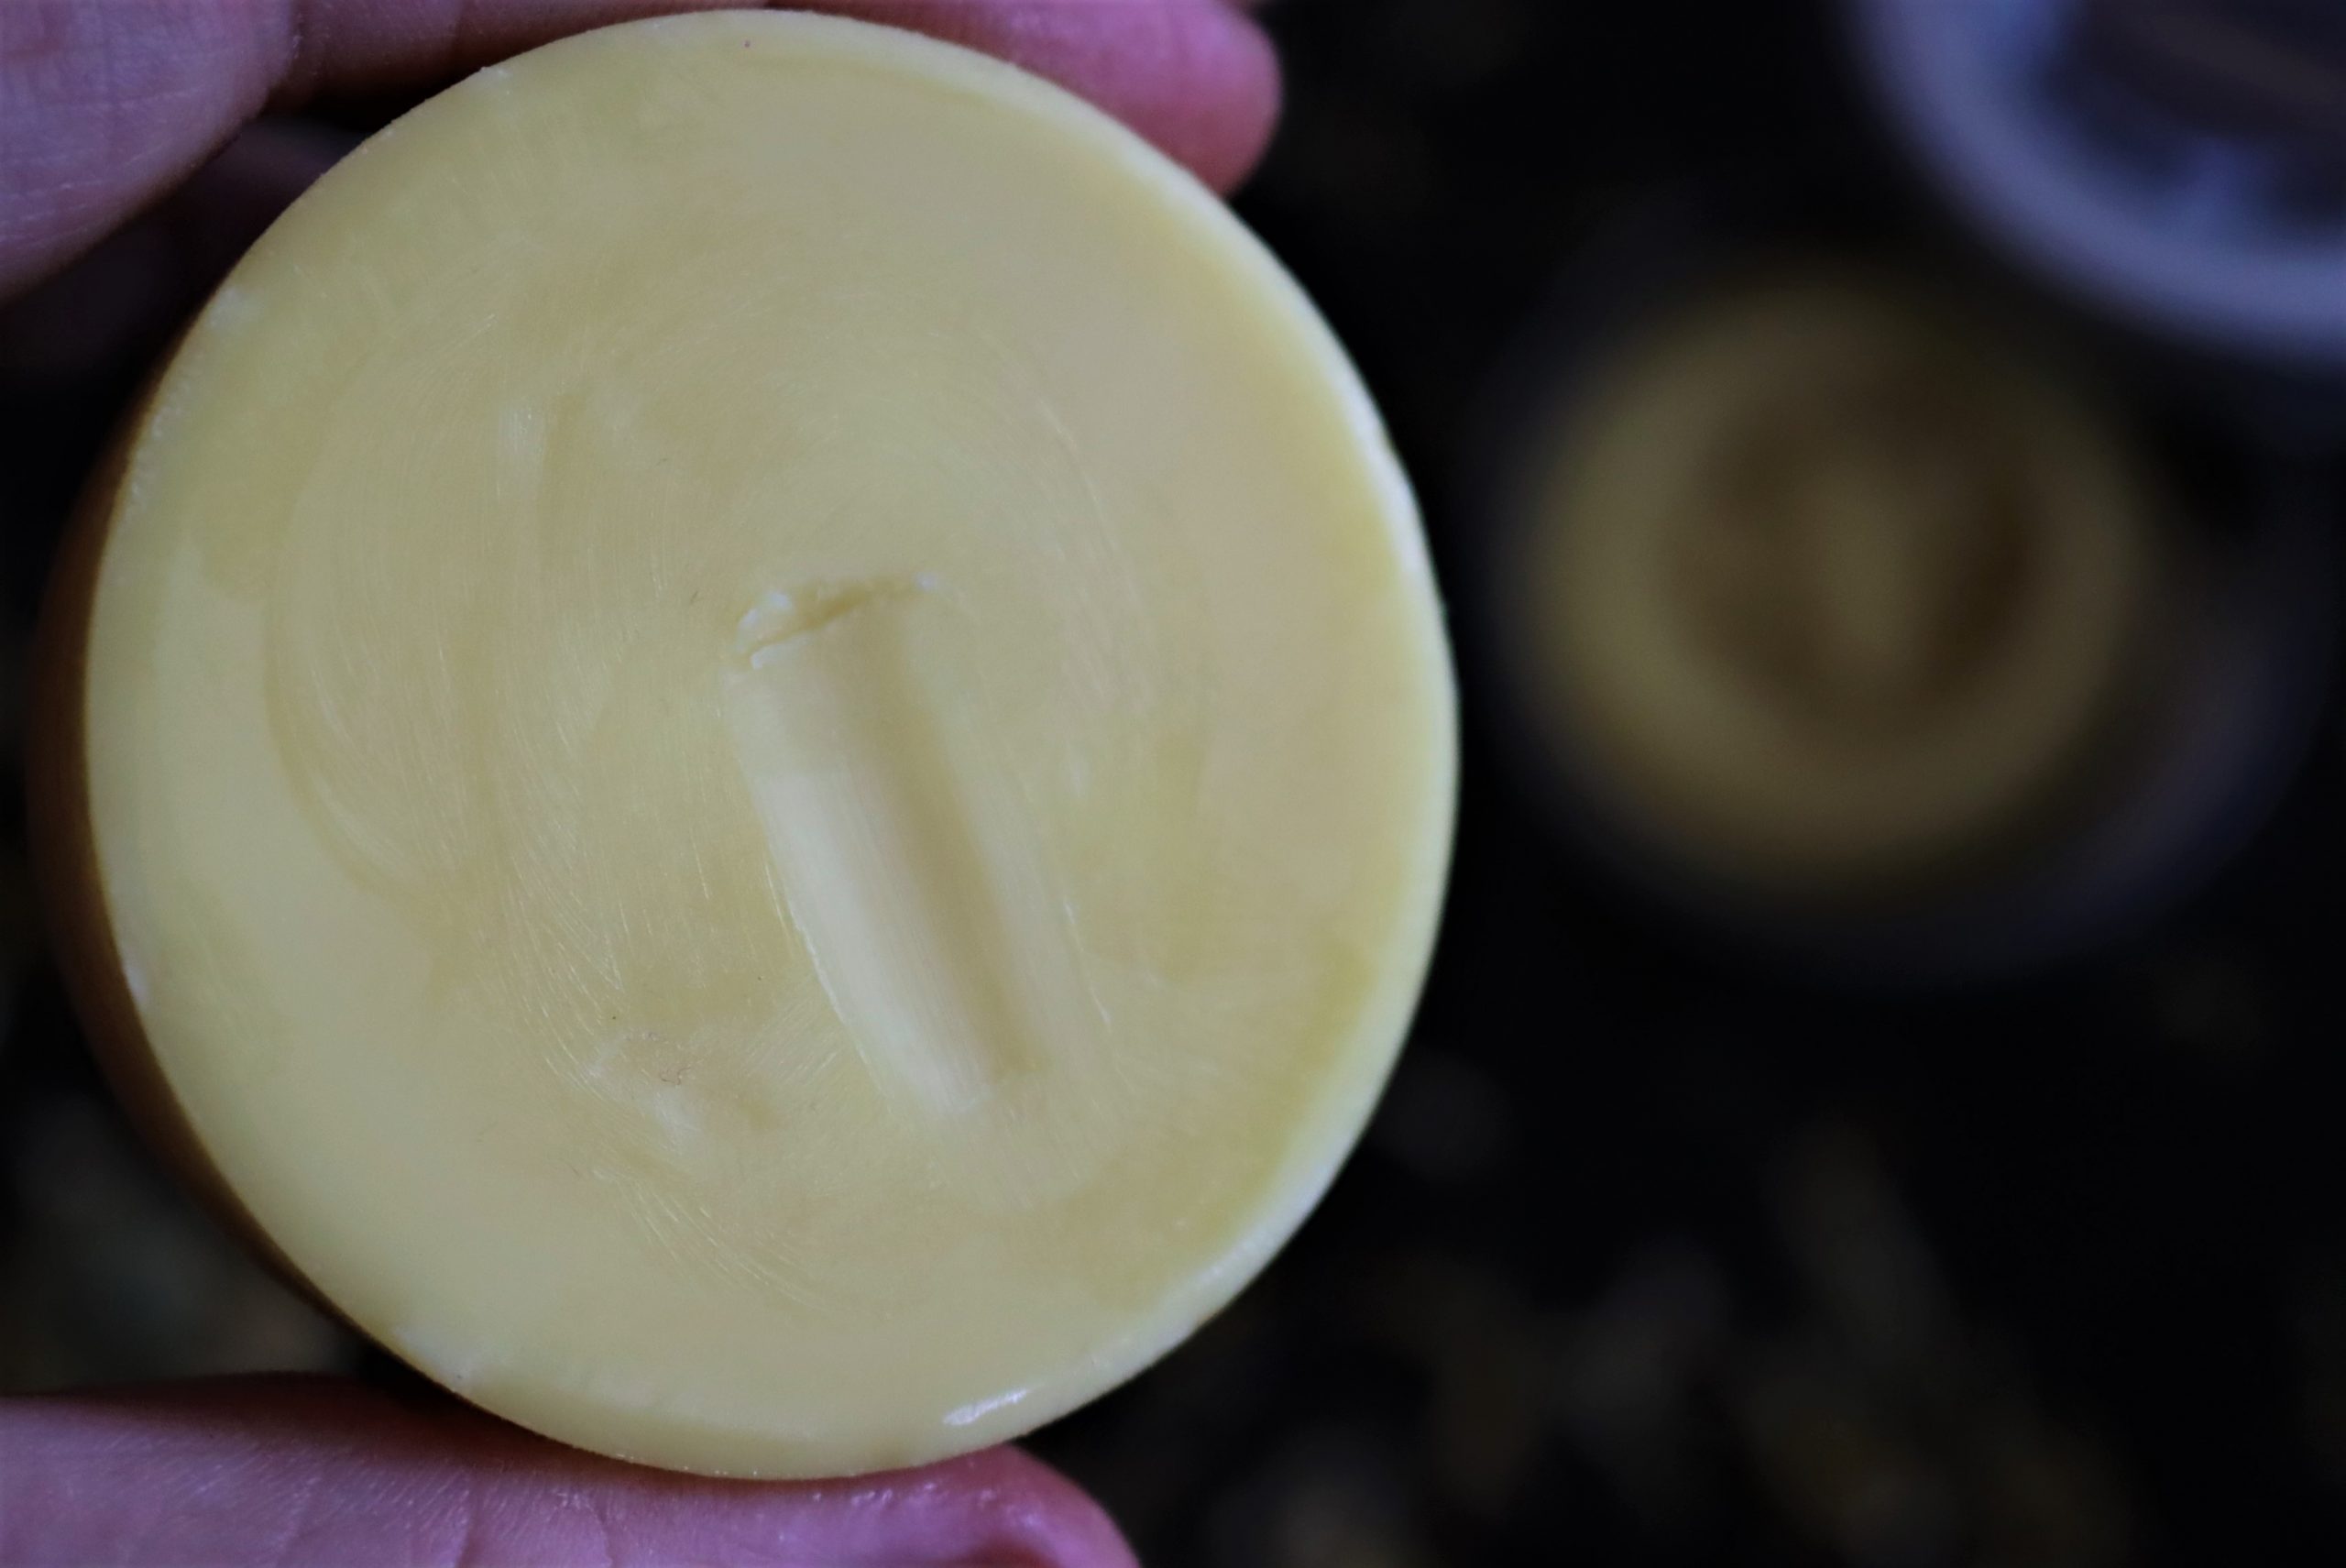
The finished texture of lotion bars should be firm enough to hold their shape, but just soft enough to dent when you run a finger nail across the surface.
How to Store Lotion Bars
When your lotion bars are set, it’s time to find a storage container for them. Depending on how big they are, I think there’s no better way to store them than in a 4 ounce salve tin with a clear window display (you can also buy tins without the window, if you prefer). These are especially beautiful if you plan on gifting the lotion bars or selling them at a farmer’s market.
I’ve also seen lotion bars stored in glass jars, with small sheets of parchment between each bar, and this looks beautiful sitting on a dresser or in the bathroom.
For easy transportation and application, a reusable deodorant container is perfect for when you’re on-the-go. Just pour the slightly cooled (but still liquid) lotion bar “batter” right into the empty container and allow it to harden.
Lotion bars are particularly useful for air travel, unlike regular liquid lotions, there’s no limit on the size of solid bar you can take with you as part of your carry-on luggage.
My number one tip for storing lotion bars would be to avoid sources of heat, whether that’s a radiator or an extra-sunny window. If not, they’ll melt into a gooey blob which, although not as pretty, can be used to the same effect.
Are Lotion Bars Shelf Stable?
Lotion bars are much more shelf stable than regular liquid lotion since they don’t contain any water. Homemade lotion, believe it or not, will actually spoil and mold after just a few weeks if not kept in the refrigerator. (Store bought lotion has chemical preservatives added to make it shelf stable.)
Generally speaking, they have a shelf-life of 1 to 2 years, and this is simply because oils go rancid eventually. One trick to keep lotion bars fresher, longer is to add a small amount of vitamin E oil along with the base oil. Store lotion bars in a cool, dry location out of direct sunlight and away from a heat source to extend the shelf-life even longer.
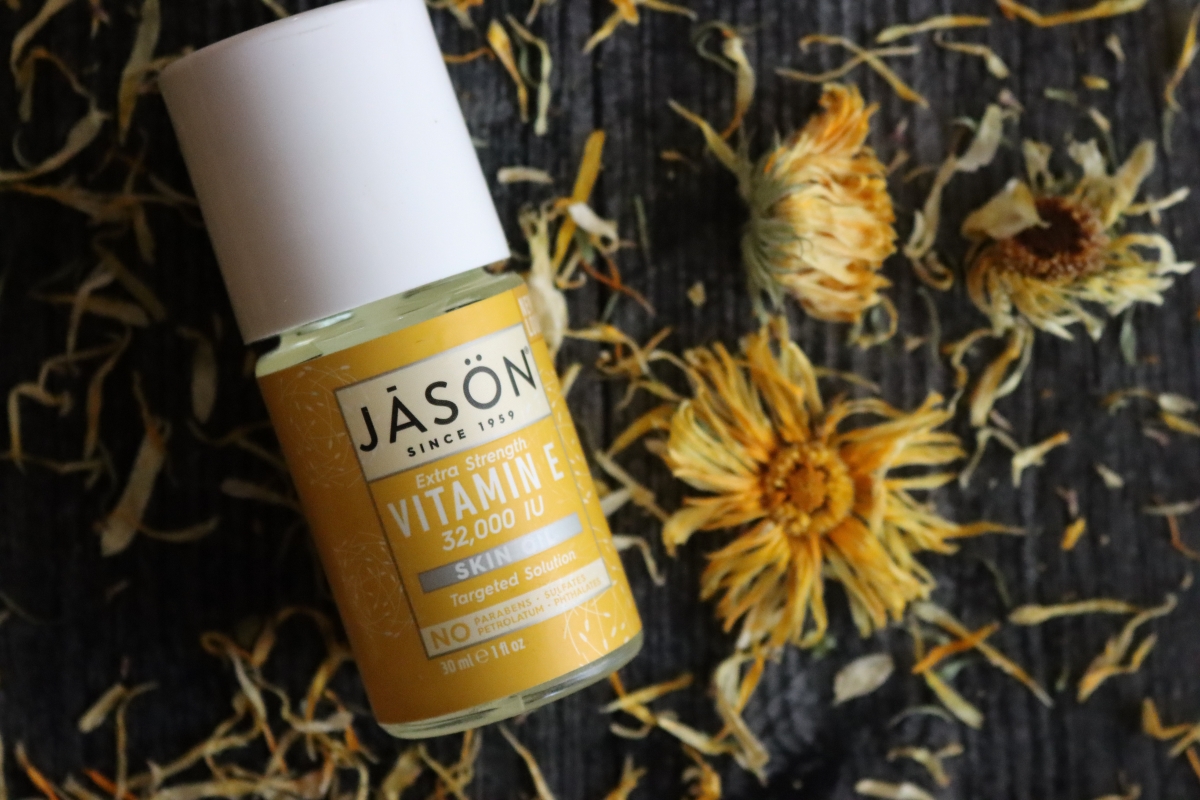
Vitamin E oil helps improve the shelf life of oils and oil based skin products.
Lotion Bar Recipe Variations
Looking for ideas to customize your herbal lotion bars?
- Mediterranean Garden Lotion Bars
- Heart Lotion Bars with Rose Petals
- Homemade Flower Lotion Bars
- Calendula Lotion Bars
How to Make Lotion Bars
Vitamin E oil helps improve the shelf life of oils and oil-based skin products.
Materials
- 1/4 cup* liquid oil (can be infused oil)
- 1/4 cup* beeswax
- 1/4 cup* shea butter, cocoa butter, or other solid oil/butter
- Essential oil (optional)
Tools
- Double boiler (or DIY version)
- Food scale (if weighing wax)
- Measuring cup
- Spatula
- Muffin tins or lotion bar molds
Instructions
- Using a double boiler, melt together the liquid oil, beeswax, and solid butter or oil.
- Remove the mixture from the heat and stir in essential oils if using.
- Pour into muffin tins that have been lightly greased with a neutral oil or the lotion bar molds.
- Let cool for 1 hour or place in the refrigerator for 15 minutes to speed the process up.
- Remove the lotion bars from their molds. Use immediately or store in the container of your choice.
Notes
*As long as the ratio remains 1:1:1, feel free to use more or less than the measurements shown here.
The finished texture will depend on your environment (ambient temperature, humidity, etc) and your choice of oils. Once you've made the lotion bars, you can melt them down again if you don't like the texture.
For a slightly harder bar, add more wax or use very firm butters (like shea butter).
For a softer bar, use slightly more oil.
DIY Herbal Skincare
Looking for more herbal skin care recipes you can make at home?
Homemade Herbal Medicine
Looking for natural ways to care for your whole body’s health? Try making these natural herbal remedies:
I was just thinking about you yesterday, thinking I hadn’t seen anything from you for a while. Thank you for this, thank you for my favorite blog. I hope you and your family are having a good winter.
You’re very welcome. We’re so glad that you enjoy the blog so much.
I have a perhaps dumb question. How do you use a lotion bar? Just rub the bar over skin? Can it be used on the face? Thanks! I’m really enjoying your column/blog/website, and suggest it to my sister.
It’s not a dumb question at all. Most people don’t know how to use it at first. Yes, you just rub it on your skin and as you rub it over the skin, it will begin to melt and absorb into the skin. You can definitely use it on the face although it is a little bit heavier than a typical moisturizer and sometimes works better for an evening routine but some like it during the day as well. It just depends on your skin type.
This is the first I found your writing. I found it so fascinating and will certainly see what I can make. I am not even sure how I found you. Love to stay in contact.
All the best,
Mary