These DIY plans for a farmhouse-style buffet table are easy to follow, and you’ll have a beautiful piece of homemade furniture in no time!
We’re all about simple, DIY projects that can add color and utility to a room…but sometimes it coming up with a plan can be daunting.
Sure, it might be a simple project, but what measurements make everything come together seamlessly?
Sometimes it takes more time to plan a simple DIY woodworking project than it takes to build. That’s why I was super excited to find the book One Day DIY: Modern Farmhouse Furniture.
It has simple, inexpensive plans for most of the furniture you might find in an average household. All of which can be built in less than a day!
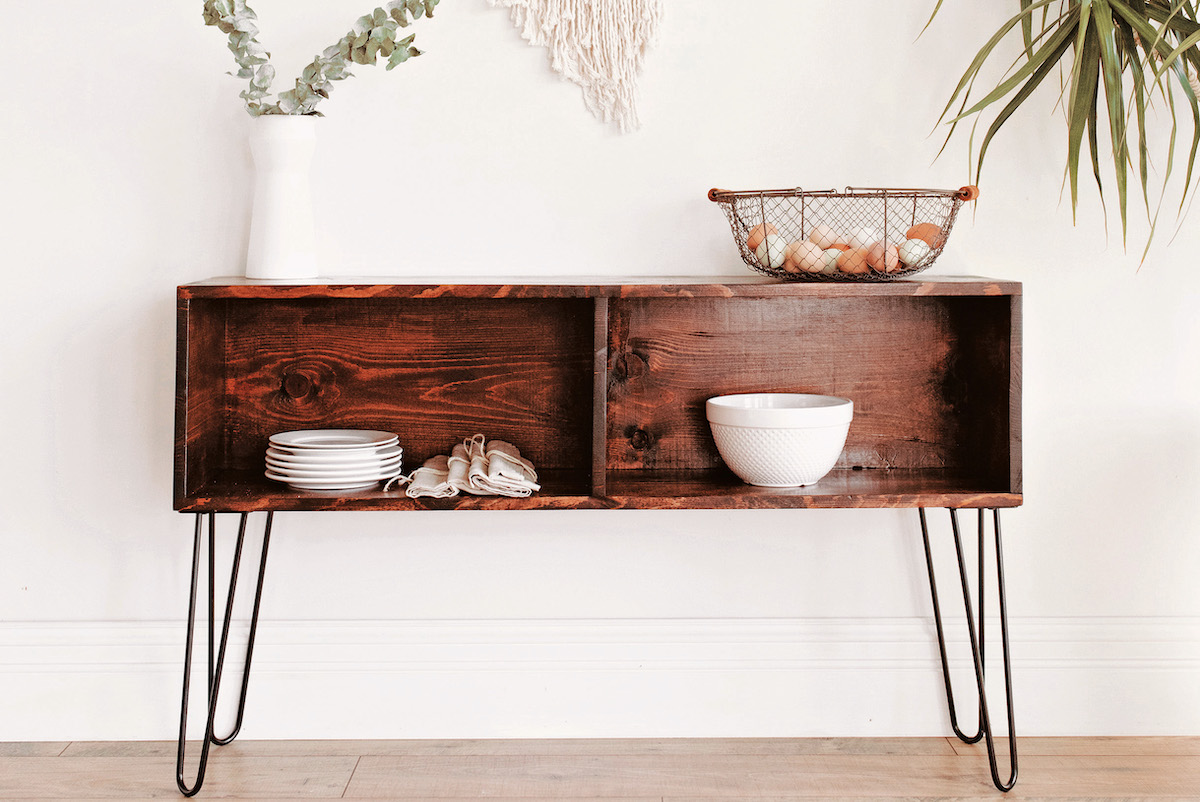
This simple sideboard table works perfectly as a buffet table for entertaining, and it comes together in less than a day with minimal supplies.
If you find yourself as a last-minute host, it’s easy enough to put together a lovely buffet table in no time!

Reprinted with permission from One-Day DIY by JP Strate & Liz Spillman. Page Street Publishing Co. 2020. Photo credit: Kate Becker, JP Strate & Liz Spillman. It has been edited slightly for format and length to fit the web.
DIY Buffet Table with Storage
Sideboards are perfect for entertaining: Serving buffet-style food on a sideboard leaves room for large groups to eat at the dining table.
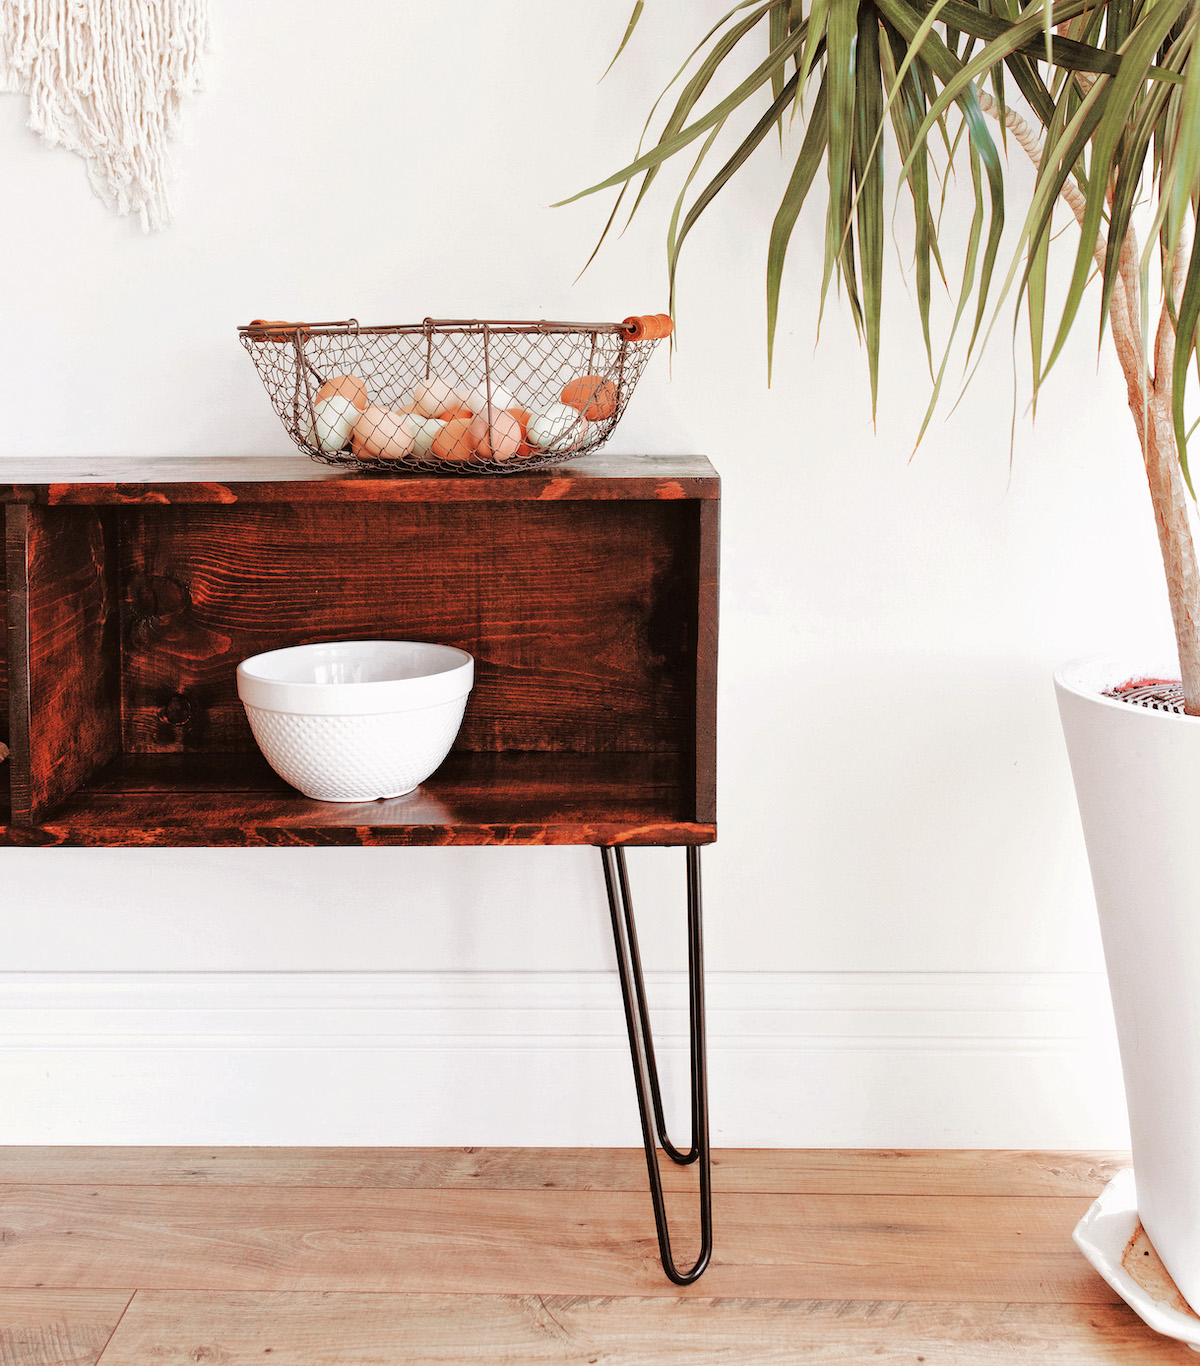
We designed this particular sideboard to be simple and modern, with separate storage compartments and hairpin legs.
It’s a quick build, using just two boards and a set of easy-to-attach hairpin legs, so if you are stressing out about where to put that cupcake bar for your sister’s baby shower this weekend, we’ve got you covered!
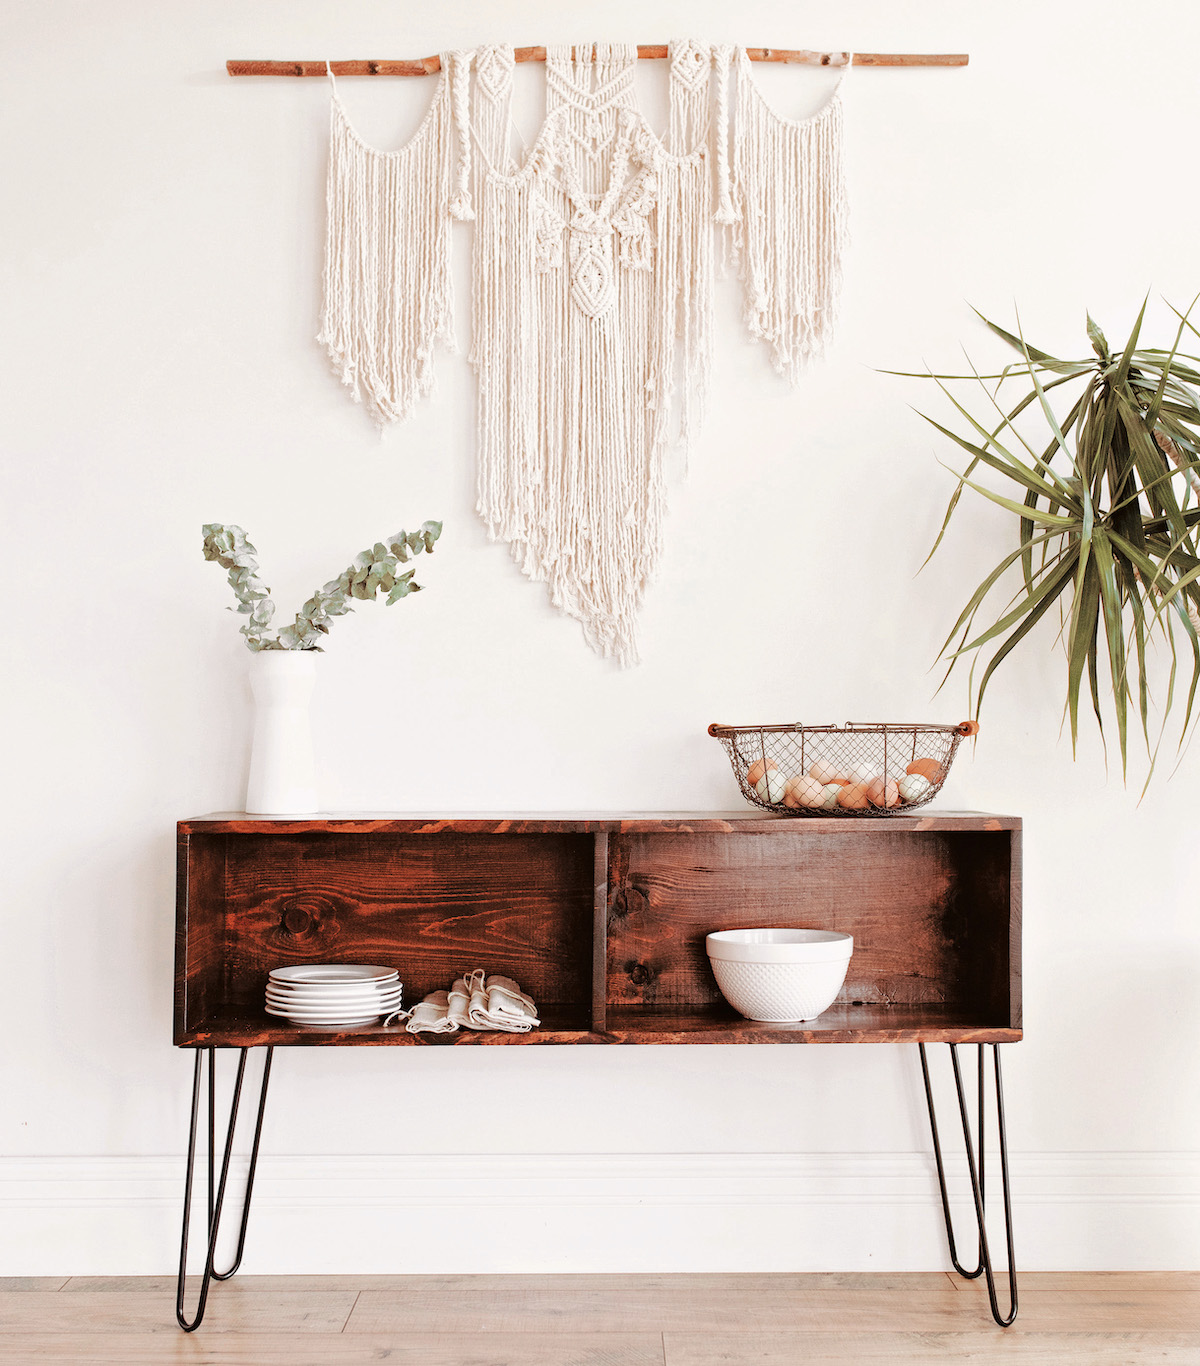
The finished dimensions of this DIY project as written are:
48″ w x 28 3⁄4″ H x 11 1⁄4″d (1.2m x 73cm x 28.6 cm)
Supplies
- Two Pine Boards 1” x 12” by 8′ (2.4 m) long
- 1 1⁄2″ (3.8-cm) trim-head screws
- 4 (16″ [40.6-cm]) hairpin legs with included screws
- Polyurethane
Tools & Equipment
-
- Tape measure
- Pencil
- Safety glasses
- Miter saw
- Drill
- Screwdriver or impact driver
- Wood filler (to match your stain color)
- Sanding block or sander
- Drop cloth
- Rubber gloves
- Rag
- Stain
- Brush
Building a Buffet Table
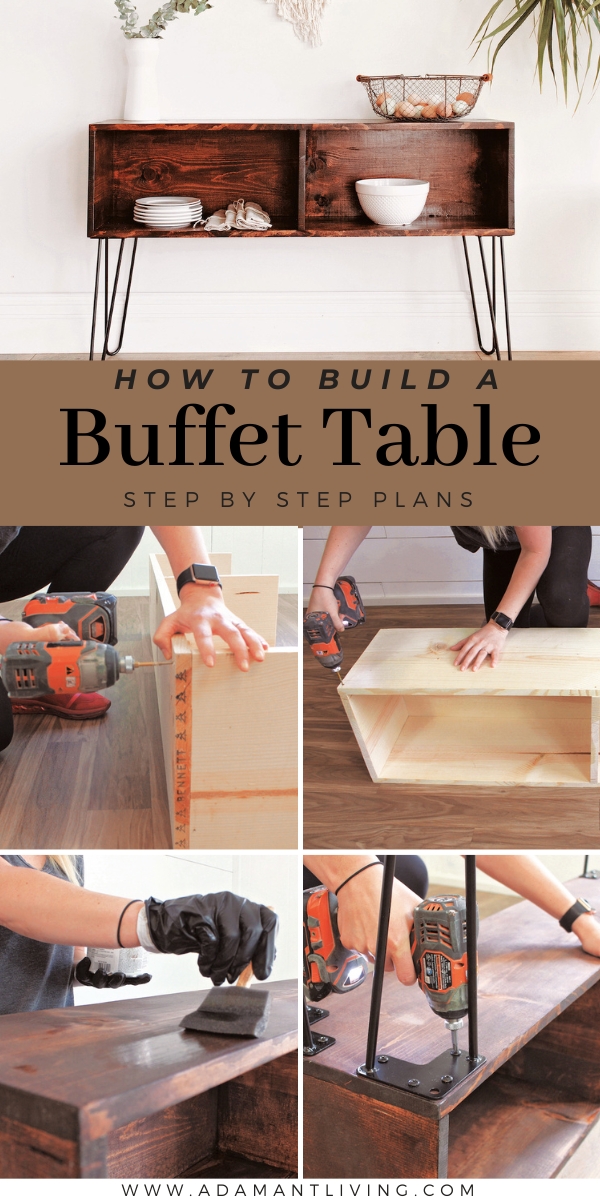
Now we’ll take you through the process of building this simple DIY Buffet Table Sideboard step by step.
STEP 1
Grab your tape measure and pencil and mark off the cuts of lumber you’ll need for this project, as described below.
Make sure to put on your safety glasses and use your miter saw to make the necessary cuts. If you don’t have a miter saw, many larger home improvement stores will cut the pieces for you.
Cut the 1 x 12s into three 48″ (1.2-m)-long pieces and three 10 1⁄2″ (26.7-cm)-pieces.

STEP 2
Place your three 10 1⁄2″ (26.7-cm) pieces on edge with 45 3⁄4″ (1.2 m) of space between each.
Take a 48″ (1.2-m) piece and place it on edge along the top side of the 10 1⁄2″ (26.7-cm) pieces.

STEP 3
Predrill two holes about 10″ (25 cm) apart through the 48″ (1.2-m) piece into each 10 1⁄2″ (26.7-cm) piece (six holes total).
Secure the pieces together with a trim-head screw in each pre-drilled hole.

STEP 4
Place another 48″ (1.2-m) piece across the top of your framework.
Predrill five evenly spaced holes along the backside of this piece into the edge of the 48″ (1.2-m) piece underneath as well as one into the front edge of each 10 1⁄2″ (26.7-cm) piece (eight holes total).
Secure the top piece with trim-head screws in each predrilled hole.

STEP 5
Flip your framework over and repeat Step 4 with your third 48″ (1.2-m) piece.

STEP 6
Grab your wood filler and, using your fingertip, cover all of the exposed screw holes.
Once it dries, use your sanding block or sander to smooth out any rough spots and remove any excess wood filler.

STEP 7
Roll out your drop cloth and put on your rubber gloves.
Dip your rag into your stain and apply it to your framework.
Once the stain dries, use your brush to apply a coat of polyurethane. Let it dry for the allotted time suggested on your can.
Once it is completely dry, you can dispose of your drop cloth or save it for your next project.

STEP 8
Now, take your four hairpin legs and place one in each corner of the underside of your sideboard.
With a pencil, mark where the screw holes will go.
Remove the hairpin legs and predrill holes about 1⁄2″ (1.3 cm) deep where you made the pencil marks. Don’t drill too deep; you don’t want to drill through the other side.
Put the hairpin legs back onto your sideboard and attach them with the included screws.

STEP 9
Flip this guy back onto its legs, and you’re all done!
This piece will go great next to your dining room table so it’s within an arm’s reach of grabbing extra glasses, dishes, food, and so forth!
DIY Projects
Looking for more DIY Projects?
Leave a Reply