Shampoo bars are solid bars of soap made for washing hair. This shampoo bar recipe uses three liquid oils and lye for a classic cold process bar, and there’s a melt and pour version too, for when you’d rather not handle lye yourself.
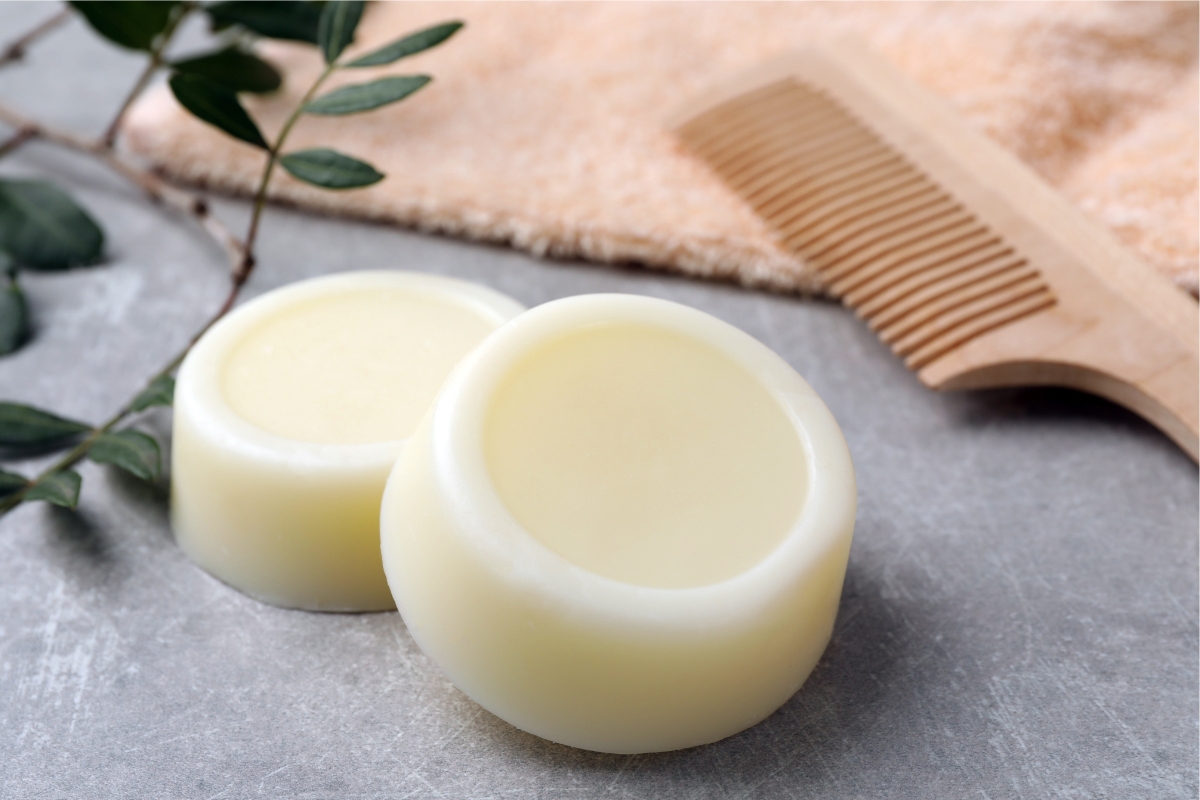
A shampoo bar does the same job as liquid shampoo in a smaller package. There’s no bottle to recycle, it won’t leak in a bag, and one bar lasts a good while if you let it dry between uses.
Making your own means you choose every oil and scent that goes in. The cold process recipe below takes about half an hour of hands-on work, then the bars cure on a shelf for a few weeks.
If you’ve made lotion bars or bath bombs, you already have some of the tools. Shampoo bars are the next step up, because the lye calls for some extra care.
What Is a Shampoo Bar?
A shampoo bar is a concentrated, solid shampoo. Homemade ones are usually true soap, made the same way as a bar of hand soap, with oils chosen for a good lather on hair.
Here’s what sets them apart from liquid shampoo:
- Little or no packaging: A bar needs nothing more than a tin or a soap dish.
- Travel friendly: It’s solid, so it won’t spill in a gym bag or a suitcase.
- Simple ingredients: This recipe is three oils, lye, and water, plus essential oil if you want scent.
How Are Shampoo Bars Different from Regular Soap?
Honestly, there’s a lot of overlap. A homemade shampoo bar and a bar of hand soap are both made from oils and lye, often in similar proportions.
The difference is mostly in the oils. Shampoo bar recipes lean on oils that make plenty of lather and rinse cleanly, and they often include extra oil (called the superfat) so the bar is less drying.
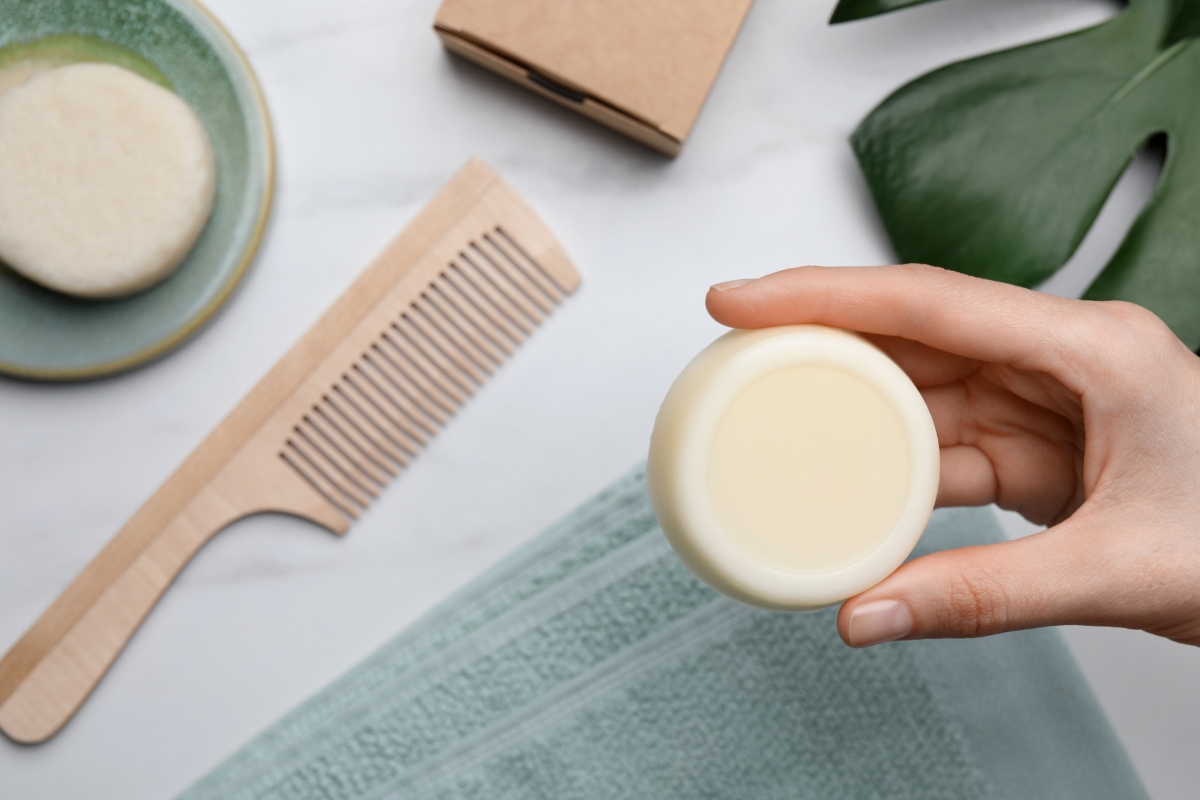
Ingredients for Shampoo Bars
At its simplest, a shampoo bar is made from two things: oil and lye. Water dissolves the lye, and essential oils are optional.
Lye (Sodium Hydroxide)
Lye is what turns oil into soap. When it reacts with fats and oils, the mixture slowly thickens and hardens into soap, a process called saponification. Without lye, the oils would stay oils.
I buy lye (sodium hydroxide) online in a plastic container, and craft stores that carry soapmaking supplies often stock it too. Look for 100 percent sodium hydroxide, not a drain cleaner with other ingredients mixed in.
Lye is caustic and needs respect, but it isn’t something to fear. These are the basic rules:
- Gear up: Wear safety goggles, gloves, and long sleeves, and work in a well-ventilated room with kids and pets out of the way.
- Lye into water: Always add lye to water, never water to lye. Pour it in slowly while you stir.
- No aluminum: Lye reacts with aluminum, so use stainless steel, heatproof glass, or sturdy heatproof plastic.
- If it splashes: Rinse right away with plenty of cool running water for at least 15 minutes. The NIOSH Pocket Guide lists a water flush as first aid for skin and eyes, and anything in the eyes needs medical care.
Lye safety sheets call for water, not vinegar. Vinegar is handy for wiping down a work surface afterward, but it isn’t first aid for skin.
Oils and Butters for Shampoo Bars
Each oil brings something different to the finished bar. This guide to common soapmaking oils from Soap Queen covers usage rates, and here’s a quick look at the ones that come up most in shampoo bars:
- Olive oil: Makes a mild, creamy lather and a fairly soft bar, so olive-heavy soaps need a longer cure.
- Coconut oil: Gives big, fluffy bubbles and a harder bar. It cleans strongly, so most recipes keep it to about a third of the oils or less.
- Sweet almond oil: A light oil that adds conditioning to a bar. Skip it if anyone using the bars has a nut allergy.
- Castor oil: Adds lather in small amounts. Above about 10 percent it can make a bar soft and sticky.
- Avocado oil: A rich, conditioning oil that makes a softer bar.
- Shea, cocoa, and mango butter: These firm up a bar and add a creamy feel. Keep each to about 15 percent of the oils.
- Tallow: Rendered beef fat makes a hard, long-lasting bar with a creamy lather.
If you swap any oil in this recipe, run the new list through a lye calculator first. Every oil needs a different amount of lye, and guessing can leave you with a greasy bar or a harsh one.
Essential Oils
Essential oils aren’t required, but they make a plain bar feel special. Rosemary, peppermint, rose, geranium, eucalyptus, and cedar are the ones I like in a shampoo bar.
Add them at trace, after the lye solution and oils are blended. Leave them out for an unscented bar.
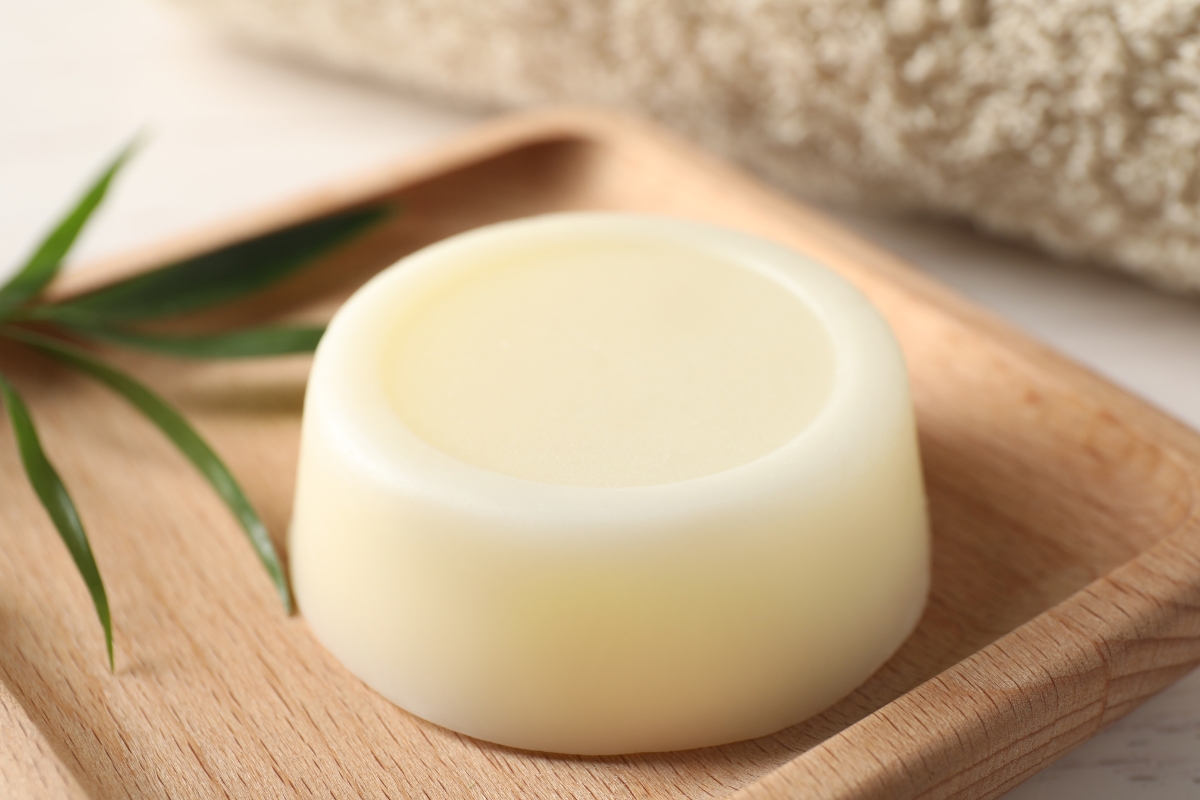
Equipment for Making Shampoo Bars
You probably own most of this already, though anything that touches lye should stay with your soapmaking gear afterward.
- Kitchen scale: A good kitchen scale is the most important tool here. Soap recipes are written by weight, and measuring by weight gives far more reliable bars.
- Lye container: A heatproof pitcher for mixing the lye solution, kept just for soapmaking.
- Mixing bowl: A large stainless steel or glass bowl for the oils, never aluminum. One with a pouring spout makes filling the molds easier.
- Thermometer: A kitchen thermometer for checking the lye solution and oils.
- Stick blender: A hand blender brings the soap to trace in minutes instead of an hour of stirring.
- Spatula: A silicone spatula for scraping out every last bit.
- Molds: Round shampoo bar molds or any silicone soap mold.
- Safety gear: Goggles, gloves, and long sleeves.
How to Make Shampoo Bars
This all-purpose recipe uses olive, coconut, and sweet almond oil. It makes about 23 ounces of soap, or roughly five 4 ounce bars, depending on your molds.
Use regular coconut oil, melted, rather than fractionated “liquid” coconut oil. Fractionated coconut oil takes much more lye, so swapping it in would leave the bars soft and oily.
Read through all of the steps before you start, and put on your goggles and gloves before you open the lye.
- Mix the lye solution: Weigh 6 ounces of distilled water into a heatproof container. Slowly pour 2 ounces of lye into the water, stirring until it dissolves. It heats up fast and gives off fumes for a minute, so don’t lean over it.
- Let it cool: Set the lye solution somewhere safe to cool. Soap Queen notes that lye water can reach 200°F, and their guide to soaping temperatures suggests 120 to 130°F for most recipes. That can take an hour or more.
- Warm the oils: Melt the coconut oil, then combine it with the olive and sweet almond oil in a large stainless steel or glass bowl. Aim for about the same temperature as the lye solution, within 10 degrees or so.
- Combine: Slowly pour the lye solution into the oils. Pouring down the shaft of the stick blender helps keep splashes down.
- Blend to trace: Pulse the stick blender in short bursts, stirring in between. In a few minutes the mixture thickens to trace, when drips sit on the surface for a moment before sinking, like thin pudding.
- Add scent: Stir in the essential oil now, if you’re using it.
- Pour: Pour the soap into your molds and tap them on the counter to settle any air bubbles.
- Unmold: Leave the bars in the molds for 24 to 48 hours, until they’re firm enough to pop out cleanly.
- Cure: Set the bars on a rack in a dry spot with good airflow for 4 to 6 weeks, turning them now and then. They get harder and milder as they cure.
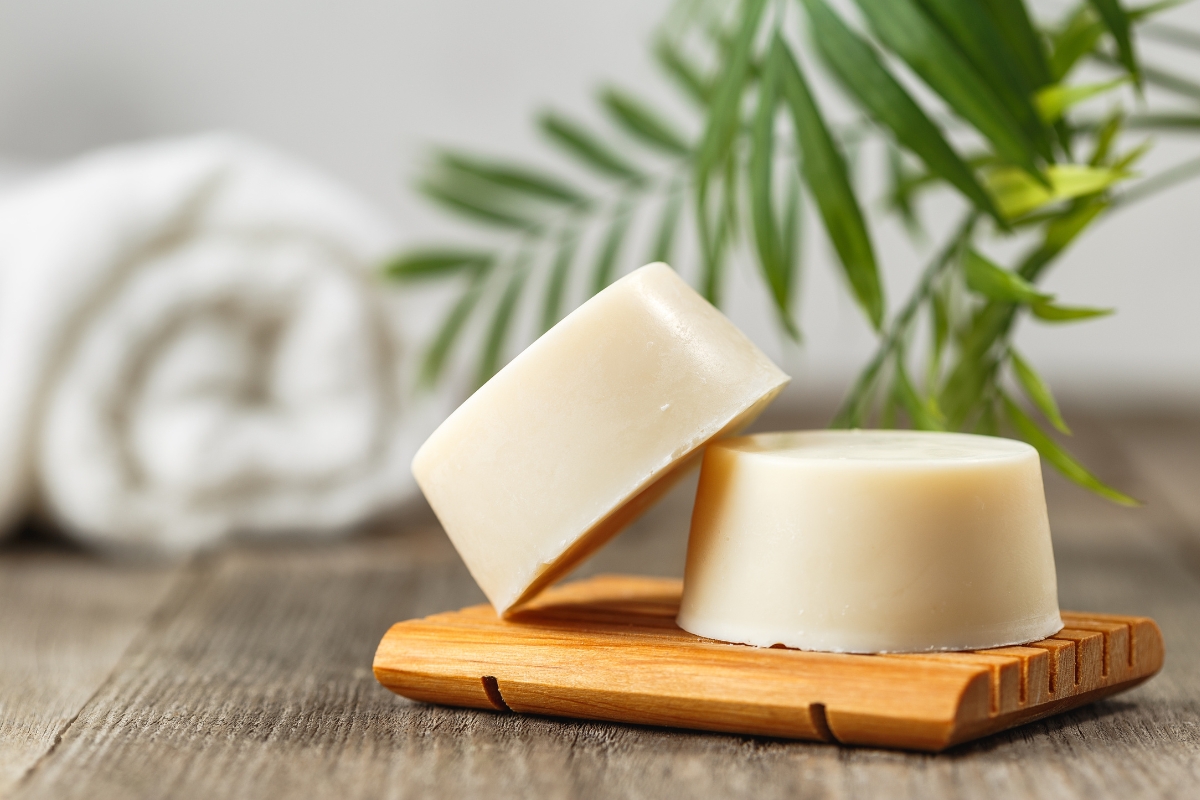
Recipe Notes
This recipe has a generous superfat of about 12 percent, meaning roughly that much of the oil stays as oil instead of turning into soap. That keeps the bars gentle.
There’s no need to stir extra oil in at trace. With this much superfat already built in, more oil can leave hair feeling heavy.
Bars that feel heavy on your hair are an easy fix next time. Enter the same oils into a lye calculator and choose a lower superfat. The calculator will give you the new amount of lye.
Melt and Pour Shampoo Bars (No Lye Handling)
Melt and pour soap base is ready-made soap that melts on the stove. It’s a good way to start if you’re not ready to work with lye, or if you’d like to make shampoo bars with kids.
The base itself is still made with lye. The manufacturer does that step, and the reaction is finished long before it reaches you. You can see sodium hydroxide right in the ingredient list on Bramble Berry’s clear base, for example. So the bars aren’t lye-free, but you never touch lye yourself.
Choosing a Melt and Pour Base
Most craft stores carry several kinds, and any of them will make a shampoo bar. A few common ones:
- Goat milk: An opaque, creamy white base.
- Shea butter: Creamy, with a little less lather than some others.
- Honey: A golden base with honey added.
- Aloe vera: A smooth base that takes color well.
- Clear glycerin: The base to choose if you want to add color or dried flowers you can see through the bar.
- Charcoal: A striking black bar. It can stain grout and light-colored tubs.
Formulas vary from brand to brand, so read the ingredient list on any base before you buy it.
How to Make Melt and Pour Shampoo Bars
For about four standard bars, you’ll need 1 pound of melt and pour soap base, up to 1 teaspoon of oil or butter, and up to 25 drops of essential oil. Both of the extras are optional.
Go easy on the added oil. The base already contains oils, and Soap Queen recommends about 1 teaspoon of extra oil or butter per pound, since more can keep the soap from hardening and leave it greasy, with less lather.
- Melt: Cut the soap base into cubes and melt it in a double boiler over gently simmering water, stirring now and then. Don’t let it boil.
- Mix: Take it off the heat and stir in the oil or butter and essential oil, if you’re using them.
- Pour: Pour into your molds and tap them gently to settle any air bubbles.
- Set: Let the bars harden for a few hours at room temperature, then pop them out. No cure time is needed.
Melt and pour soap draws moisture from the air, so wrap any bars you aren’t using right away in plastic wrap to keep them from beading up.
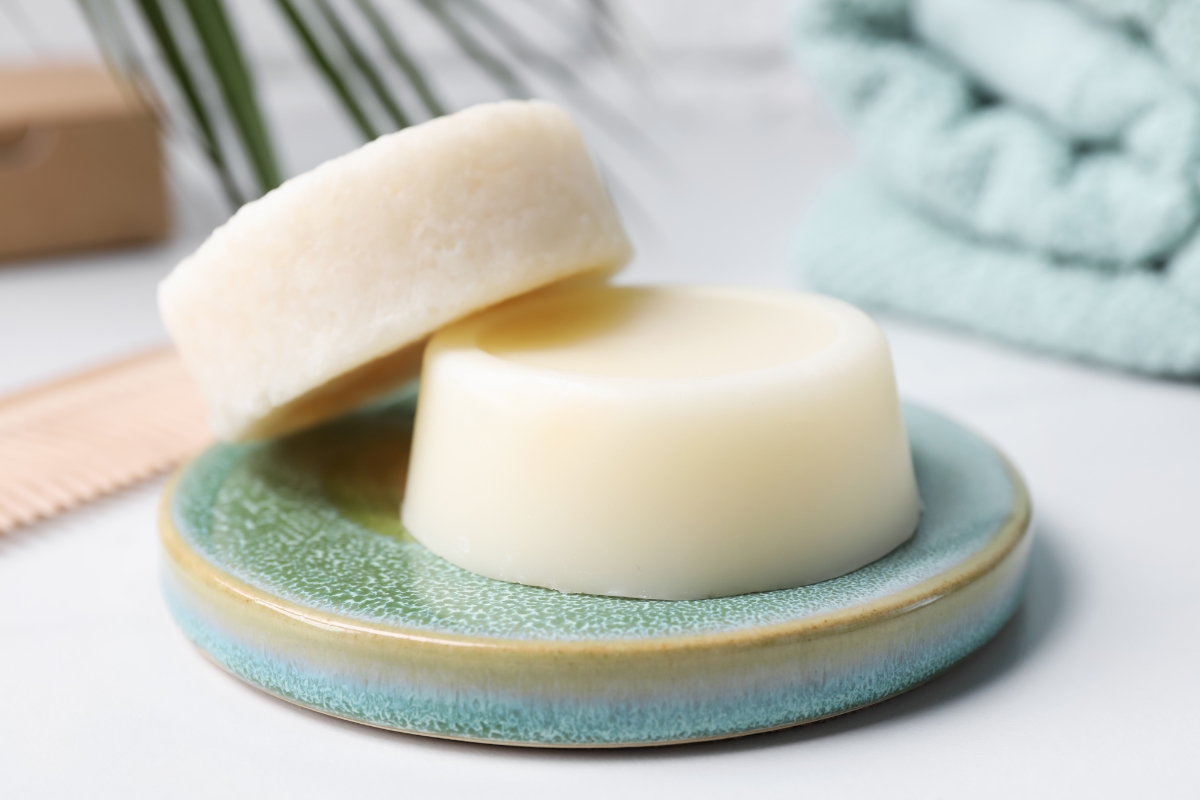
How to Use a Shampoo Bar
Washing with a shampoo bar is a lot like using liquid shampoo, with a little more hands-on work.
- Soak your hair: Get it completely wet first. It’s hard to build a lather on damp hair.
- Lather up: Rub the bar between your hands, or glide it over your wet hair a few times. Start with a few strokes and add more if you need it.
- Work it in: Massage the lather into your scalp and roots, and let it run through the lengths.
- Rinse well: Rinse until your hair feels clean and nothing is left behind.
Many people who wash with soap-based bars follow up with a diluted apple cider vinegar rinse. It’s a traditional finishing rinse, and it can help with the residue hard water leaves behind.
Shampoo Bars and Hard Water
Hair that feels coated or waxy after washing usually points to hard water. The USGS explains that the calcium and magnesium in hard water react with soap to form soap scum, the same film you see on a tub.
Rinsing longer, a vinegar rinse, or washing with filtered or rain water can all help. Some people find soap-based shampoo bars simply don’t suit their water, and that’s worth knowing before you make a big batch.
How to Store Shampoo Bars
Water is what wears a shampoo bar down fastest. Between uses, keep it on a draining soap dish out of the shower spray so it dries completely.
Cutting a bar in half helps too. Use one half and keep the other dry until you need it.
For travel, let the bar dry first, then pack it in a tin. 4 ounce tins with windows work well if your bars fit, and they double as a gift box. Store cured bars you aren’t using yet somewhere cool and dry, away from sunlight.
Notes from My Kitchen
If I could only keep one piece of soapmaking equipment, it would be the kitchen scale. Weighing everything is what makes one batch come out like the last.
I like rosemary or peppermint in a shampoo bar, and cedar when I want something a little woodsier. Bars made this way are nice to have on hand as gifts, and a few wrapped in brown paper go a long way.
Shampoo Bar FAQs
Readers have asked a lot of good questions about this recipe over the years. Here are the most common ones.
The cold process recipe makes about 23 ounces of soap, or roughly five 4 ounce bars. The bars lose a little weight as water evaporates during the cure. The melt and pour version makes about four bars per pound of base.
Not without recalculating. Fractionated coconut oil needs much more lye than regular coconut oil, so the bars would come out soft and oily. Use regular coconut oil, melted.
No, it’s optional. The base already contains oils, and Soap Queen recommends about 1 teaspoon per pound at most. More than that can leave the bars soft and greasy.
Hard water is the most common cause. Its minerals react with soap to form soap scum, as the USGS explains. A longer rinse or a diluted vinegar rinse often helps.
Rinse it right away with plenty of cool running water for at least 15 minutes. The NIOSH Pocket Guide lists a water flush as first aid. Get medical help for anything in the eyes.
The cold process bars in this recipe are. They’re made only from oils, lye, and water. If you buy a melt and pour base, check its ingredient list, since formulas vary.
Soap-based bars are alkaline, which is different from most shampoos made for colored hair. If your hair is dyed, ask your stylist, or test a bar on a small section first.
If you made this Shampoo Bar Recipe, or anything else from Adamant Living, leave a ⭐ star rating and tell me how it turned out in the 📝 comments below!
Homemade Shampoo Bars
Ingredients
Equipment
Method
- Put on safety goggles, gloves, and long sleeves. Work in a well-ventilated room with kids and pets out of the way, and use stainless steel, glass, or heatproof plastic, never aluminum.
- Weigh the distilled water into a heatproof container. Slowly pour the lye into the water (never water into lye), stirring until it dissolves. Don’t breathe the fumes.
- Set the lye solution aside to cool to about 120 to 130°F. This can take an hour or more.
- Melt the coconut oil and combine it with the olive and sweet almond oil in a large stainless steel or glass bowl. Bring the oils to about the same temperature as the lye solution, within 10 degrees or so.
- Slowly pour the lye solution into the oils.
- Blend with a stick blender in short bursts, stirring in between, until the mixture reaches trace, when drips sit on the surface for a moment before sinking, like thin pudding.
- Stir in the essential oil, if using.
- Pour into molds and tap them on the counter to settle any air bubbles.
- Leave the bars in the molds for 24 to 48 hours, until firm enough to unmold cleanly.
- Set the bars on a rack in a dry spot with good airflow for 4 to 6 weeks, turning them now and then, before using.
- Between uses, keep bars on a draining soap dish so they dry completely.
Notes
A Word on Soapmaking Safety
Soapmaking is a safe hobby when you handle lye with respect, and most of that comes down to a few good habits. If you’re new to it, this beginner’s guide on how to make soap walks through the whole process, and these common soap making mistakes are worth reading before your first batch.
Here’s what to do every time:
- Check every recipe with a lye calculator. Run it through a lye calculator before you make it, even a recipe from a source you trust, and again any time you swap an oil. A typo or a substitution can leave you with a harsh bar or a greasy one.
- Weigh everything. Soap recipes are written by weight, and measuring lye or oils by volume isn’t accurate enough.
- Wear your safety gear. Goggles, gloves, and long sleeves go on before you open the lye and stay on until the soap is in the molds and the tools are clean.
- Keep lye away from kids and pets. Store it tightly closed and clearly labeled, and keep your soapmaking tools separate from the ones you cook with.
- Know your first aid. If lye or raw soap batter touches your skin, rinse with plenty of cool running water. The NIOSH Pocket Guide lists a water flush for skin and eyes, and anything in the eyes needs medical care.
- Use skin-safe scents. Choose essential oils or fragrance oils sold as safe for soap, and follow the supplier’s usage rate.
If you’d like to make herbal soaps, with infused oils, dried flowers, or other botanicals in the bar, the Botanical Skin Care Course from the Herbal Academy covers herbal soaps and body care. Their Introduction to Herbal Medicine course is a good place to learn the plants themselves, and this yarrow and witch hazel soap is one example of an herbal bar.
More Natural Body Care
These use many of the same oils, butters, and molds.
Looking for something else?
Search for a plant, a remedy, or a project to find what you need.
Awesome website with easy instructions on shampoo making! Thanks for posting and making it so easy to read, follow and make shampoo bars!